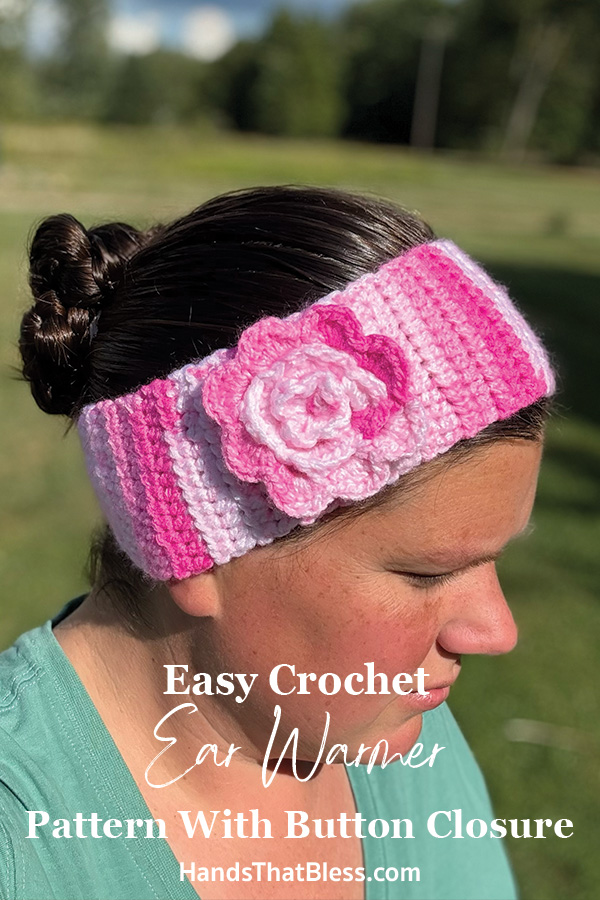
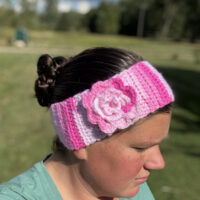
Crochet Ear Warmer Pattern With Buttons
I’m so excited to share this free crochet ear warmer pattern with you, to show you how you can easily make a crochet ear warmer with buttons. This is a great pattern, and a quick project to complete. This easy crochet ear warmer pattern is one of my personal favorites and I hope you will like it too.
Easy Crochet Headband Pattern
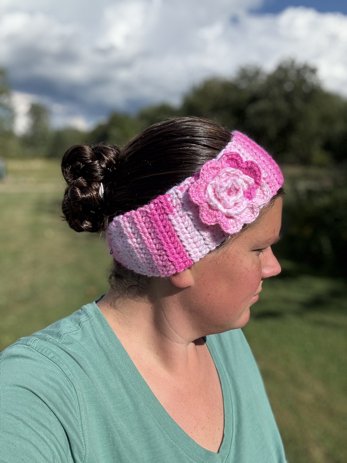
In this free pattern, I am so excited to show you how to make these easy, crochet ear warmers. They are the perfect thing to wear in the cold weather to help. Keep your ears warm, plus you don’t need much yarn to make them which is an added benefit.
Making these crochet ear warmers is a great beginner crochet project because you don’t need to know a lot of fancy stitches in order to make this free pattern. All you need to know are a few basic crochet stitches to get started.
Join our Mailing List and Receive a…
I also love this pattern because project that makes great great gifts, especially Christmas gifts, but any gift will do. So if you’re wondering what to make for that certain lady or girl on your gift list, here is the perfect idea for you. Let’s get started by jumping into the written pattern with step-by-step instructions on how to make this crochet air warmer pattern with a button closure.
Free Crochet Pattern Instructions
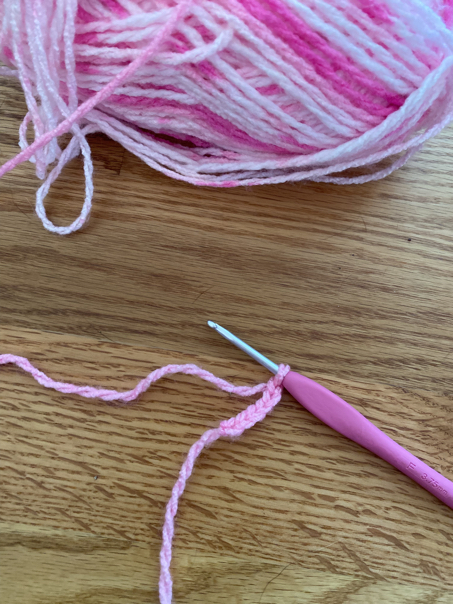
Materials
1 skein medium weight yarn
5.0 mm crochet hook
A yarn needle
Skill Level: beginner
Please note that this pattern is written in US Terms
Abbreviations
sc – single crochet
sl st – slip stitch
ch – chain
hdc – half double crochet
st/sts – stitch/stitches
How to Crochet an Ear Warmer with Buttons
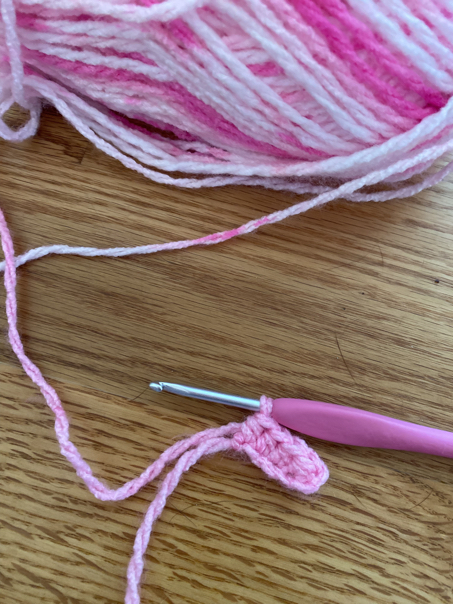
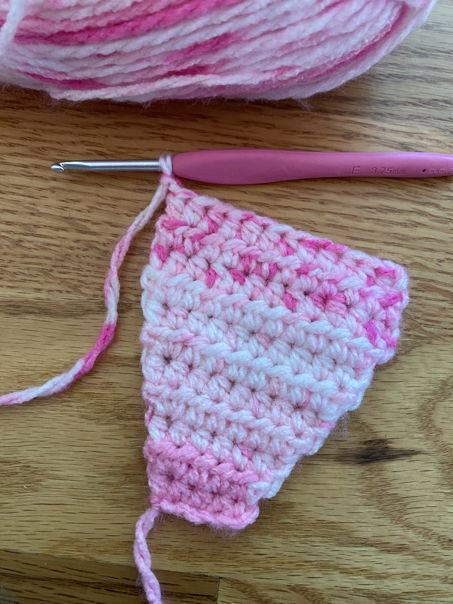
Part 1: Starting
R1: ch 6 sts
R2: in the 3rd st from the hook, make a hdc st, hdc in each st across. (4sts)
R3: ch 2, turn, make 2 hdc sts in the first st, hdc in the next 2 sts, in the last st, make 2 hdc sts. (6)
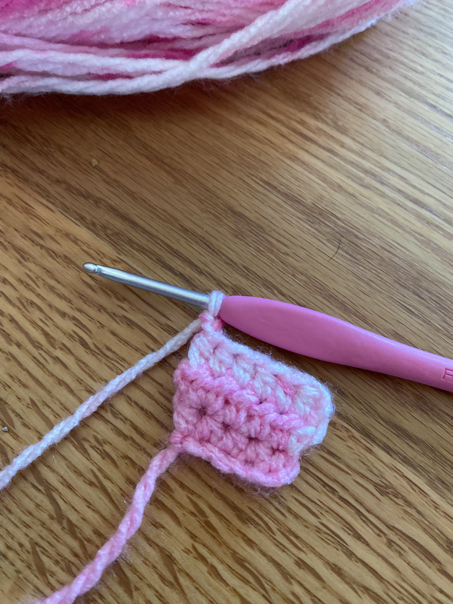
R4: ch 2, turn, hdc in each st across. (6)
R5: ch 2, turn, make 2 hdc sts in the first st, hdc in the next 4 sts, in the last st, make 2 hdc sts. (8)
R6: ch 2, turn, hdc in each st across. (8)
R7: ch 2, turn, make 2 hdc sts in the first st, hdc in the next 6 sts, in the last st, make 2 hdc sts. (10)
R8: ch 2, turn, hdc in each st across. (10)
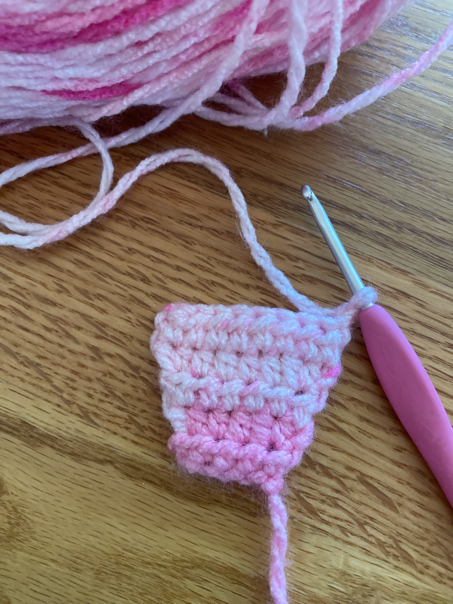

R9: ch 2, turn, make 2 hdc sts in the first st, hdc in the next 8 sts, in the last st, make 2 hdc sts. (12)
R10: ch 2, turn, hdc in each st across. (12)

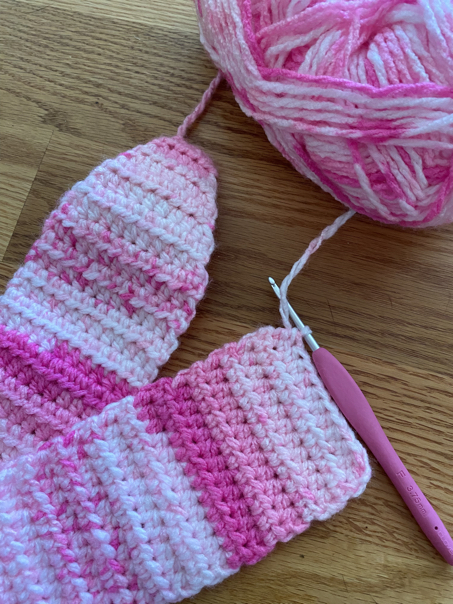
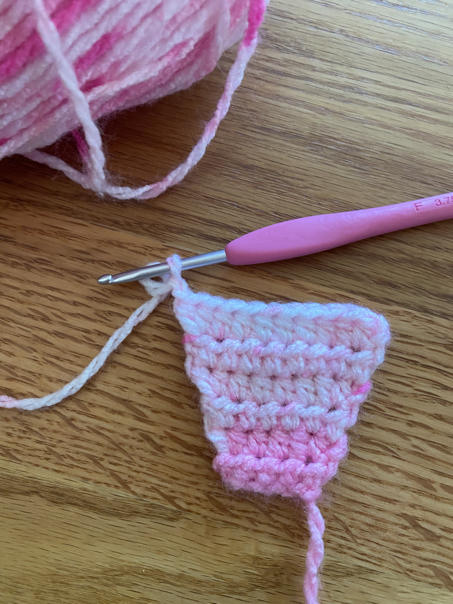
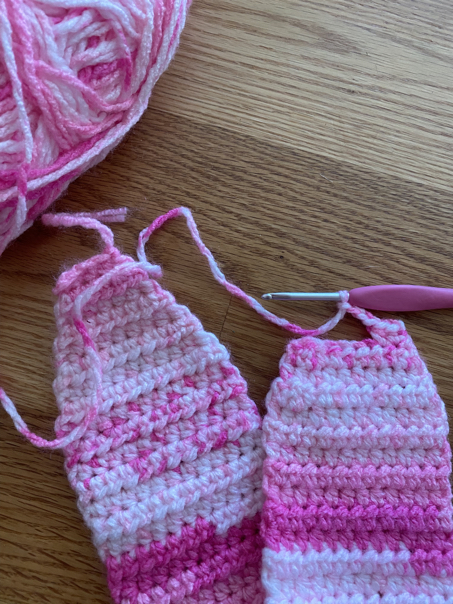
Part 2: Ear Warmer Main Body
R11-55: ch 2, turn, hdc in each st across. (12)
Repeat this row until the headband measures a few inches short of your total desired length. For me this was 55 rows before I started to decrease it.
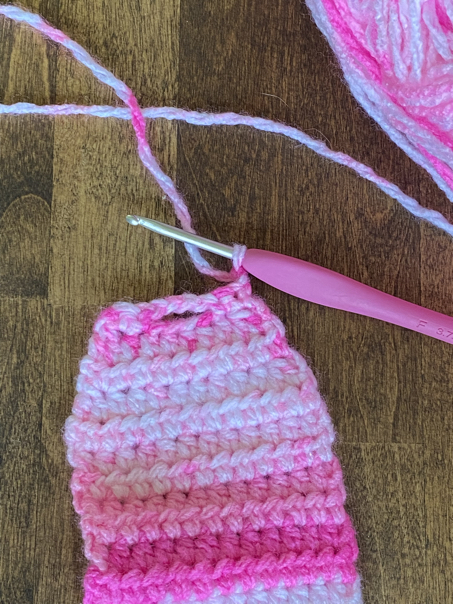
R56: ch 2, turn, make dec hdc across the first 2 sts, hdc in the next 8 sts, in the last 2 sts, make a hdc dec st. (10)
R57: ch 2, turn, hdc in each st across. (10)
R58: ch 2, turn, make dec hdc across the first 2 sts, hdc in the next 6 sts, in the last 2 sts, make a hdc dec st. (8)
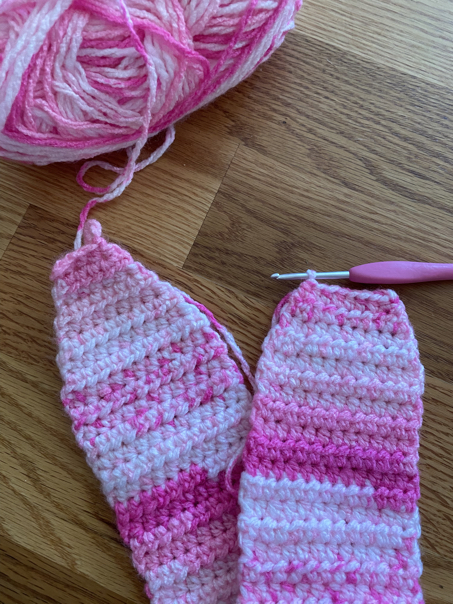
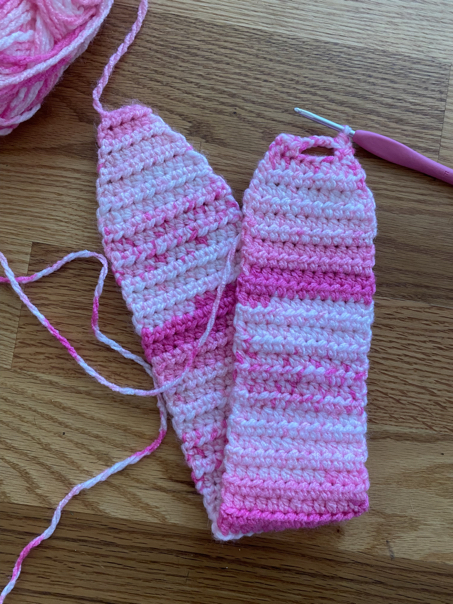
Part 3: Making the Button Hole
In order to make the button closure, you will need to decrease the number of stitches and then create a hole that will be used to thread the button through later. Here’s how I recommend doing it.
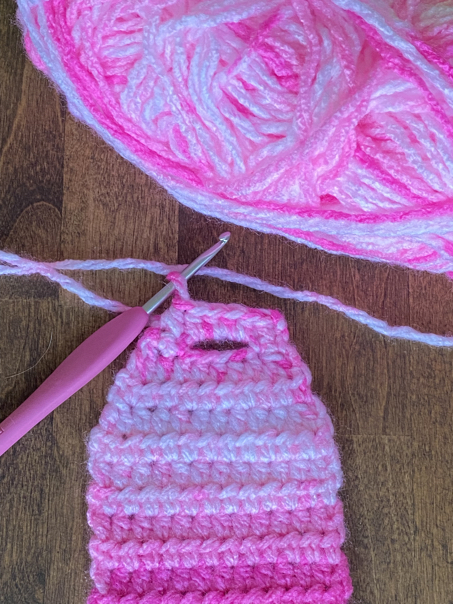
R59: ch 2, turn, hdc in the first 2 sts, ch 4 sts, skip the next 4 sts, hdc in the last 2 sts. (4 hdc, 4 sc)
R60: ch 2, turn, make dec hdc across the first 2 sts, hdc in the next 4 ch sts, in the last 2 sts, make a hdc dec st. (6)
R61: ch 2, turn, hdc in each st across. (6)
R62: ch 2, turn, make dec hdc across the first 2 sts, hdc in the next 2 sts, in the last 2 sts, make a hdc dec st. (4)
R63: ch 2, turn, hdc in each st across. (4)
Hiding Loose Ends
Before you are finished, make sure to take your crochet hook and weave in any loose ends of the yard so that they are nicely hidden away.
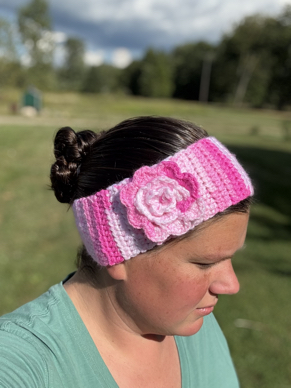
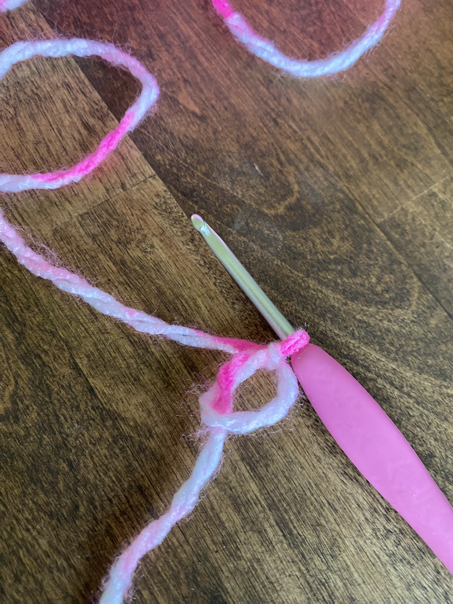
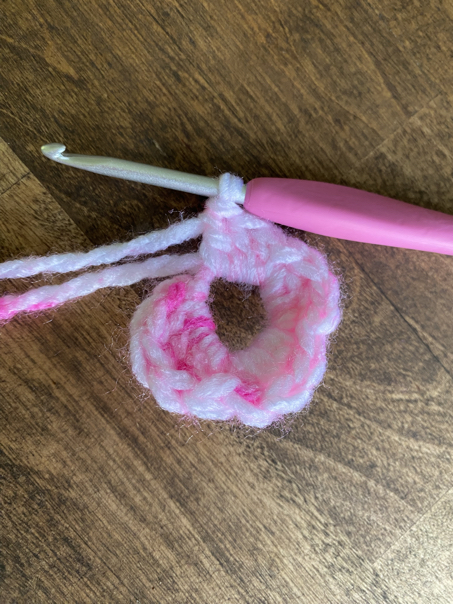
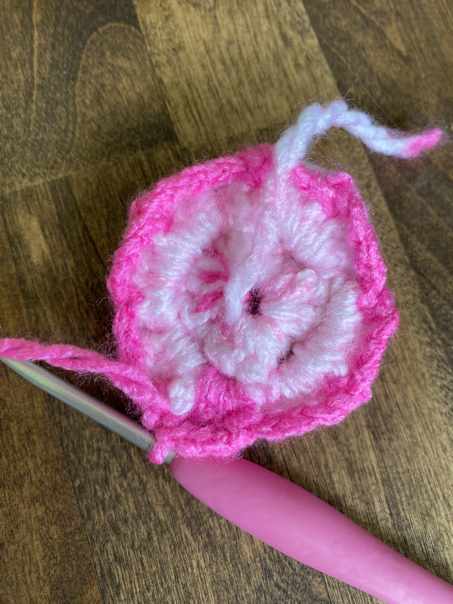
Part 4: Adding A Flower
R1: make a MR, in the mr, (sc, hdc, dc, hdc, sc,)x4, join with a sl st to the first sc. Pull the mr tight.
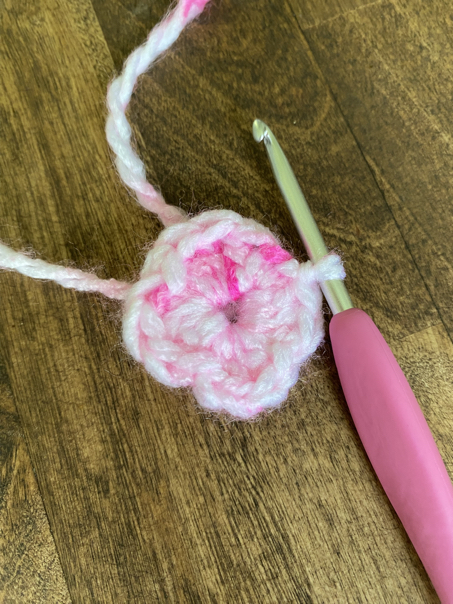
R2: ch 1, working on the back side, sl st around the first dc, (ch 4, sl st around the next dc), repeat 2 more times. Ch 4, sl st to the starting ch st. (4 ch sps)
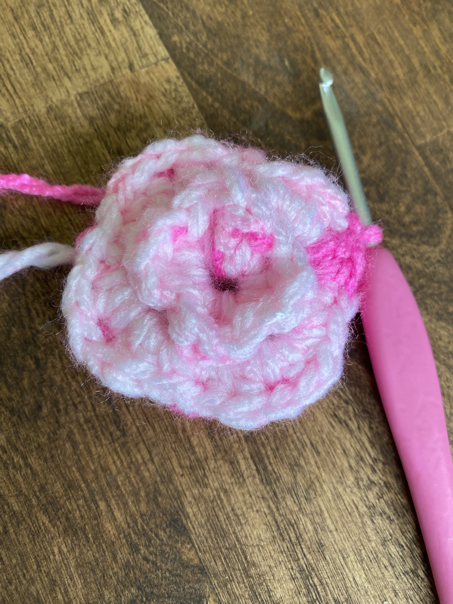
R3: ch 3, working around the first ch 4 sts make, dc, hdc, sc, skip to the next ch 4 sp, make (sc, hdc, dc, hdc, sc), repeat 2 more times, in the first ch space make, sc, hdc, join with a sl st to the first st.
R4: turn it over, ch 1, (sl st around the back of the dc, ch 4, sl st around the sc st, ch 4,) repeat around. Join with a sl st. (8 ch 4 sps)

R5: ch 1, turn, working in the ch 4 sps, (sc, hdc, 3 dc, hdc, sc) repeat around. Join with a sl st.
Finishing:
Use a yarn needle and sew the flower onto the ear warmer as desired. Then use a needle and thread to sew the button onto the opposite end of the headband as your button hole. Make sure it is secured well. Then trim or weave in any remaining yarn tails.
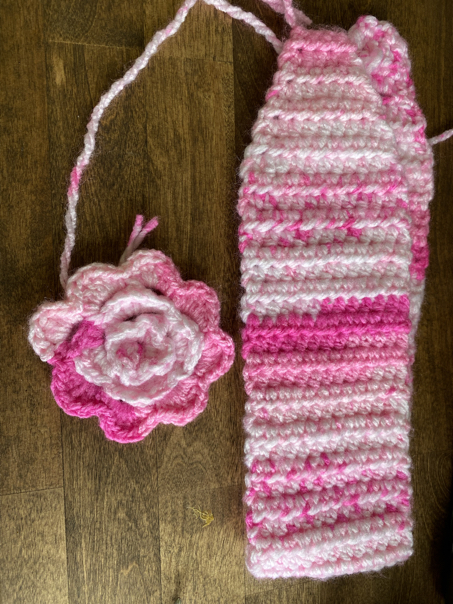
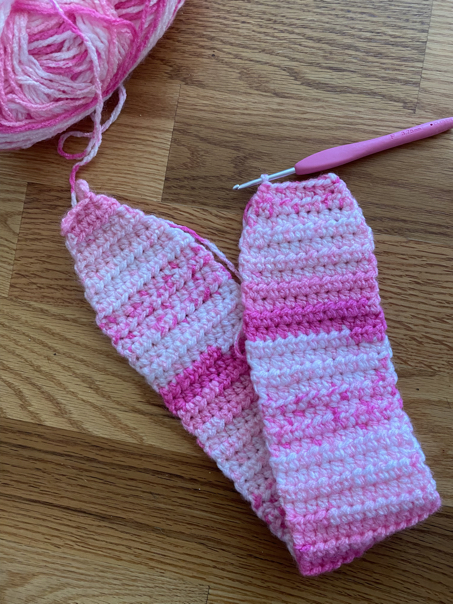
Crochet Ear Warmer Sizes
You can easily make this crochet ear warmer pattern in different sizes. The easiest way to do this is to measure the head circumference of the person you want to make the ear warmer headband for. Then create your ear warmer. So that the total length is slightly less than the head circumference of the person you want to make it for. If you do not have the head measurement of the person you want to make this for, you can follow these measurements:
Average adult size: 22 inches long
Average child size: 18-20 inches long
Average toddler size: 16-19 inches long
To make the finished size of the ear warmer so that it fits just right, you will want to adjust the number of rows in the main body of the headband so that it makes the finished size approximately the size that you need. You will want to leave the starting and the ending the same so that the button hole and button enclosure still work out correctly.
Ear Warmer Pattern Copyright
Please note that this pattern is intended for personal use only, and is not for commercial distribution. By copyright, unless otherwise noted, you are not authorized to copy or claim my content as your own. You are, however, more than welcome to sell your finished products made with my patterns. I always appreciate it when you link to my patterns so that others can find them too!
Pattern Tips and Tricks
Using basic stitches
This crochet pattern uses basic stitches to make the ear warmer headband. The main stitches that are used in this pattern are the chain stitch, single, crochet stitch, half double crochet, stitch, and slip stitch. If you are unsure how to make these basic stitches, please visit our learning how to crochet tutorial to see the step-by-step instructions. You will also need to know how to make an increase stitch, which is assembly making two of the directed stitches in the same space, as well as a decrease stitch, which is when you combine two stitches into one to decrease the overall stitch count in that row.
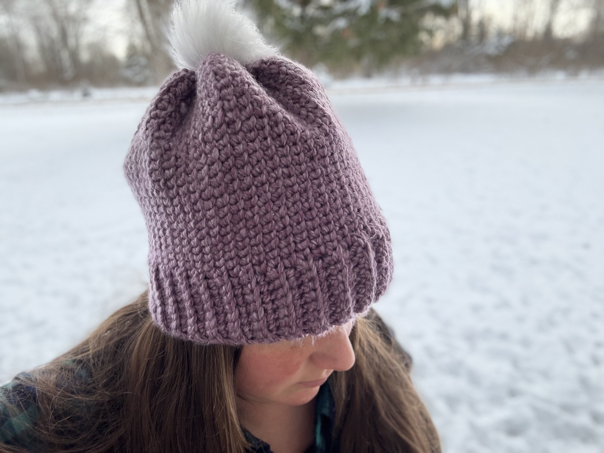
Making a warmer headband
Sometimes you want to make a warmer headband so that your ears stay extra warm in the cold weather. An easy way to do this is to increase the yarn size that you use. A nice bulky yarn will make an even warmer ear warmer for the extra cold weather. I like to use a number five bulky weight yarn for this. Just make sure to increase your crochet hook size that is needed. You may also want to decrease the number of rows. You make the main body part of the crocheted ear warmer so that it is not too big around.
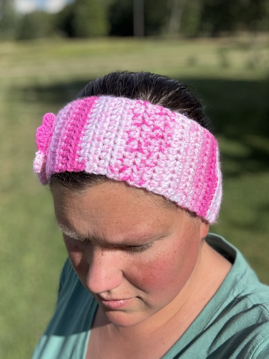
Crochet Ear Warmer Pattern With Button Closure
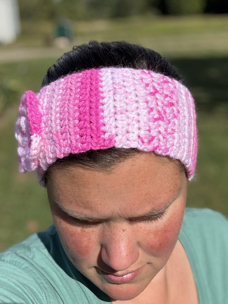
This free crochet ear warmer is an easy pattern to follow, which makes it a great beginner-friendly pattern. You can easily adjust the finished size of ear warmer so that it fits everyone on your list just right. This simple pattern is fun to make, nice and cozy to wear during the colder months, and a quick project that you can enjoy making.
Thank you so much for stopping by to check out my free crochet ear warmer with button closure pattern. This is such a fun and easy crochet project to make that is also very useful to keep your ears warm during the cold winter months. I hope that you’ll give this free pattern and try and I hope that you enjoy making it!
Be sure to follow us online on your favorite social media platform!
More crochet projects

Crochet Ear Warmer Pattern With Buttons
Materials
- 1 skein medium weight yarn
- 5.0 mm crochet hook
- A yarn needle
- Scissors
Instructions
- R1: ch 6 sts
- R2: in the 3rd st from the hook, make a hdc st, hdc in each st across. (4sts)
- R3: ch 2, turn, make 2 hdc sts in the first st, hdc in the next 2 sts, in the last st, make 2 hdc sts. (6)
- R4: ch 2, turn, hdc in each st across. (6)
- R5: ch 2, turn, make 2 hdc sts in the first st, hdc in the next 4 sts, in the last st, make 2 hdc sts. (8)
- R6: ch 2, turn, hdc in each st across. (8)
- R7: ch 2, turn, make 2 hdc sts in the first st, hdc in the next 6 sts, in the last st, make 2 hdc sts. (10)
- R8: ch 2, turn, hdc in each st across. (10)
- R9: ch 2, turn, make 2 hdc sts in the first st, hdc in the next 8 sts, in the last st, make 2 hdc sts. (12)
- R10: ch 2, turn, hdc in each st across. (12)
- R11-55: ch 2, turn, hdc in each st across. (12)
- R56: ch 2, turn, make dec hdc across the first 2 sts, hdc in the next 8 sts, in the last 2 sts, make a hdc dec st. (10)
- R57: ch 2, turn, hdc in each st across. (10)
- R58: ch 2, turn, make dec hdc across the first 2 sts, hdc in the next 6 sts, in the last 2 sts, make a hdc dec st. (8)
- R59: ch 2, turn, hdc in the first 2 sts, ch 4 sts, skip the next 4 sts, hdc in the last 2 sts. (4 hdc, 4 sc)
- R60: ch 2, turn, make dec hdc across the first 2 sts, hdc in the next 4 ch sts, in the last 2 sts, make a hdc dec st. (6)
- R61: ch 2, turn, hdc in each st across. (6)
- R62: ch 2, turn, make dec hdc across the first 2 sts, hdc in the next 2 sts, in the last 2 sts, make a hdc dec st. (4)
- R63: ch 2, turn, hdc in each st across. (4)
- R1: make a MR, in the mr, (sc, hdc, dc, hdc, sc,)x4, join with a sl st to the first sc. Pull the mr tight.
- R2: ch 1, working on the back side, sl st around the first dc, (ch 4, sl st around the next dc), repeat 2 more times. Ch 4, sl st to the starting ch st. (4 ch sps)
- R3: ch 3, working around the first ch 4 sts make, dc, hdc, sc, skip to the next ch 4 sp, make (sc, hdc, dc, hdc, sc), repeat 2 more times, in the first ch space make, sc, hdc, join with a sl st to the first st.
- R4: turn it over, ch 1, (sl st around the back of the dc, ch 4, sl st around the sc st, ch 4,) repeat around. Join with a sl st. (8 ch 4 sps)
- R5: ch 1, turn, working in the ch 4 sps, (sc, hdc, 3 dc, hdc, sc) repeat around. Join with a sl st.
Finishing:
Use a yarn needle and sew the flower onto the ear warmer as desired. Then use a needle and thread to sew the button onto the opposite end of the headband as your button hole. Make sure it is secured well. Then trim or weave in any remaining yarn tails.
Adding A Flower
PIN for Later!