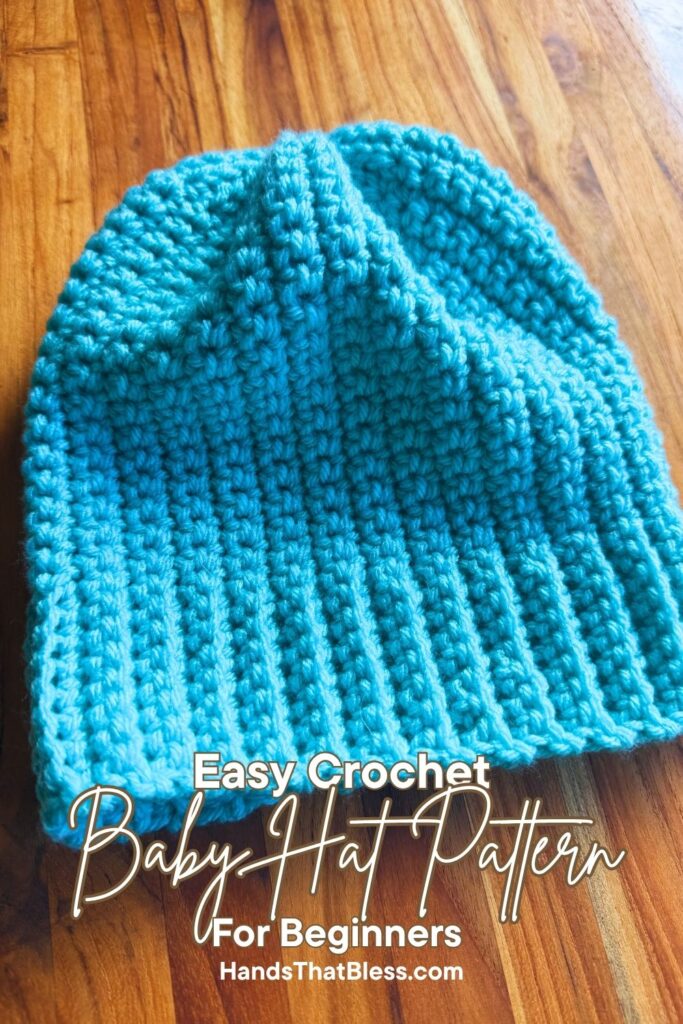
How To Crochet A Baby Hat For Beginners Step By Step
I am so excited to share this free crochet pattern with you to learn how to crochet a baby hat for beginners with step by step instructions. In this free pattern for a crochet newborn hat, I’ll show you how to make a sweet little baby hat, as well as how to adjust the size to fit any baby. This hat has a simple design that looks really cute, but only requires you to know a few basic crochet stitches, making it perfect for beginners or crocheters of any skill level.
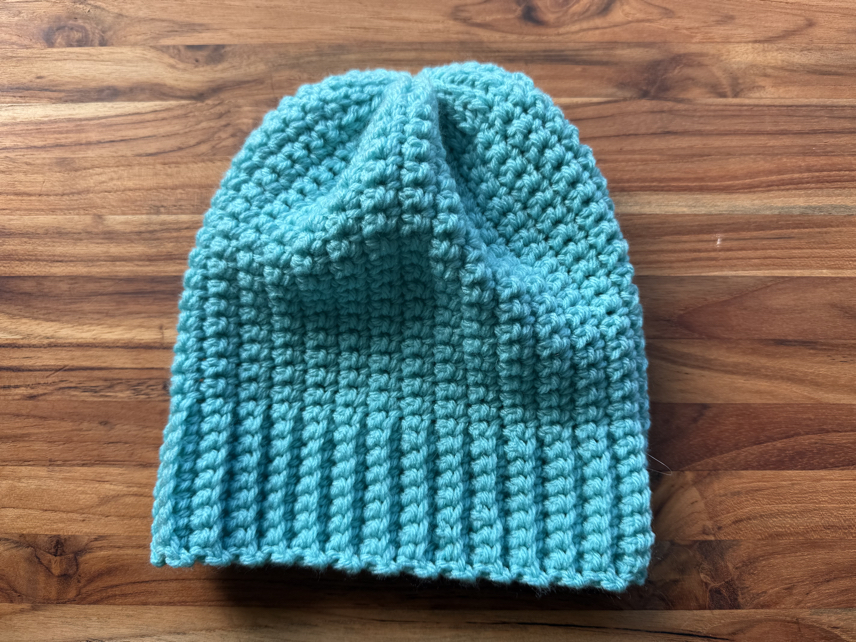
Crochet Newborn Hat Free Pattern
This adorable baby hat is a great project to make if you are looking for a handmade addition to a baby shower gift. It’s a great gift because this handmade hat doesn’t require much yarn, and is very practical to help keep a babies head warm.
I designed this pattern so that you only need to know a couple of basic crochet stitches in order to make this sweet little baby hat. Plus this baby hat can be customized to fit any size baby.
Join our Mailing List and Receive a…
The Basic Crochet Stitches
In this crochet pattern there are three basic stitches that you will need to know how to make, as well as a couple of techniques you will need to be able to follow. Here are the basic crochet stitches.
Chain. The chain stitch is a foundational stitch. This is made by yarning over, and pulling the new loop through the previous one on your hook.
Slip Stitch. The slip stitch is another core crochet stitch. To make this stitch, you insert your hook into the stitch, yarn over and pull up a loop, then pull the new loop through the loop that was previously on your crochet hook.
Single Crochet. The single crochet stitch is the other basic crochet stitch used in this pattern. To make this stitch, you will insert your hook into the stitch indicated, yarn over and pull up a loop so that there are two loops on the hook. Then yarn over again and pull the newest loop through the previous loops on your hook.
Working in different loops. The other crochet technique you will need to know is how to work your stitches in the back loop only or through both loops. Doing this is what gives different textures to various parts of the hat.

Easy Crochet Baby Hat Pattern
Materials
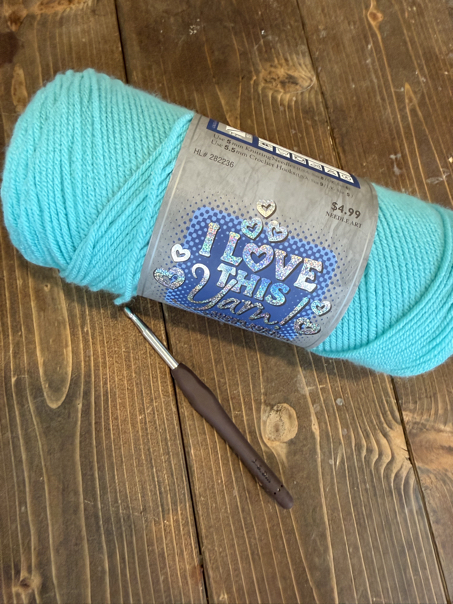
1 skein #4 medium weight yarn
J crochet hook size (6.0 mm)
A yarn needle
Recommended skill level: beginner
Abbreviations
sl st – slip stitch
sc – single crochet stitches
ch – chain
st/sts – stitch/stitches
blo – back loop only
How to Crochet an Easy Baby Hat
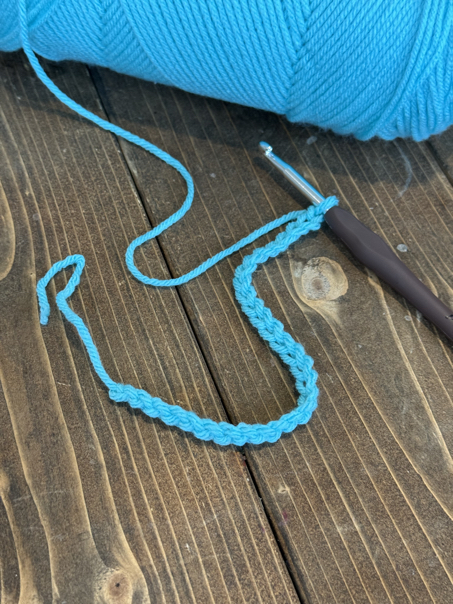
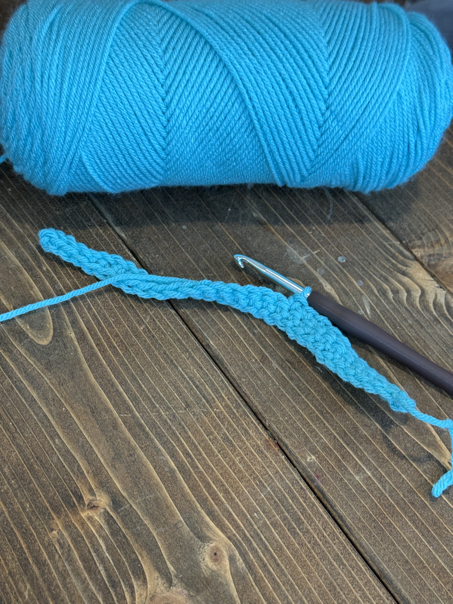
Row 1. start by making a foundation chain, ch 30 sts.
Row 2. turn, sl st in the 2nd ch from the hook, and in the next 3sts, sc in each of the next sts across.
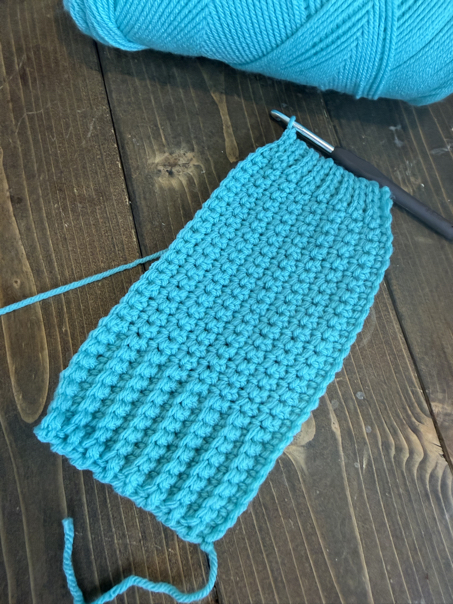
Row 3. turn, ch 1, working in the blo sc in the first 8 sts. Sc in the next 18 sts, working through both loops, then sl st in the last 4 sts.
Row 4. turn, ch 1, sl st in the first 4 sts, sc through both loops of the next 18 sts, then sc through the blo of the last 8 sts.
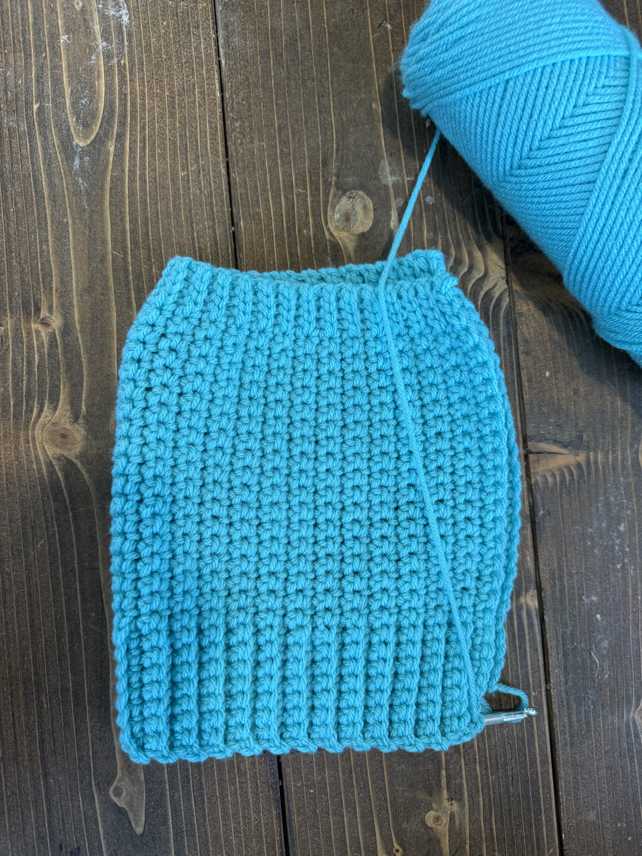
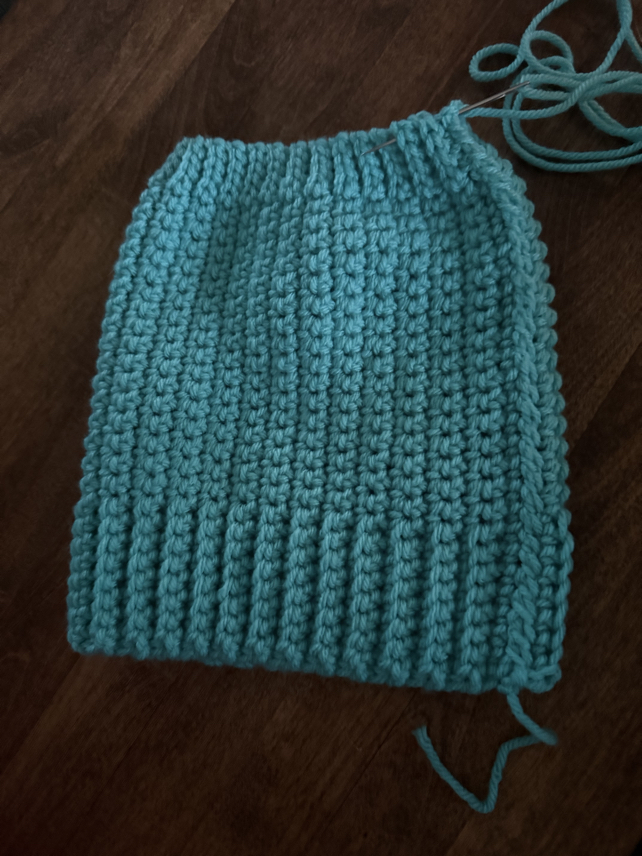
Repeat rows 3 and 4 until the hat measures your desired size around. Remember, for larger sizes you can add more chains to your foundation chain, and make it as big around as you want. The average newborn’s head size is approximately 34-35 cm so you will want it to be at least that large of circumfrence.
How To Finish The Hat
Once your hat is your desired size, it’s time to close first the side of the hat, then the top of the hat.
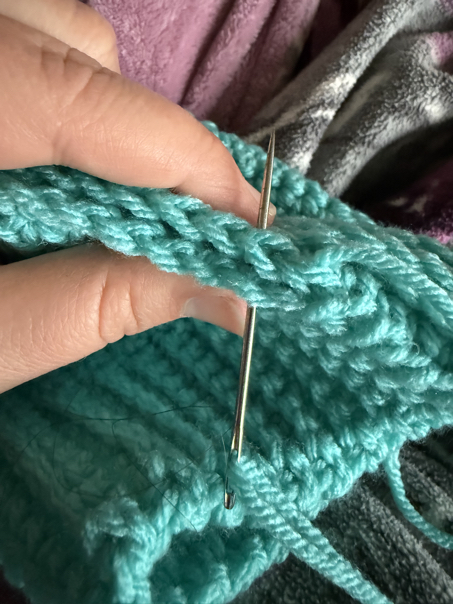
To get started, cut your yarn with a long tail, approximately a yarn tail of two feet long, so that you have plenty. Thread a yarn needle with the yarn tail, then starting at the bottom of the hat, whip stitch through both sides, keeping your stitches nice and snug.
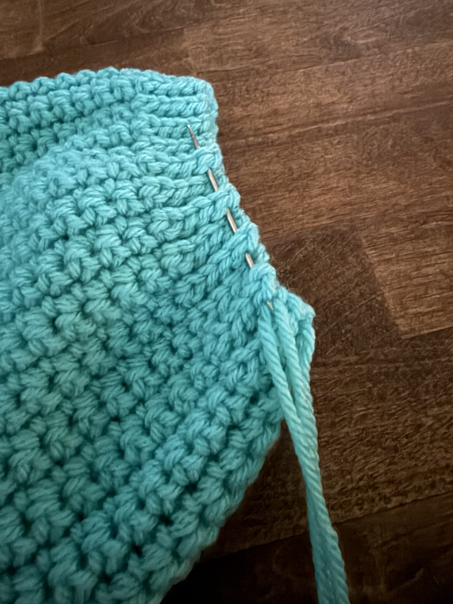
When you reach the top of the hat, make sure that the side looks good, then whip stitch a couple of times in the last stitch.
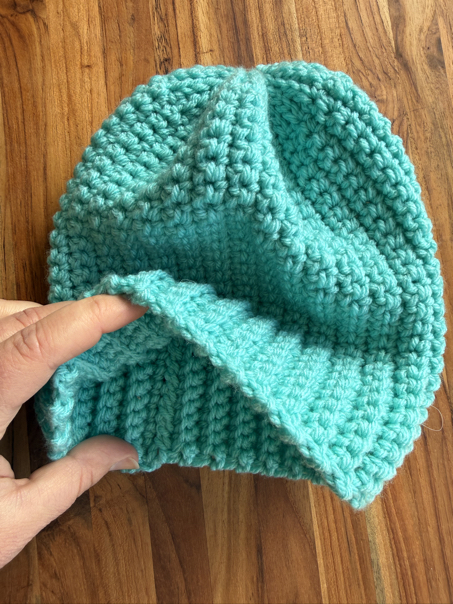
Now taking your yarn needle, insert it around the top through every other ridge of stitches. Pull it tight, keeping the stitches nice and even. Stitch around the top, to secure it closed. Make sure that the top is stitched firmly in place, the check the other side before finishing off. Tie a knot and weave in any yarn ends, before cutting the extra yarn.
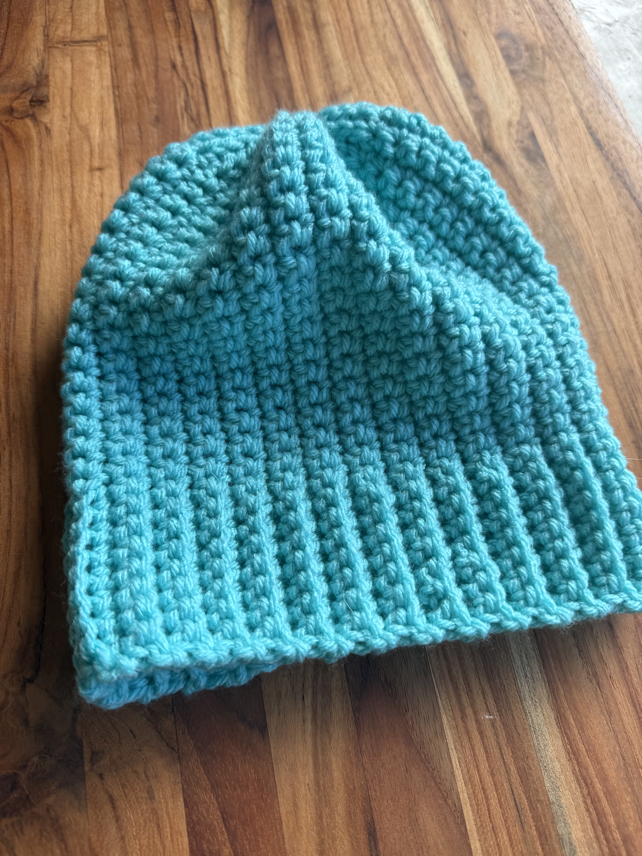
Your new hat is now ready to be warn by a sweet baby.
Making Different Sizes
This pattern is easily adjustable to make different sizes. The newborn size is great, but will only last for a short while. You can easily add more chain stitches to make different baby sizes, so that the size of hat can fit any age baby, or even an adult size if you want.
Here are the recommended starting chain numbers for different baby hat sizes. Then you simply make the hat as big around as you want to fit any baby size head.
Newborn: ch 28
0-3 months: ch 30
3-6 months: ch 34
6-9 months: ch 38
9-12 months: ch 40
Beginners Baby Hat Copyright
Please note that this pattern is intended for personal use only, and is not for commercial distribution. By copyright, unless otherwise noted, you are not authorized to copy or claim my content as your own. You are, however, more than welcome to sell your finished products made with my patterns. I always appreciate it when you link to my patterns so that others can find them too!

Baby Hat Tips and Tricks
Choosing the right crochet hook size
The exact crochet hook size will depend on a couple of different factors, first, what size of yarn you choose to use, and your stitching tension. For example, if you use thinner yarn, you will want to use a smaller crochet hook.
Likewise, if your stitches are tight, you’ll want to use a larger crochet hook, or you may need to decrease your crochet hook size if your stitching tension is loose. Feel free to adjust the crochet hook size as needed, just remember you may need to add or decrease the number of starting chans used, if you are using a different size hook.
Finishing the top of the hat
If you’d like, you can finish the baby hat off by adding a faux fur pom pom or by making your own yarn pom pom and attaching it to the top of the hat. If you do, make sure that you sew it securely in place. This is a cute and fun way to add a little something to your baby hat before finishing it off.
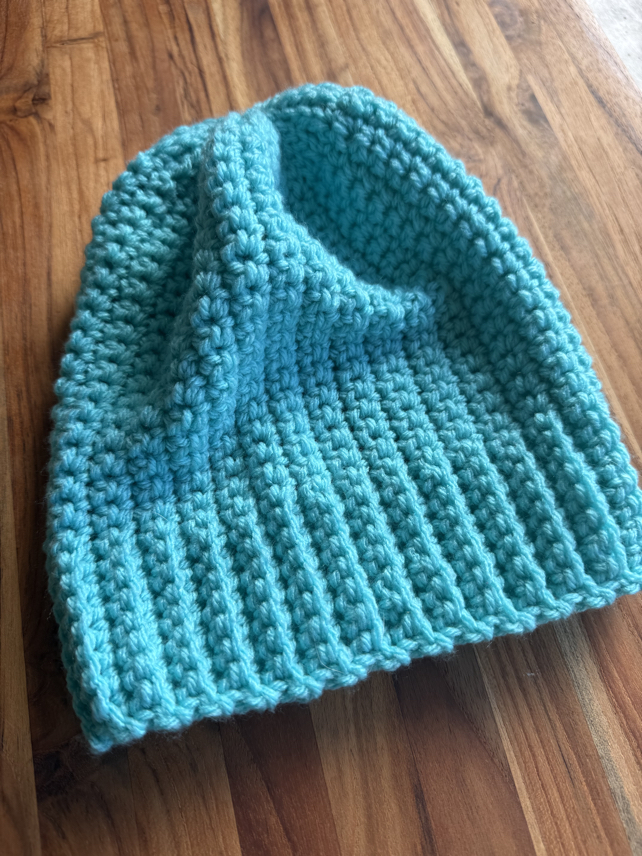
Crochet Baby Hat for Beginners
This easy pattern, to make a cute little hat for babies of any age is the perfect project no matter if you are looking for a baby shower gift idea, or if you are wanting to make your own baby a nice hat to keep its little head warm. In this free crochet baby hat pattern you will learn how to use a couple of basic crochet stitches to make a cute little hat, in just the right size.
Thank you so much for stopping by to learn how to crochet a baby hat for beginners with step by step instructions. It is my hope that you will enjoy this free crochet pattern, and that you will try making it yourself.
Be sure to follow us online on your favorite social media platform!
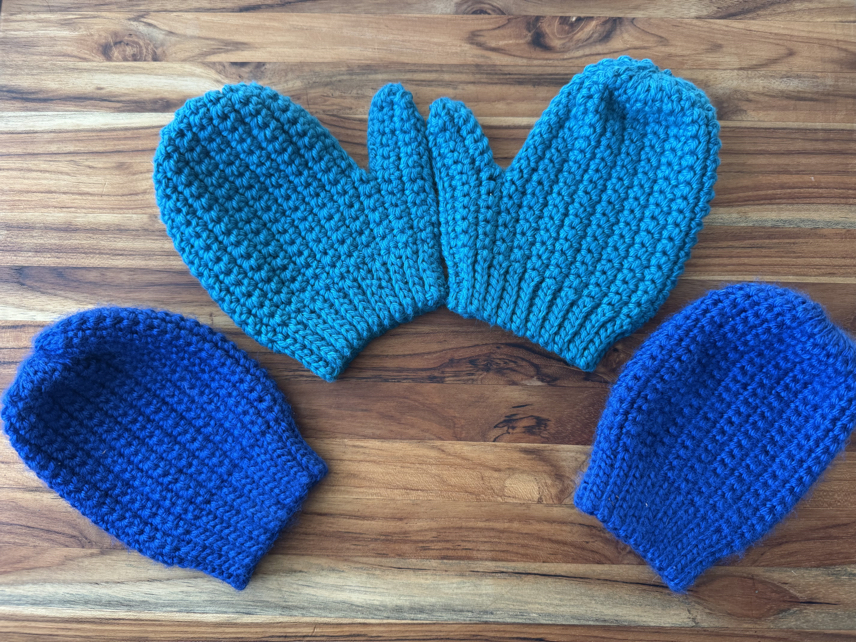
More Crochet Baby Hat Patterns
If you love to make baby items, there are other free crochet patterns that you should definitely check out! Here are a few ideas to get you started.


How To Crochet A Baby Hat For Beginners
Materials
- 1 skein #4 medium weight yarn
- J crochet hook size (6.0 mm)
- A yarn needle
Instructions
- Row 1. start by making a foundation chain, ch 30 sts.
- Row 2. turn, sl st in the 2nd ch from the hook, and in the next 3sts, sc in each of the next sts across.
- Row 3. turn, ch 1, working in the blo sc in the first 8 sts. Sc in the next 18 sts, working through both loops, then sl st in the last 4 sts.
- Row 4. turn, ch 1, sl st in the first 4 sts, sc through both loops of the next 18 sts, then sc through the blo of the last 8 sts.
- Repeat rows 3 and 4 until the hat measures your desired size around. Remember, for larger sizes you can add more chains to your foundation chain, and make it as big around as you want. The average newborn’s head size is approximately 34-35 cm so you will want it to be at least that large of circumfrence.
How To Finish The Hat
Once your hat is your desired size, it’s time to close first the side of the hat, then the top of the hat.
To get started, cut your yarn with a long tail, approximately a yarn tail of two feet long, so that you have plenty. Thread a yarn needle with the yarn tail, then starting at the bottom of the hat, whip stitch through both sides, keeping your stitches nice and snug.
When you reach the top of the hat, make sure that the side looks good, then whip stitch a couple of times in the last stitch.
Now taking your yarn needle, insert it around the top through every other ridge of stitches. Pull it tight, keeping the stitches nice and even. Stitch around the top, to secure it closed. Make sure that the top is stitched firmly in place, the check the other side before finishing off. Tie a knot and weave in any yarn ends, before cutting the extra yarn.
Your new hat is now ready to be warn by a sweet baby.
PIN for Later!