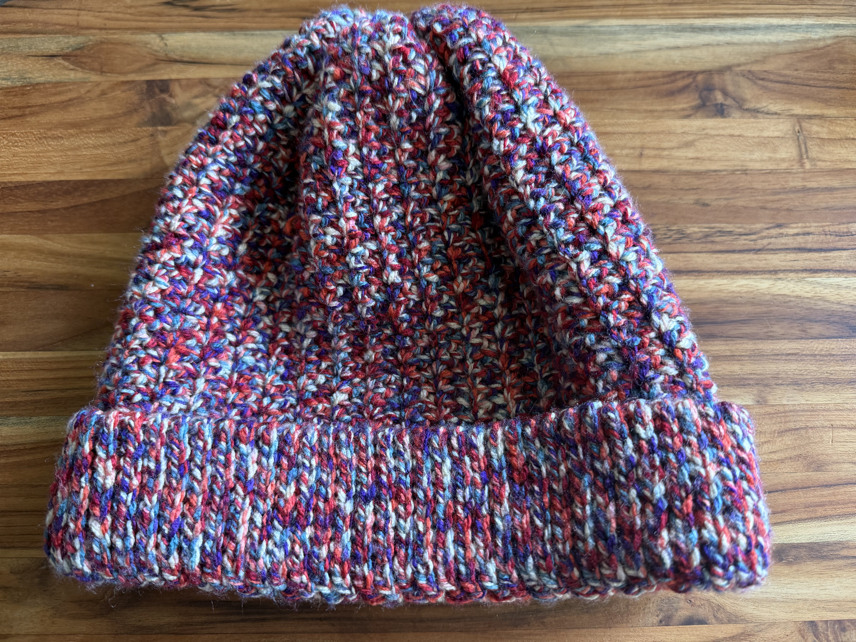
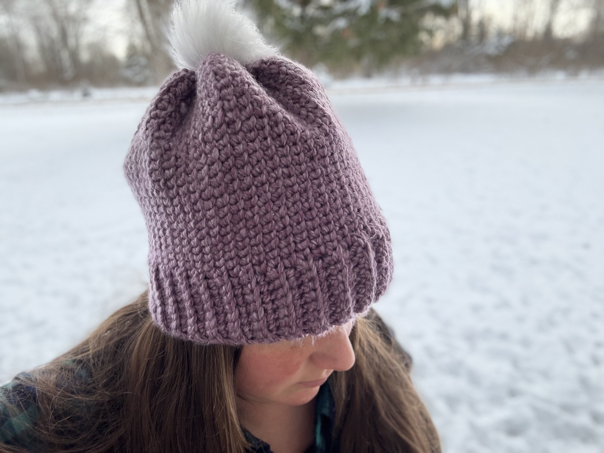
Easy Ear Warmer Crochet Pattern
Making this easy ear warmer crochet pattern is a simple project, and it’s a fun pattern to make that you get to style all winter long. Crochet ear warmers are not only easy to make, but they are also cute to wear, and make a great gift idea for anyone on your list.

I am excited to share this easy pattern with you, and to walk you through the step-by-step instructions to make your easy twisted ear warmer following my crochet pattern.
Easy Crochet Ear Warmer Headband Free Crochet Pattern
In this free crochet headband pattern, I am excited to show you how to make a twisted headband following my free crochet pattern. This is a quick and easy ear warmer crochet pattern that you can make as an advanced crocheter or beginner crocheter. This quick project will have you hooked on making many crocheted ear warmers following this great crochet project.
This ear warmer headband pattern is an easy one to make, so you can enjoy it no matter what level of crocheter you are at. This is a great pattern to make as a gift or for yourself! Plus, you don’t need much yarn to make this easy crochet project.
The Basic Stitches
To make this easy twisted ear warmer pattern, you can follow a very simple crochet stitch pattern. The headband is made using very simple crochet stitches. Here are the stitches you’ll need to know;
A chain stitch. The chain is the base of this crocheted ear warmer pattern. When you make the twisted pattern you want to begin with as many chain stitches as needed to go around the head of the person you’re making this for.
A half-double crochet stitch. The main stitch that you will need to know how to make for this twisted ear warmer pattern, is the half double crochet stitch. I like to use the stitch to make up the crocheted fabric, because it is quick to make, easy to do, and gives you a lovely texture to the finished ear warmer.
Working in the back loops only (BLO). The other crocheted trick that you will need to know how to do is how to work in the back loops only. This means rather than going through both sides of your stitches you will only work each row of stitches in the back loops alone.
After you know how to work these three basic crochet stitches, all that’s left to do to finish out your twisted ear warmer is to know how to twist it, which I will show you how to do it later! Now let’s get started by looking at what materials you need to crochet this free pattern.

Easy Crochet Ear Warmer Pattern
Materials
A skein of yarn – likely you can use leftover yarn to make this project. I used half of a leftover skein of Medium weight yarn.
Size F crochet hook or a 3.75 mm crochet hook – I like to use a smaller size so that the stitches turn out nice and tight. You may use a larger size if you prefer.
Yarn needle – to sew the ear warmer into the twist.
Scissors – to cut the yarn as needed.
Abbreviations used:
ch – chain
st/sts – stitch/ stitches
hdc – half double crochet
BLO – back loop only
Skill level: Beginner
Easy Ear Warmer Crochet Pattern Instructions:
Row 1: Make the starting chain, so that it reaches around your head. The average adult size head is 22 inches in circumference, but you may need to make it bigger or smaller depending on the person you are making it for. For me, it took 95 ch sts, + 2 = 97 chains to get started.
Row 2: skip the 2 ch sts closest to the hook, in the 3rd ch st from the hook, make a hdc in the 3rd loop. Continue making a hdc in the 3rd loops of your chain across the project.
Row 3: ch 2 sts, turn. Working in the BLO of the first hdc sp, hdc. Hdc in the BLO of each st across.
Repeat row 3 until your headband measures at least 4 inches wide. For me, this was a total of 13 rows. Feel free to add more or fewer rows as you wish.

How to Sew a Twisted Headband
Before you can sew the twisted headband you will first want to finish off the headband and fold it. To do this, cut the yarn, leaving a long tail for sewing. Pull the loose end of the yarn through the last loop on your hook to finish off. Don’t worry about weaving in the end yet.
To fold the twisted headband, first fold the headband in half, so that the two ends meet. Then offset the top side, so that the end of the bottom one sits, in the middle of the top side.
Pick up the folded headband, and fold the top flap that is hanging over the bottom side, around to the back. It will look like the top part of the headband is wrapped around the top half of the bottom part of the headband.


Now, take the bottom part of the middle layer and fold it up, so that it is in front. You now have two “u” shapes folded together.
Thread your yarn needle with the long tail of yarn and sew the ends securely together. Then finish off and weave in any ends of the yarn.


Turn the twisted ear warmer inside out, and now you are ready to give it away or enjoy your super cute easy twisted ear warmer.

Tips and Tricks for the Twisted Ear Warmer
What does it mean to work in the 3rd loop of a chain?
You will notice in the second row of the above pattern, that I suggested that you work your half double crochet stitches into the 3rd loop of the chain stitch. Let me explain exactly what this means. First of all, please know that this is not required, but I do recommend it as it has a much nicer finish for this pattern.
To work in the 3rd loops of your chain stitches, essentially this means to work in the back loops of your chain. Hold the chain the normal way, then flip it over. On the back side of your chain, you will see little bumps that stick up. These are the loops I am referring to.
When you work your stitches into the back loops of your chain, you will get a nice even look to both edges of your finished crochet project.
How to Make the Right Size Headband
Making the ear warmer the right size can be a challenge. Let’s look at the average head sizes in inches to help give you an idea of what size head circumference the person you are making this for might have.
Average Head Circumference
Large Adult 23 inches
Adult 22 inches
Small Adult 21 inches
Teen 20-22 inches
Child 18-20 inches
Toddler 16-18 inches
Baby 14-16 inches
Keep in mind there are many different sizes you can make these headbands. Ideally, you would want to measure for yourself to see exactly what size you should make. But these measurements will help give you an idea to start with.

To Twist or Not to Twist
Adding the twist at the end is a fun way to finish your easy ear warmer. It adds a bit of character to the basic crochet headband. But, keep in mind, when you add the twist it is almost like making the entire ear warmer into a bow, so it might be wise to skip the twist if you are making this crochet ear warmer for a boy or man.
To Seam:
If you want to skip the twist, you can simply sew the two seams together flat, then turn the headband inside out to finish the headband with a nice smooth seam.
What Yarn Weight should I use?
I like to use a nice medium weight yarn for this crochet project, but you can also use a worsted weight yarn if you prefer. Just make sure that your stitches are nice and tight, so that it is warm enough for the cold weather. You could also use a bulky yarn, or chunky yarn if you prefer, just keep in mind that this yarn weight will change the size of the headband.
How Wide Should a Crochet Ear Warmer be?
How wide you make the crochet ear warmer is entirely up to your preference. I would suggest that you make it at least 4 inches wide for an adult so that it is a warm crochet ear warmer that can cover your ears. You want it to be wide enough to cover the person’s ears and keep them warm. If you want, you can make it wider, so that there is extra space.
Free Crochet Ear Warmer Pattern
This easy crochet pattern makes a cute twisted ear warmer! Making this project is a fun crochet project that is a quick make and easy to make with my simple pattern.
Thank you so much for stopping by to check out my easy ear warmer crochet pattern! I hope that you will enjoy making this fun twisted pattern!
Find Us Online!
Be sure to follow us online on your favorite social media platform!
More Free Crochet Patterns You Will Like


Easy Ear Warmer Crochet Pattern
Materials
- A skein of yarn – likely you can use leftover yarn to make this project. I used half of a leftover skein of Medium weight yarn.
- Size F crochet hook or a 3.75 mm crochet hook – I like to use a smaller size so that the stitches turn out nice and tight. You may use a larger size if you prefer.
- Yarn needle – to sew the ear warmer into the twist.
- Scissors – to cut the yarn as needed.
Instructions
- Row 1: Make the starting chain, so that it reaches around your head. The average adult size head is 22 inches in circumference, but you may need to make it bigger or smaller depending on the person you are making it for. For me, it took 95 ch sts, + 2 = 97 chains to get started.
- Row 2: skip the 2 ch sts closest to the hook, in the 3rd ch st from the hook, make a hdc in the 3rd loop. Continue making a hdc in the 3rd loops of your chain across the project.
- Row 3: ch 2 sts, turn. Working in the BLO of the first hdc sp, hdc. Hdc in the BLO of each st across.
Repeat row 3 until your headband measures at least 4 inches wide. For me, this was a total of 13 rows. Feel free to add more or fewer rows as you wish. - How to Sew a Twisted Headband
Before you can sew the twisted headband you will first want to finish off the headband and fold it. To do this, cut the yarn, leaving a long tail for sewing. Pull the loose end of the yarn through the last loop on your hook to finish off. Don’t worry about weaving in the end yet.
To fold the twisted headband, first fold the headband in half, so that the two ends meet. Then offset the top side, so that the end of the bottom one sits, in the middle of the top side.
Pick up the folded headband, and fold the top flap that is hanging over the bottom side, around to the back. It will look like the top part of the headband is wrapped around the top half of the bottom part of the headband. - Now, take the bottom part of the middle layer and fold it up, so that it is in front. You now have two “u” shapes folded together.
Thread your yarn needle with the long tail of yarn and sew the ends securely together. Then finish off and weave in any ends of the yarn. - Turn the twisted ear warmer inside out, and now you are ready to give it away or enjoy your super cute easy twisted ear warmer.
PIN for Later!

