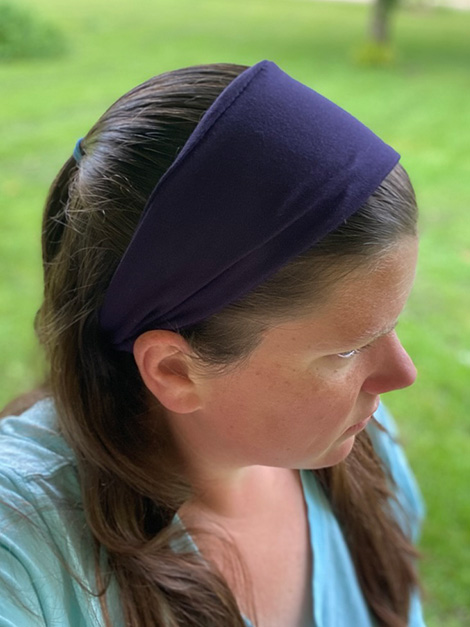
Wide Headband Sewing Pattern
I am so excited to share this free pattern with you to make an easy wide headband sewing pattern. This wide headband pattern is a great way you can make an basic hand in just a few minutes.
Making your own DIY fabric headbands is a lot of fun, and you don’t need a lot of material or supplies in order to do this. Just a few minutes time, and a little bit of fabric to make a nice wide headband.
Wide Headband Sewing Pattern Free
Making a wide headband on your own is a lot of fun because you can easily customize it to be just how you want it. Making a stretchy headband is so much fun, and surprisingly easy to do. All you need is some jersey knit fabric, sewing machine and thread to get started.
I’m excited to walk you through this wide headband tutorial to make a simple headband by following a few easy steps. Keep in mind you can easily adjust this pattern to make your headband wider or narrower if you prefer.

Headband Sewing Pattern
Materials
Stretchy knit fabric – I highly recommend using jersey knit fabric 22in x 8in
Matching thread
Cutting mat
Rotary cutter
Sewing machine
A safety pin (optional for turning)
A tape measure to measure head circumference if needed
Seam allowance: ⅜ inch
How To Sew A Wide Headband
Step one: choose the fabric and cut it out
To start making the wide headband, you first want to cut out your fabric. Take your selected fabric, and place it onto your cutting mat, using a ruler and rotary color. Cut out the fabric for an adult with an average size head you will want the Fabric to be 22 inches long by 8 inches wide.
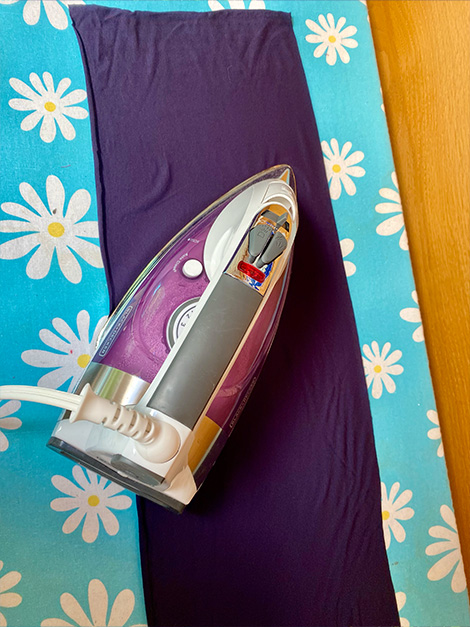
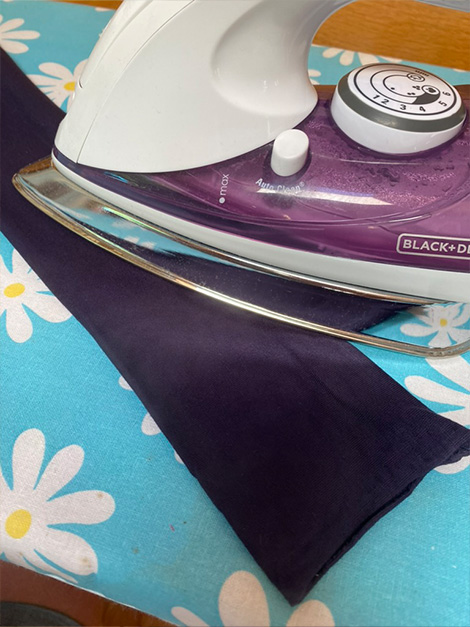
Step two: iron it flat
When the fabric is cut out, I would highly recommend that you iron it so that it lays flat easier. And careful to use a heat setting that is appropriate for your fabric. Usually for fabric, you want to use a warm temperature setting, but not super hot.

Step three: folding the fabric
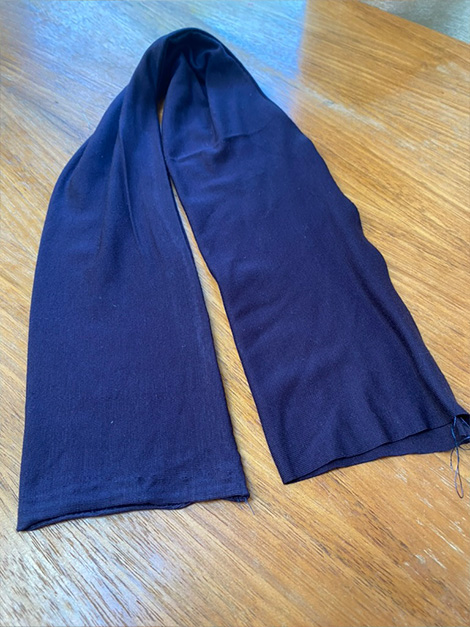
Now, fold your fabric in half so that the right sides of the fabric are facing together towards the center, and the wrong sides are out. Fold the fabric long ways.
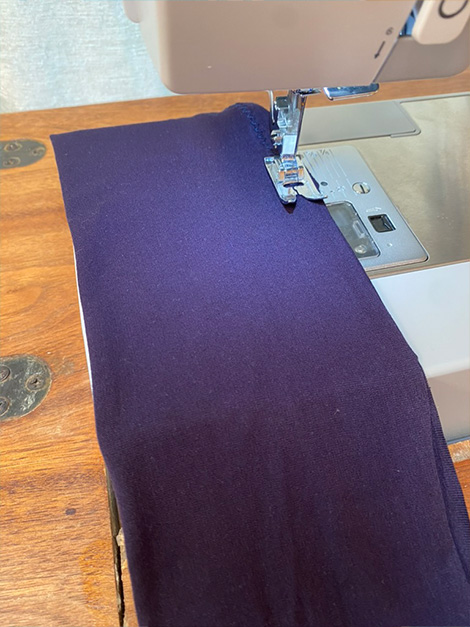
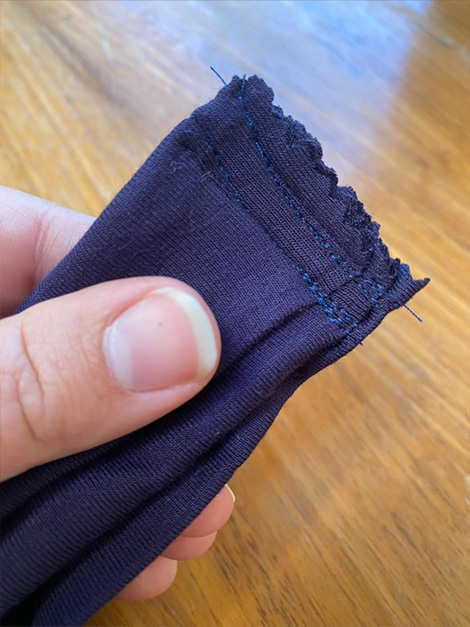
Step four: start sewing
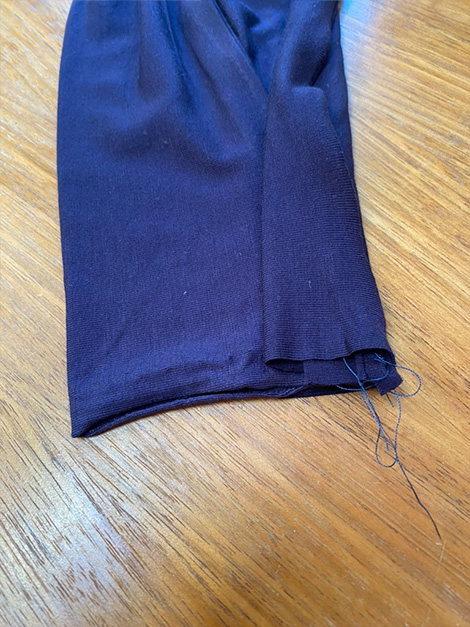
Turn your sewing machine to a zig-zag stitch. Ideally, you want the zigzag seem wine to be mid length stitches. Wide, but not super far apart. Be careful that it’s not super tight together or else your headband the same will look funny. Sew a zigzag seem line along the entire edge of the long edge of your fabric.
Once the zigzag theme is sound, go back-and-forth at both ends, then cut the thread.

Step five: turn it
Open the short, raw edges, and turn the headband right side out from one edge.
To sew the short ends together to finish out the headband, you want to use a straight stitch to make the scene. But before you do this, I like to fold the ends so that they have a twisted appearance. This is slightly different than your normal twist headband

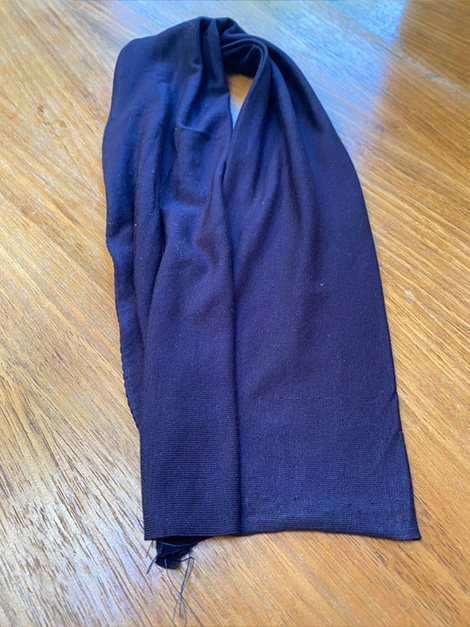
Step six: adding a twist
To fold the head man for the final seam, hold the headband in half so the two short ends are together, then lay on a flat surface so that they are next to each other. Now, imagine dividing the first side into 1/3 sections. Take the other end and overlap the first side by 1/3. Fold that same side up around the overlapping piece then fold it back on itself by the remaining 1/3 section.
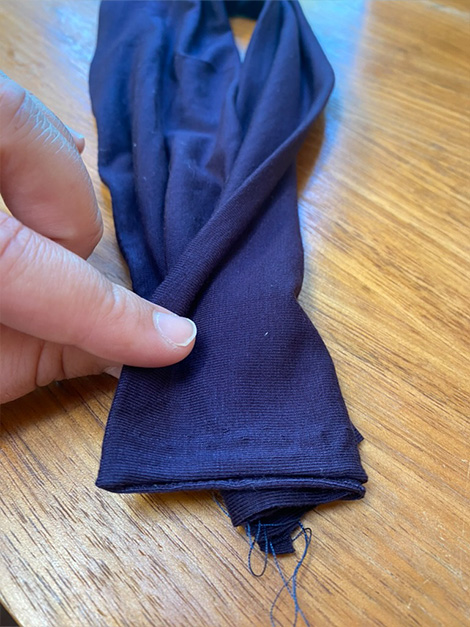

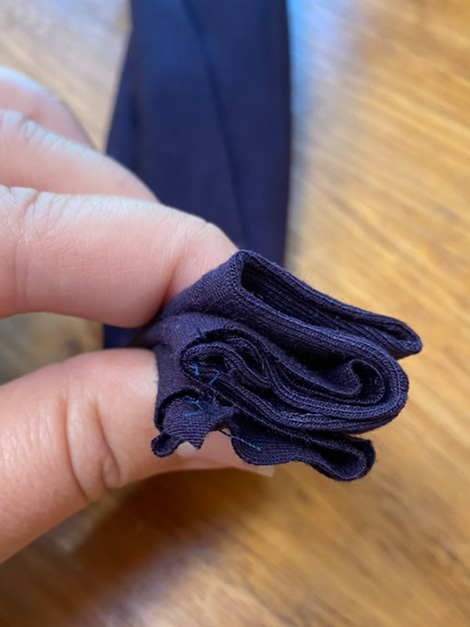
Now to fold the remaining piece, turn it over then fold it up on itself and then back by the remaining 1/3 section. Pinch these folds together and then place on your sewing machine. Use the straight stitch to go back-and-forth over these pieces several times.

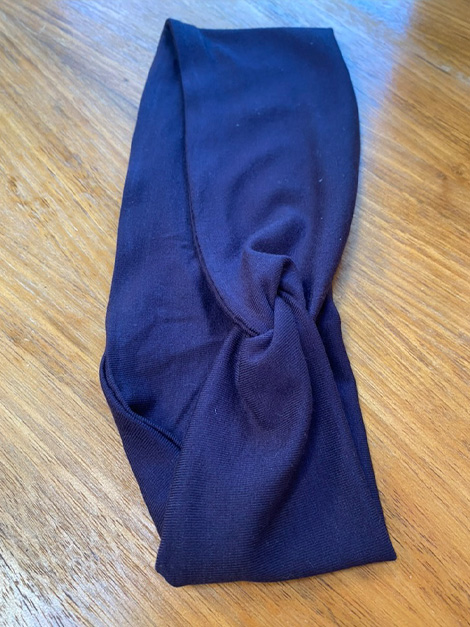
Step seven: finishing the headband
To finish it out, trim the ends of the fabric with pinking shears. Cut it close, especially at the edges. Then open the headband and lay it flat on a surface. Your wide headband is now completed after you trim any loose threads.
Pattern Copyright
Please note that this pattern is intended for personal use only, and is not for commercial distribution. By copyright, unless otherwise noted, you are not authorized to copy or claim my content as your own. You are, however, more than welcome to sell your finished products made with my patterns. I always appreciate it when you link to my patterns so that others can find them too!
Tips and Tricks
Making It In Different Sizes
The easiest way to make the wide headband so that it fits. It is to use the person‘s head circumference measurement that you are making the headband for. However, it’s not always easy to find out their specific information. A good rule of thumb to make a headband for an average Adult is to make it approximately 22 inches long. If you are making the wide headband for someone with a small head, then you could go as low as 19 inches long.
Selecting The Fabric
This sewing pattern requires you to use a type of stretch knit fabrics. It’s my preference to use a jersey knit fabric, but there are different fabrics in the knit genre to choose from. Make sure that you are using at least a two way stretch fabric, but a four way stretch fabric will also work.
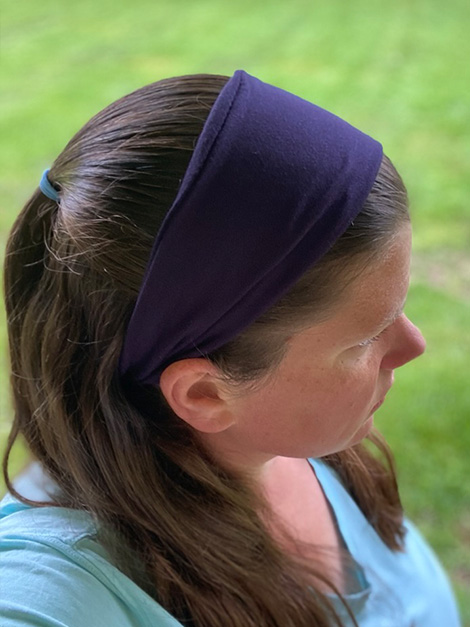
Wide DIY Headband
Making a stretchy headband that is nice and wide is surprisingly easy to do when you follow these step-by-step instructions and use jersey knit fabric. I enjoy making this type of cute headband, because it is a quick sewing project but also very practical. This is a fun sewing project that you can do in a short amount of time, with little cost, and it’s great to give away as a gift for any female, whether old or young on your list.
Thank you so much for stopping by to check out my headband tutorial to learn how to make a wide headband using this free sewing pattern. It is my hope that you will enjoy this free sewing pattern. Now it’s your turn to give it a try and see what you think!
Happy sewing!
For more headband patterns, be sure to check out these other free, sewing projects! We also have a complete library of other sewing inspiration for you to enjoy.
Be sure to follow us online on your favorite social media platform!
More Sewing Patterns:

Wide Headband Sewing Pattern
Materials
- Stretchy knit fabric – I highly recommend using jersey knit fabric 22in x 8in
- Matching thread
- Cutting mat
- Rotary cutter
- Sewing machine
- A safety pin (optional for turning)
- A tape measure to measure head circumference if needed
- Seam allowance: ⅜ inch
Instructions
- Step one: choose the fabric and cut it out
To start making the wide headband, you first want to cut out your fabric. Take your selected fabric, and place it onto your cutting mat, using a ruler and rotary color. Cut out the fabric for an adult with an average size head you will want the Fabric to be 22 inches long by 8 inches wide. - Step two: iron it flat
When the fabric is cut out, I would highly recommend that you iron it so that it lays flat easier. And careful to use a heat setting that is appropriate for your fabric. Usually for fabric, you want to use a warm temperature setting, but not super hot. - Step three: folding the fabric
Now, fold your fabric in half so that the right sides of the fabric are facing together towards the center, and the wrong sides are out. Fold the fabric long ways. - Step four: start sewing
Turn your sewing machine to a zig-zag stitch. Ideally, you want the zigzag seem wine to be mid length stitches. Wide, but not super far apart. Be careful that it’s not super tight together or else your headband the same will look funny. Sew a zigzag seem line along the entire edge of the long edge of your fabric.
Once the zigzag theme is sound, go back-and-forth at both ends, then cut the thread. - Step five: turn it
Open the short, raw edges, and turn the headband right side out from one edge.
To sew the short ends together to finish out the headband, you want to use a straight stitch to make the scene. But before you do this, I like to fold the ends so that they have a twisted appearance. This is slightly different than your normal twist headband - Step six: adding a twist
To fold the head man for the final seam, hold the headband in half so the two short ends are together, then lay on a flat surface so that they are next to each other. Now, imagine dividing the first side into 1/3 sections. Take the other end and overlap the first side by 1/3. Fold that same side up around the overlapping piece then fold it back on itself by the remaining 1/3 section.
Now to fold the remaining piece, turn it over then fold it up on itself and then back by the remaining 1/3 section. Pinch these folds together and then place on your sewing machine. Use the straight stitch to go back-and-forth over these pieces several times. - Step seven: finishing the headband
To finish it out, trim the ends of the fabric with pinking shears. Cut it close, especially at the edges. Then open the headband and lay it flat on a surface. Your wide headband is now completed after you trim any loose threads.
PIN for Later!

