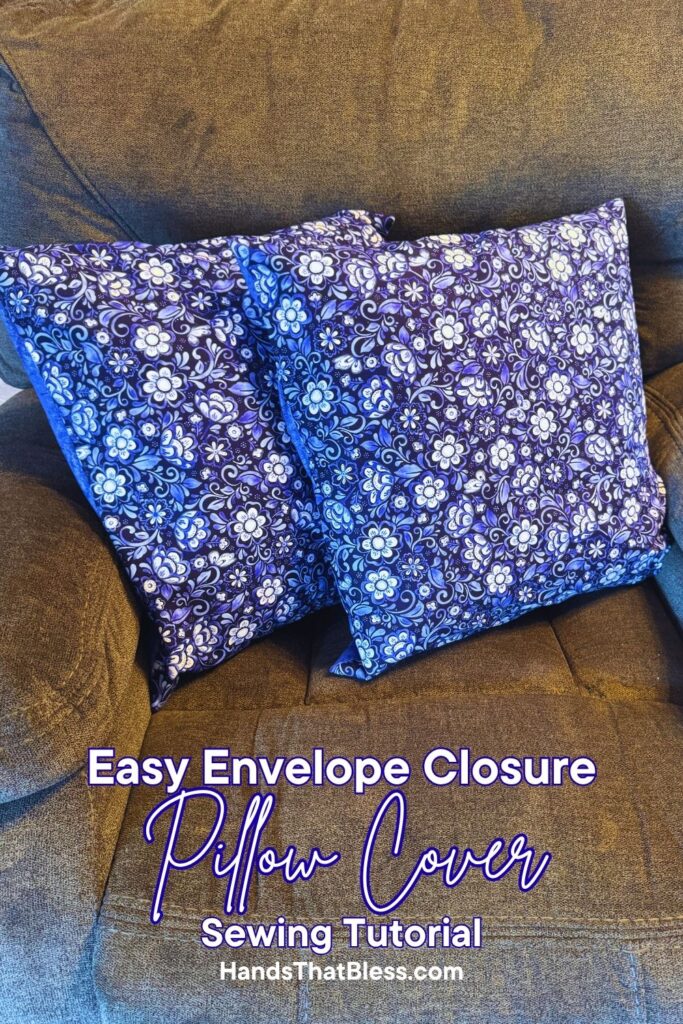
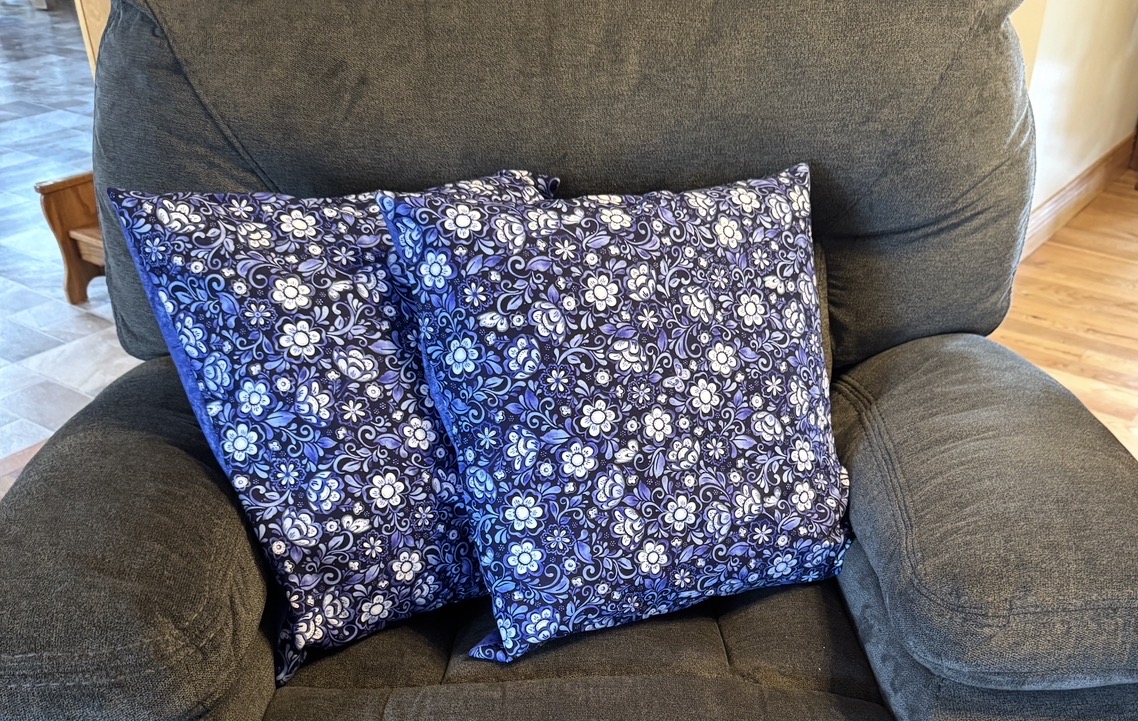
How To Sew An Envelope Pillow Cover
In this sewing tutorial, I am excited to show you the easiest way to make some of the cutest throw pillows, by learning how to sew an envelope pillow cover for yourself. This method is very easy to do, and allows you to make a throw pillow with throw pillow covers that are easily removable so that you can wash them, or change them out as you desire.
This envelope pillow cover pattern is an easy one to follow for making new throw pillows for your bedroom or living room. All you need are three pieces of fabric, a pillow form, and a sewing machine to get started.
How To Make An Envelope Pillow Cover With Three Pieces Of Fabric
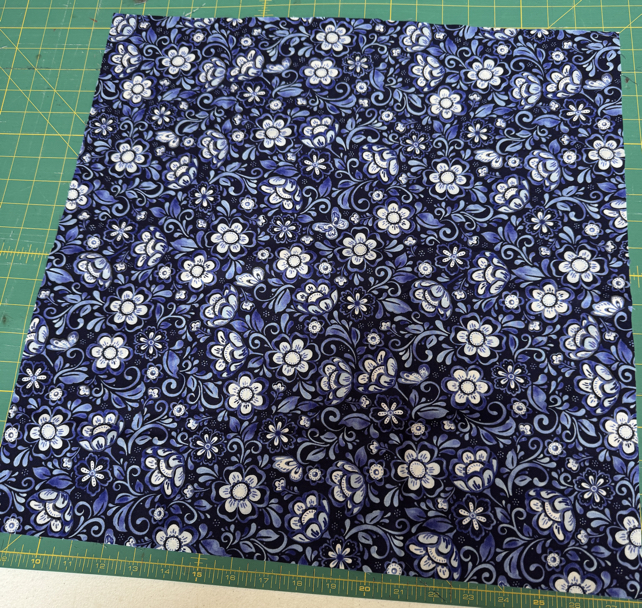
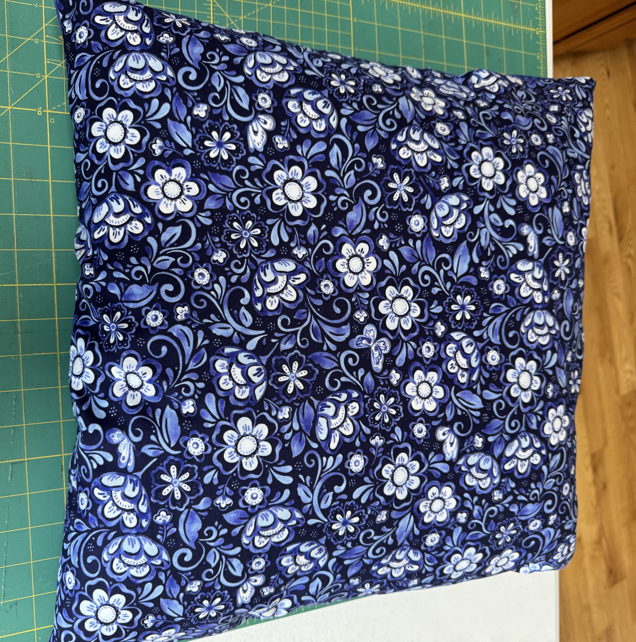
The easiest way to make an envelope pillow cover is to use three pieces of fabric. Personally, I like to use two different fabrics for the envelope pillow cases, one type of fabric for the front piece, and another fabric for the two back pieces.
I like this easy sewing project because it’s not only easy to make, and you can enjoy cute accent pieces for your home at a minimal cost, but I also like these because the envelope closure allows you to be able to easily remove the pillow cases, and clean them when needed. But at the same time, the envelope closure allows you to cover the entire pillow completely, without the need of buttons or zippers.
Let’s jump into the step by step sewing instructions to make your own envelope pillow case.
Envelope Style Pillow Cover Sewing Tutorial
I recommend using a ½ inch seam allowance on the perimeter of the pillow (the bottom and side seams) and ⅜ inch seam allowance on the overlapping pieces.
Materials Needed
Fabric Needed for 1 Pillow
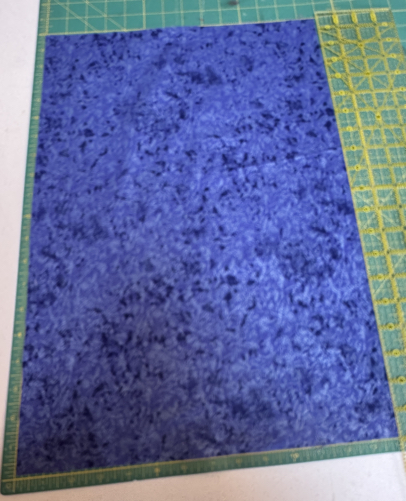
20 inch square fabric for the front piece
2 back pieces of fabric that are 20 inches by 14 inches
18 inch pillow insert
A rotary cutter
A cutting mat
An ironing board and iron
Sewing machine and thread
Scissors
How to Sew the Envelope Pillow Cover
Step 1: Choose your fabric
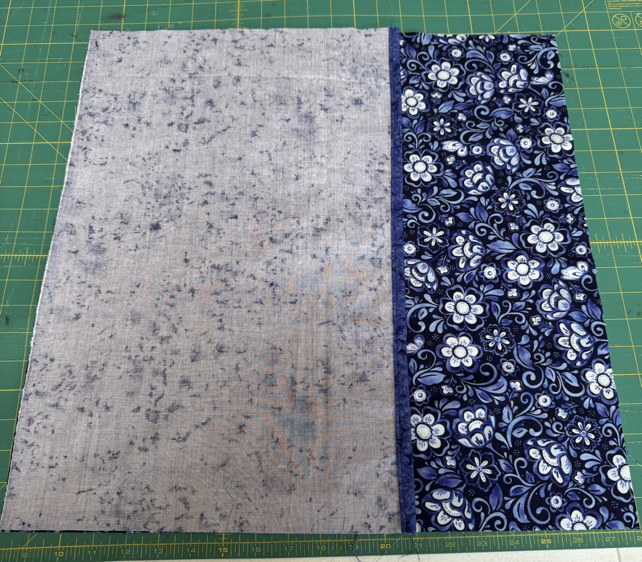
Select the pieces of fabric that you want to use for the front and back of your pillow cover. Keep in mind you will need one large piece for the front, and two smaller ones for the back.
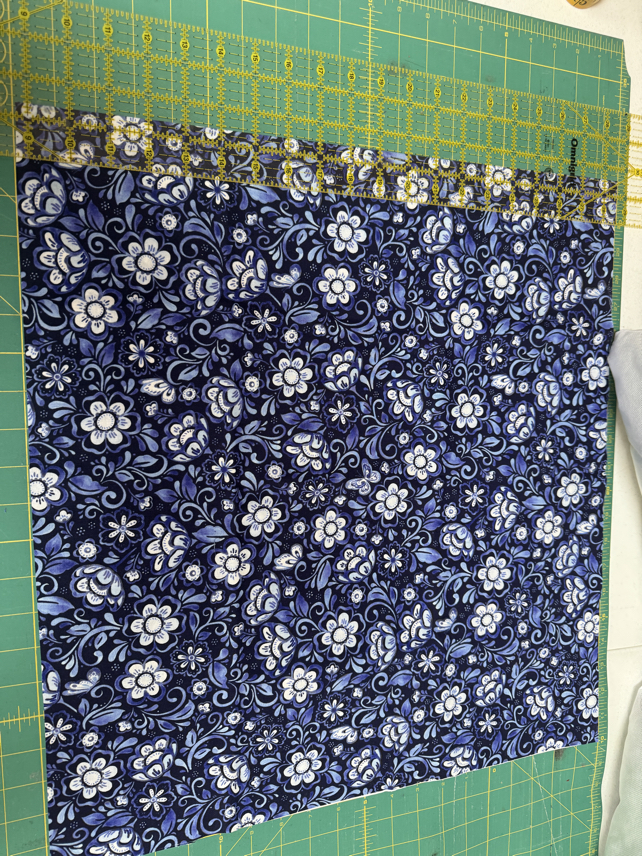
Step 2: Cut the fabric out
Cut out the front piece of fabric so that it is a 20 inch square. Cut the back pieces out. You will need two back pieces that are each 20 inches by 14 inches.
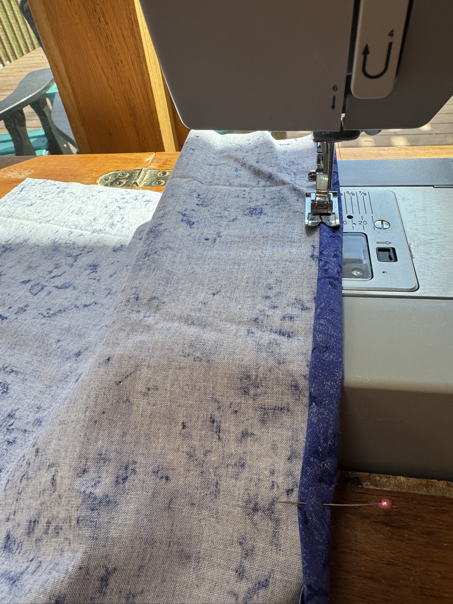
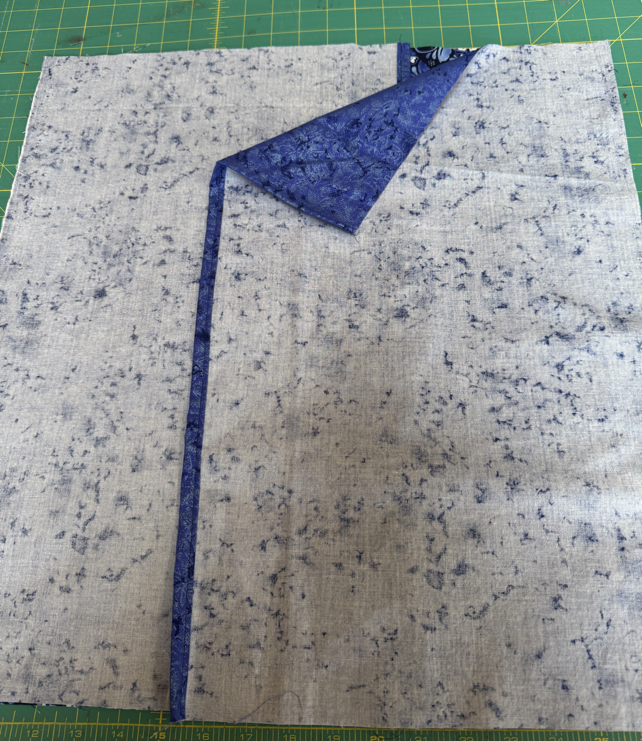
Step 3: Hem the overlap
Next, we are going to take the two back pieces. On one long edge of each of the back pieces, fold it under, then fold it under again to hide the raw edge. Iron it in place, then sew along the folded edge to hem it.
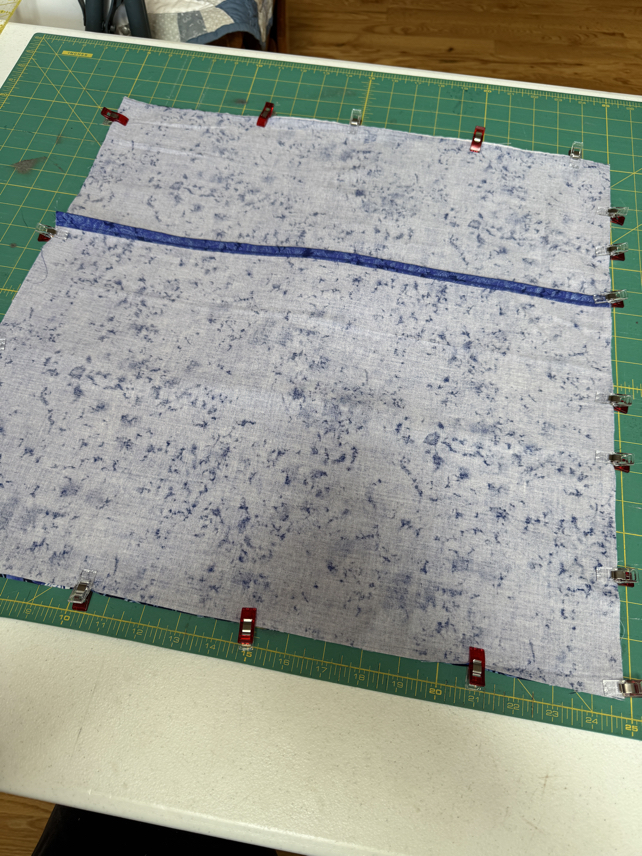
Step 4: Lay out the pillow cover
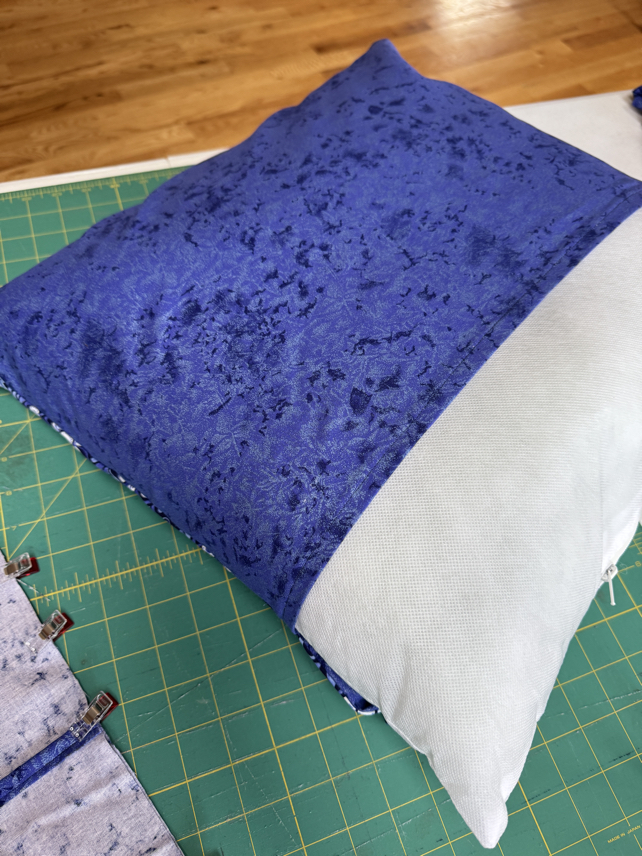
Now we are going to lay out the pillow cover. On a flat surface, take the front piece of fabric, and lay it with the right side facing up.
Next, take the first of the back flaps which you have already hemmed one side of. Place it with the hemmed seam near the center, and the raw edges lined up with the outer edge. Put it on top of the front piece with the wrong side facing up. Repeat the same steps with the second piece of back fabric.
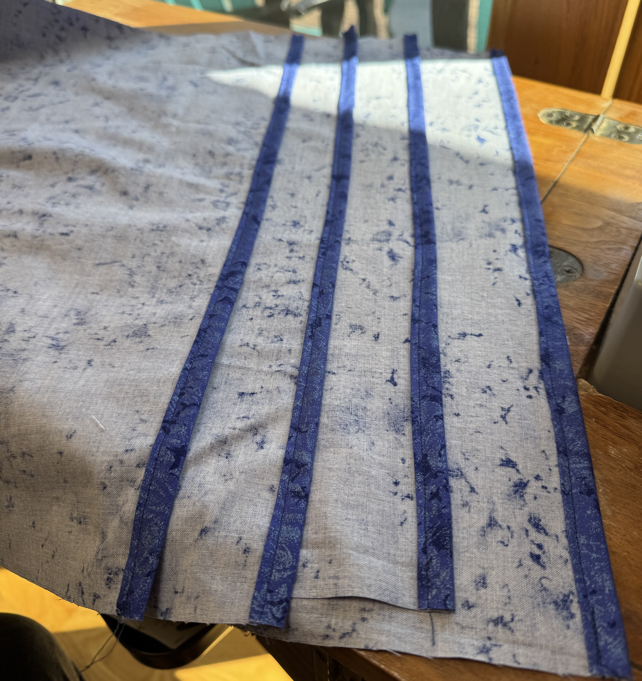
Pin the three pieces of fabric in place.
Step 5: Sew it
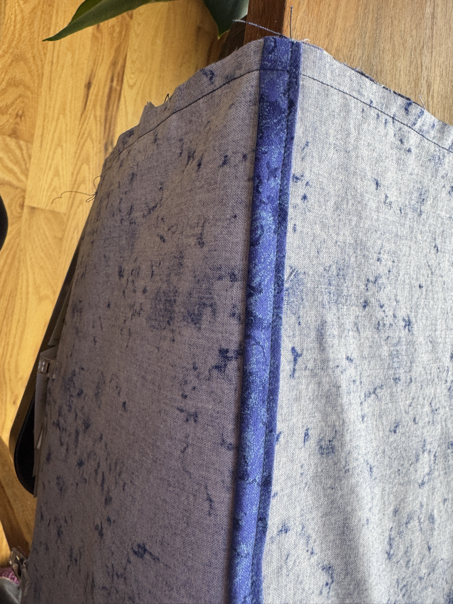
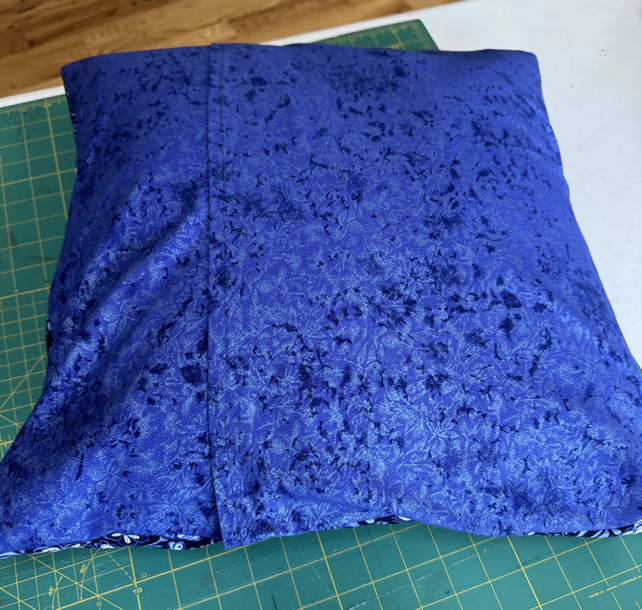
Now it’s time to take your pinned fabric and sew around all of the outer edges of fabric using a straight stitch. You can also zig zag around the edges to be sure it is nice and finished.
Iron the seam to one side and then iron both the front and the back so that the pillow cover is nice and smooth.

Step 6: Finish the envelope pillow cover
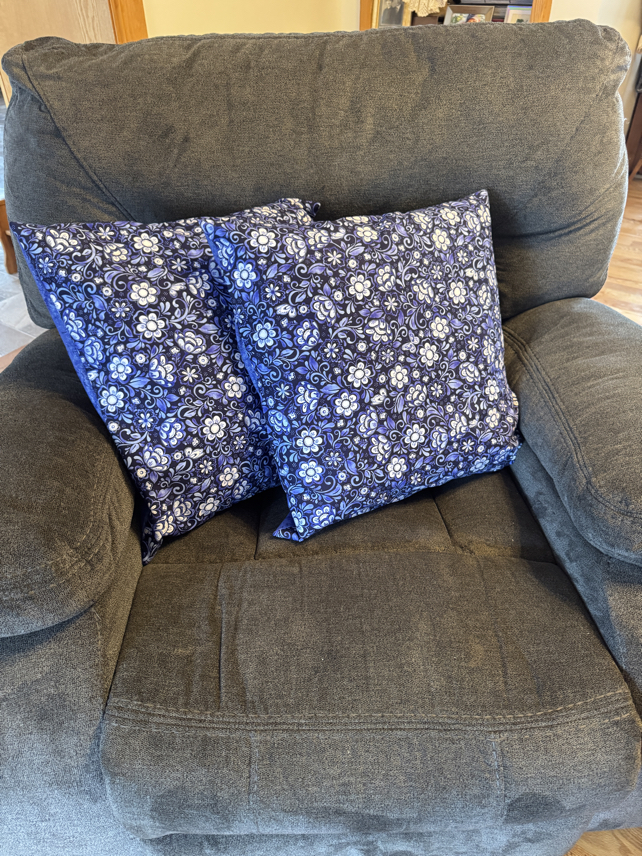
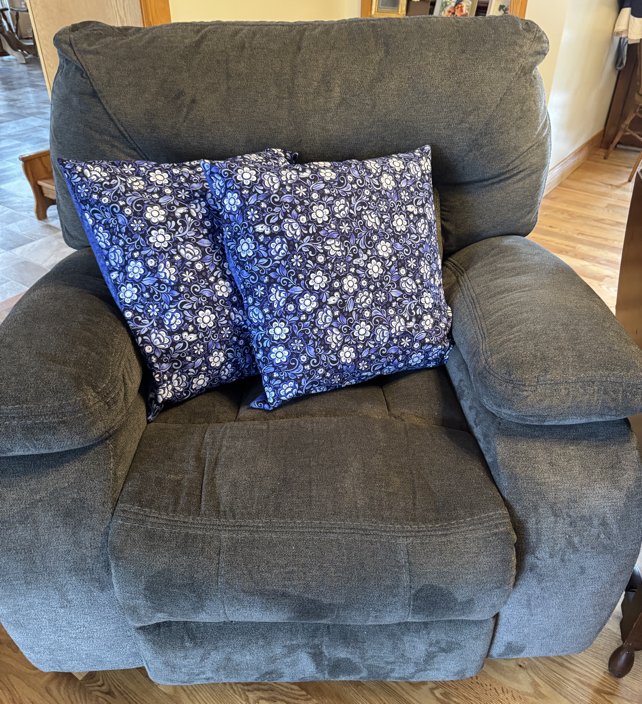
Now it is time to take the envelope pillow cover, make sure it is turned right side out, and insert your pillow into it. Do this by putting the pillow form into one side of the envelope cover, the pull the other side over top to close the back of the pillow case. Now your pillow is ready to use and enjoy!
Pattern Copyright
Please note that this pattern is intended for personal use only, and is not for commercial distribution. By copyright, unless otherwise noted, you are not authorized to copy or claim my content as your own. You are, however, more than welcome to sell your finished products made with my patterns. I always appreciate it when you link to my patterns so that others can find them too!

DIY Envelope Pillow Cover Tips and Tricks
Be careful to sew straight lines
When you are making this easy envelope pillowcase, make sure that you sew carefully, so that your seams stay nice and straight. Straight lines will make your project turn out so much better than if your lines are sewn crooked. You might also run into trouble if you don’t have straight lines, such as your back flaps not matching up like they should, or your pillow form not fitting correctly.
Choosing the correct type of fabric
The best type of fabric that you can use to make these envelope pillow covers is to choose cotton fabrics. These are the easiest to work with and you can choose from a nice print and color selection at your local craft store.
Selecting the size of your pillow
The size of the pillow case you want to make will determine how much fabric you need. In this tutorial we used an 18 inch pillow form, but you can make it a different size if you wish.
To determine how much fabric you will need you will first need to know your pillow’s size, then add a couple of inches for the front piece. For example with an 18 inch pillow form, we used a 20 inch square. Then the back you will need to allow at least 4 inches for the back pieces to overlap on each side.
Simple Envelope Pillow Cover
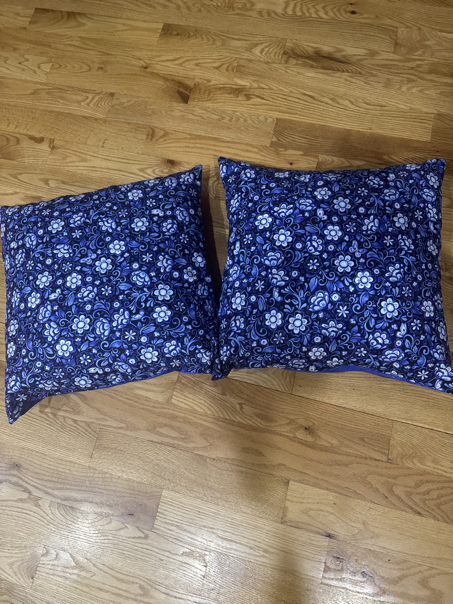
If you are looking to make your own pillow, this sewing tutorial for your own DIY pillowcase is a fun and easy one to follow to make a very cute pillowcase that fits your style. This is a great project to make if you are just learning how to sew, or if you simply want a nice relaxing project to make.
Thank you so much for stopping by to learn how to sew an envelope pillow cover. It is my hope that you will give this pillow cover tutorial a try, and that you will enjoy making these cute pillow cases. Perhaps you will have a new favorite way of creating pillow covers after you give this sewing pattern a try.
Happy Sewing!
Be sure to follow us online on your favorite social media platform!
More Sewing Ideas
PIN for Later!