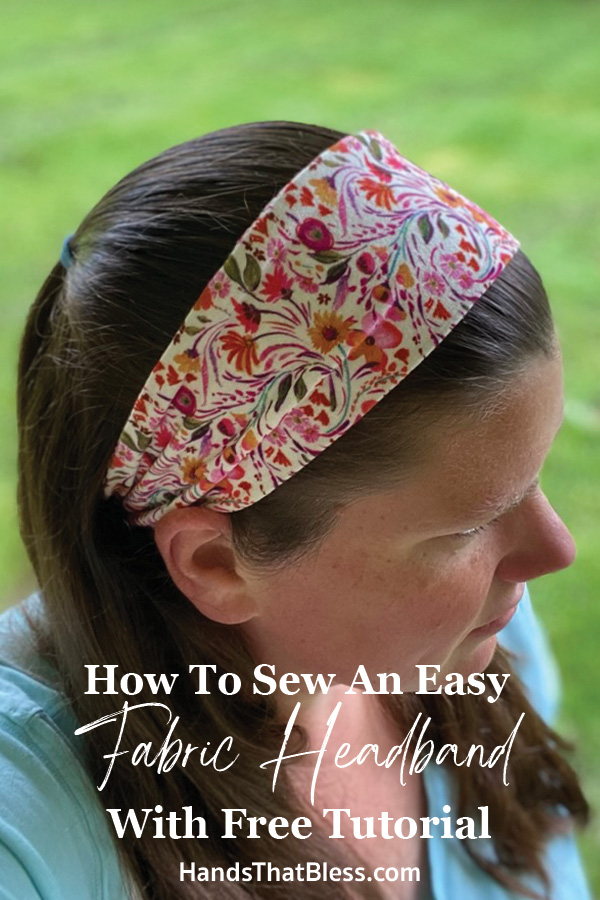
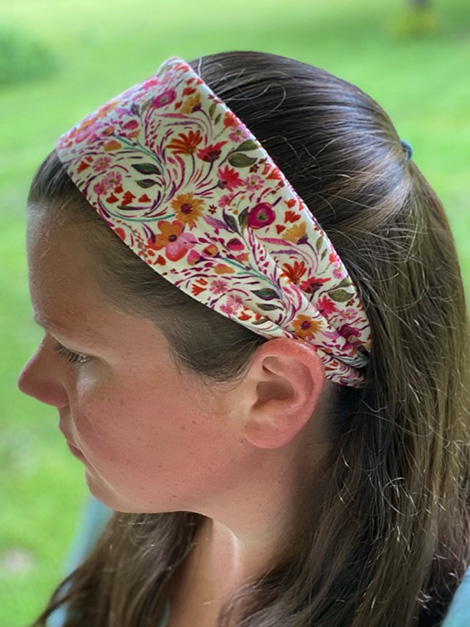
Headband Sewing Pattern
I am so excited to share this free pattern with you to make a cute headband. This headband, sewing patterned is easy to do, only requires a little bit of material, and a few minutes time to make a very nice stretchy headband.
I loved to make these headbands, because they are super cute, stylish, Easy to make, and also very practical. I am excited to share this free pattern with you, and I hope you will love it too!
How To Sew A Headband For Beginners
This free had been pattern is a great one for beginners to make if you are just learning how to sew. These DIY fabric head bands are pretty easy to make, making them a great project for beginners. Learning how to make your own headband is a fun selling project, but also this DIY headband pattern is a great item to make and sell craft shows and also are great gifts.
In this headband tutorial, you can follow some easy step-by-step instructions, as well as pictures for each step of the way to make your own headband, sewing pattern. Let’s get started by jumping rated to the free pattern!

Headband Sewing Pattern Free
Supplies You’ll Need
Materials
Jersey knit fabric pieces 7 inches by 22 inches
Thread to match your fabric
Tools
A safety pin (optional)
Cutting mat
Rotary Cutter
Ruler
Sewing Machine – one that can do both a straight stitch and zigzag stitch for the stretch stitch
Scissors
Iron and ironing board
Straight pins
A measuring tape
⅜ inch seam allowance
Choosing the Right Fabric
Choosing the right fabric will determine how your headband turns out. My favorite fabric to use is a stretchy knit fabric like jersey knit fabric. You can often find a two-way stretch, knit fabric or four-way stretch knit fabric. Either one of these will work really well for this headband sewing pattern.
Jersey knit fabric comes in many different colors, designs, and styles, so make sure to choose whatever you prefer. As long as it is a nice stretchy fabric that is durable, you will be able to make a really nice headband with this free sewing pattern out of the fabric.
Headband Sewing Pattern Step-by-Step Instructions
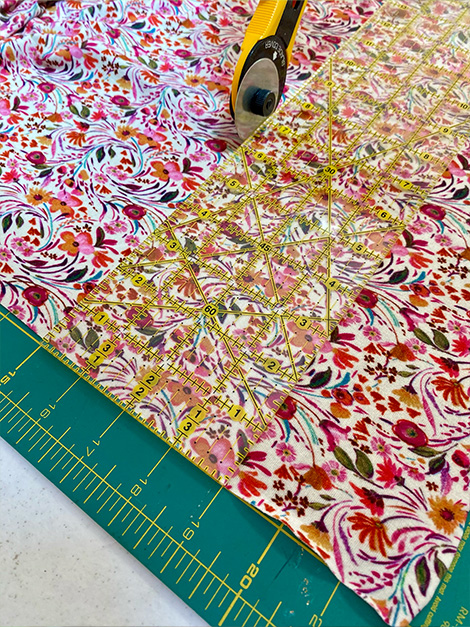
Step 1: Cut Your Fabric
Once you have your fabric selected, it’s time to cut out the piece of fabric you are going to use. The best way to do this, is to use a cutting mat and rotary cutter. For an average adult head, I like to cut my fabric so that it is 22 inches long and 7 inches wide. Feel free to adjust the size as needed to fit the circumference of your head.
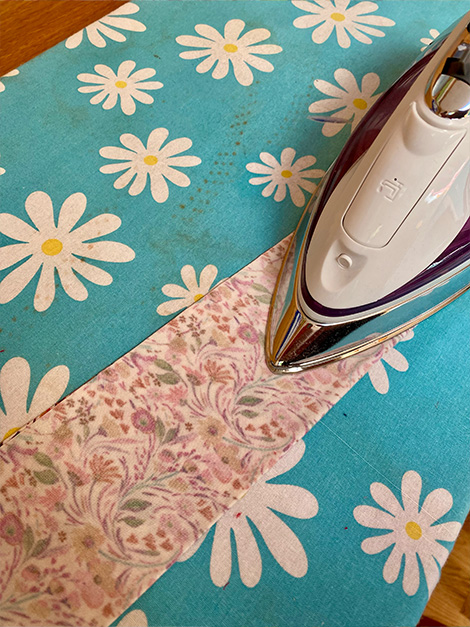
Step 2: Assemble and Pin
Now, I like to iron my fabric before sewing it, but that’s up to you. Before you sew or iron, fold the fabric in half lengthwise, so that the right sides of the fabric are together. The long edges will have one side that is seems and the other side will be a fold of fabric.
If desired, ironed, the folded fabric tube in place. No, with the fabric folded long ways, so that the wrong sides are facing out, pin the open edges in place so that the fabric stays nicely together.
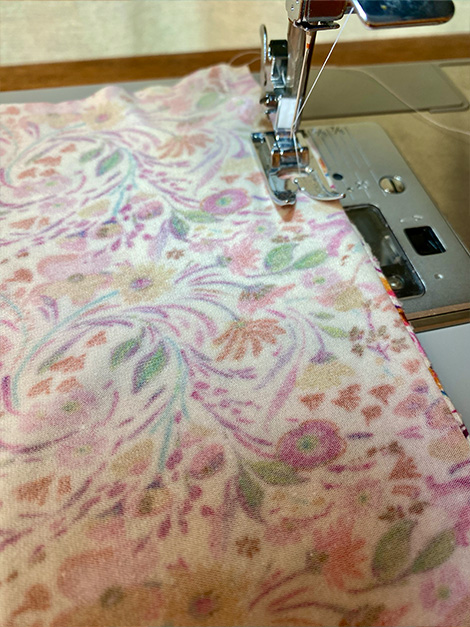
Step 3: Sew the Seams
Turn your sewing machine to use a zig-zag stitch. Using the zigzag stitch, so a theme among the long edge of your fabric.
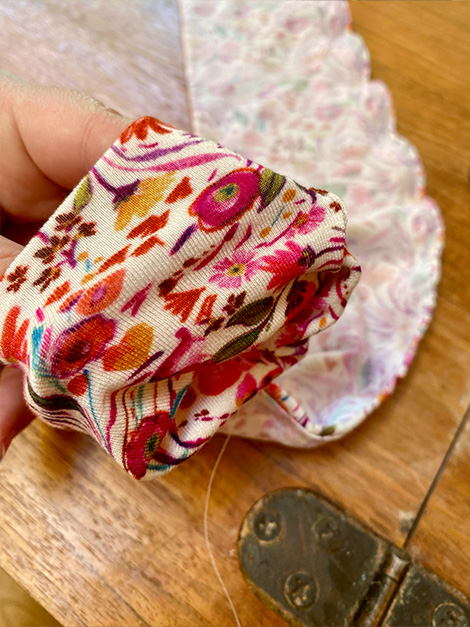


Step 4: Turning the Fabric
Now, to turn the fabric, take the short end and pull one and through to meet the other. The right signs should still be facing each other inside of the fabric tube, and the wrong sides should be facing outward.
Line of the fabric tube up so that it lays completely flat in the seams match up.
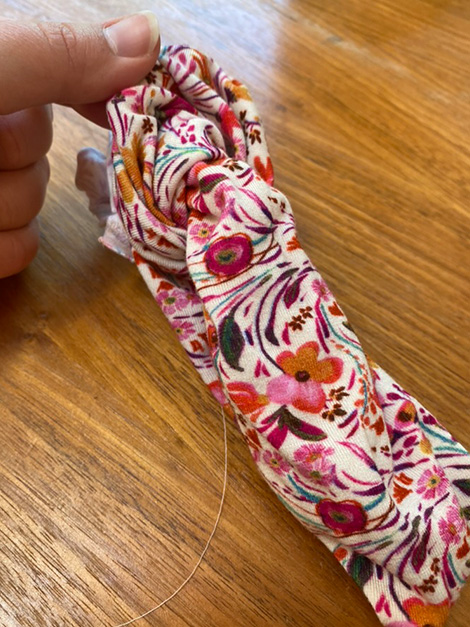

Step 5: Finish the Headband
Place the short ends that you have matched up back underneath the sewing machine and so around using a straight stitch, believe a small opening to turn your headband right side out.
After you are finished Sewing, do a reverse and forward stitch to finish off, then trim threads that you might have hanging out still. Turn the headband right side out.
At this point, You can choose to sell the remaining opening together by hand or with the sewing machine. To sew it together by hand, use a needle and thread and stitch it closed, or pinch the opening together, and so it shut with the sewing machine. Then trim any loose threads and your headband is done! Now you can enjoy wearing your cute headband, made with our free sewing pattern!
Variations & Customizations
Adding embellishments
There are many different ways you can mix it up and make this headband unique. Some fun ways to do this are by adding your own embellishment to the headband. You can easily add bows, buttons, or embroidery stitches to your headband to make it extra special.
Making different sizes
If you would like to adjust the size of the headband to fit adults, kids, toddlers, or babies, you can easily do this as well. The easiest way to do this is to measure the circumference of your head, and then decrease it by an inch or two. .
Tips and Tricks
Using different fabrics
You can use other types of fabric to make this headband so in pattern if you prefer. Using Jersey knit fabric or another type of stretchy fabric like this is going to be the easiest way to make the simple headband pattern.
Getting the right stitch length
Getting the right stitch length for your zigzag stitch is going to be key in getting your headband to lay nice and smooth. I have found that a longer zig zag stitch works well so that the zigzags are wide, but decently close together. On my sewing machine, I set it to a longer stitch link, about a two and a width of six for my zigzag stitches.
Fitting different head sizes
You can also use this same headband, sewing pattern, and adjust it to fit a different head size. The easiest way to know what size to make it your headband is to take a head circumference measurement. Then adjust the length accordingly, keeping in mind that the material stretches so you’ll want to make it approximately 1 inch shorter then is needed. Remember if you are making this headband for a smaller person like a toddler or a baby, you will also want to decrease the width of your fabric as well.
Styling Ideas
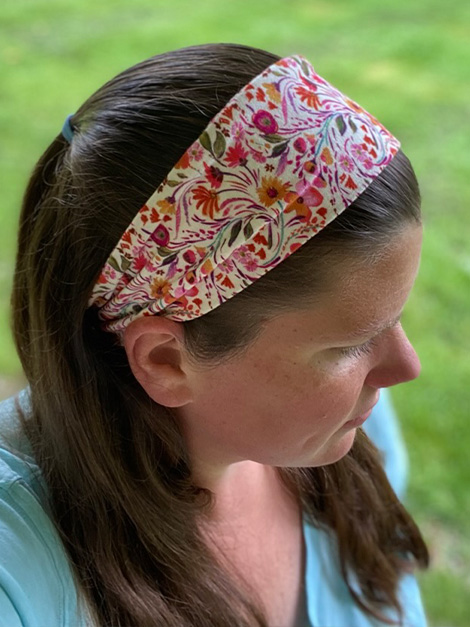
How to wear the headband
There are many different ways you can wear this headband. One is to wear it by itself with your hair down. Or, you can pull your hair back in a bun, braid, or messy bun, and use the headband as an accent.
Matching it with outfits or seasons
When you are selecting the fabric, you want to use to make the headband, keep in mind when you intend to wear it. It’s often a good idea to use generic fabric over seasonal fabric that you can easily match to your outfit.
Pattern Copyright
Please note that this pattern is intended for personal use only, and is not for commercial distribution. By copyright, unless otherwise noted, you are not authorized to copy or claim my content as your own. You are, however, more than welcome to sell your finished products made with my patterns. I always appreciate it when you link to my patterns so that others can find them too!
Headband Sewing Pattern FAQs
Can I hand sew this?
I would not recommend that this headband be sown by hand. You were going to have the best results when you use a sewing machine that does a straight stitch as well as a zig zag stitch.
Will it work for thick hair?
Yes, this had been insulin pattern will work well for the care, then hair, long hair, short hair, and curly hair.
How do I adjust the size?
In order to adjust the size, you want to know the heads circumference and measurement of the person you are trying to fit. This pattern gives you instructions on how to make a head be for your average adult. In most cases you want the length of your headband to be between 19 and 22 inches long in order to nicely fit an adult all the way around their head. If you are making this for a child, toddler, or baby then you will want to decrease the length as well as the width of the fabric.
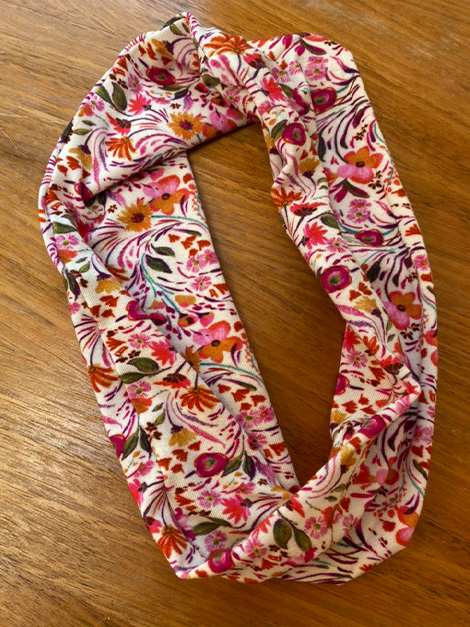
Easy Headband Sewing Pattern
This had been sewing pattern is a quick sewing project that you can make with scrap fabric, or very little fabric. New Jersey knit fabric will give you the best results for this free headband sewing pattern. This headband is so much fun to make, and you get to enjoy creating your very own simple, yet cute Headbands.
Thank you so much for stopping by to check out my free had been sewing pattern! I love to make these headbands, and I hope that you will too. Please give this free pattern a try and let me know what you think!
If you love this free, headband, sewing pattern to make your basic headband, then you may also enjoy my other headband, sewing patterns including the twist headband sewing pattern, wide headband sewing pattern, the the cute knotted headband. All of these had been sewing patterns are completely free and available for you to enjoy!
Happy sewing!
Be sure to follow us online on your favorite social media platform!
More Sewing Ideas:
Headband Sewing Pattern
Materials
- Jersey knit fabric pieces 7 inches by 22 inches
- Thread to match your fabric
- A safety pin (optional)
- Cutting mat
- Rotary Cutter
- Ruler
- Sewing Machine – one that can do both a straight stitch and zigzag stitch for the stretch stitch
- Scissors
- Iron and ironing board
- Straight pins
- A measuring tape
- ⅜ inch seam allowance
Instructions
- Step 1: Cut Your Fabric
Once you have your fabric selected, it’s time to cut out the piece of fabric you are going to use. The best way to do this, is to use a cutting mat and rotary cutter. For an average adult head, I like to cut my fabric so that it is 22 inches long and 7 inches wide. Feel free to adjust the size as needed to fit the circumference of your head. - Step 2: Assemble and Pin
Now, I like to iron my fabric before sewing it, but that’s up to you. Before you sew or iron, fold the fabric in half lengthwise, so that the right sides of the fabric are together. The long edges will have one side that is seems and the other side will be a fold of fabric.
If desired, ironed, the folded fabric tube in place. No, with the fabric folded long ways, so that the wrong sides are facing out, pin the open edges in place so that the fabric stays nicely together. - Step 3: Sew the Seams
Turn your sewing machine to use a zig-zag stitch. Using the zigzag stitch, so a theme among the long edge of your fabric. - Step 4: Turning the Fabric
Now, to turn the fabric, take the short end and pull one and through to meet the other. The right signs should still be facing each other inside of the fabric tube, and the wrong sides should be facing outward.
Line of the fabric tube up so that it lays completely flat in the seams match up. - Step 5: Finish the Headband
Place the short ends that you have matched up back underneath the sewing machine and so around using a straight stitch, believe a small opening to turn your headband right side out.
After you are finished Sewing, do a reverse and forward stitch to finish off, then trim threads that you might have hanging out still. Turn the headband right side out.
At this point, You can choose to sell the remaining opening together by hand or with the sewing machine. To sew it together by hand, use a needle and thread and stitch it closed, or pinch the opening together, and so it shut with the sewing machine. Then trim any loose threads and your headband is done! Now you can enjoy wearing your cute headband, made with our free sewing pattern!
PIN for Later!