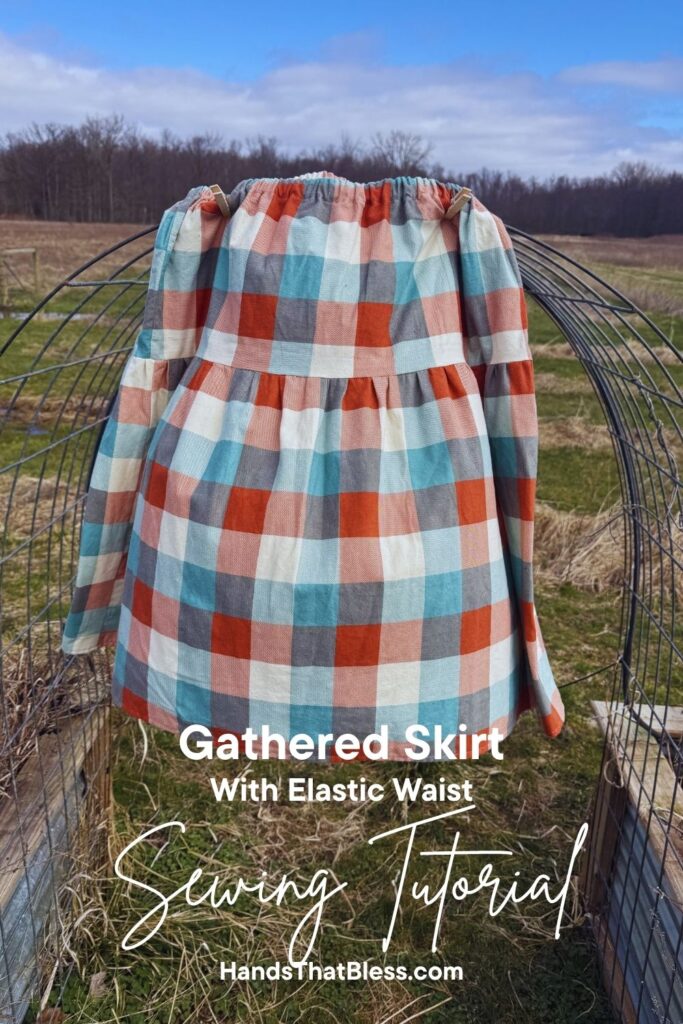
How to Make a Gathered Skirt Without a Pattern
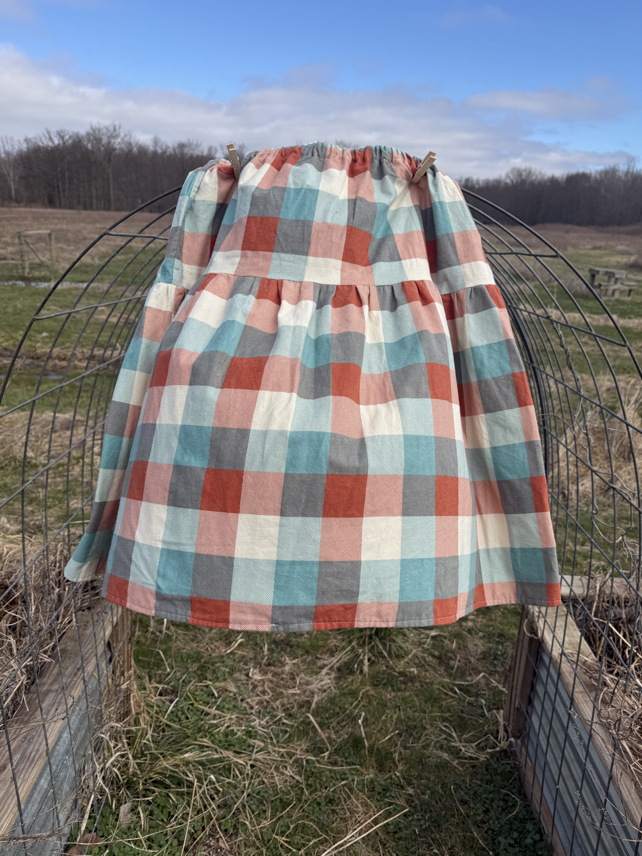
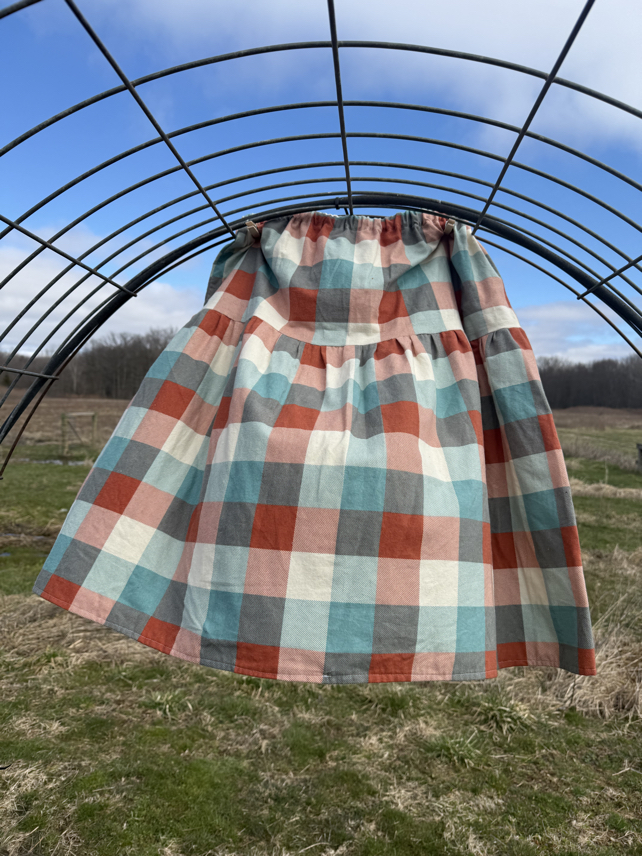
I am so very excited to share with you, one of my favorite skirts and how to make a gathered skirt without a pattern. This is one of my all-time favorites because the method is so easy, and you can customize this skirt very easily to fit any size person.
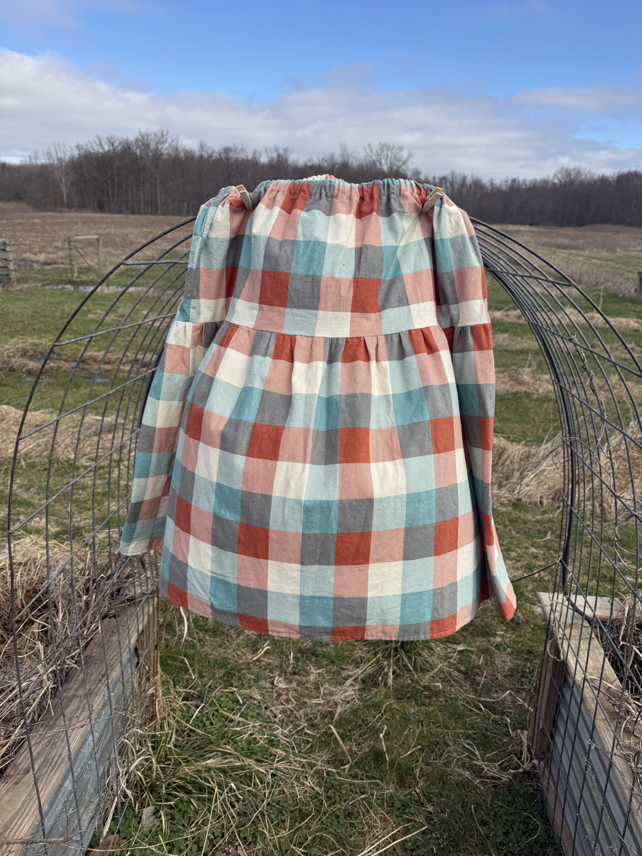
Simple Gathered Skirt
These instructions to make s simple gathered skirt are based on the individual’s measurements, rather than their size. It is made by gathering the material, to make a super cute skirt. Plus, this skirt pattern has an elastic waistband, so you don’t have to worry about how to add a zipper.
Making this simple skirt is one of my all-time favorites, because it is a type of skirt that looks cute on almost any body type, and you can decide the fullness of the skirt for yourself. Although there is no specific pattern to make this skirt, I am very excited to walk you through the step-by-step instructions for how you can easily make this skirt using my free pattern tutorial.
Materials Needed:
Fabric. There are so many fabric choices to pick from. When making this pattern, you can use your favorite type of fabric, although my favorite is to use either flannel or knit. How much fabric you need will be determined by the size you want to make the skirt. Typically, between 1 ½ yards to 2 ½ yards will often do the trick.
Straight Pins. Straight pins are needed to help hold the fabric in place as you work to assemble the skirt.
Safety Pin. It will be handy to have a safety pin on hand to fish the elastic through the skirt before finishing it out.
Thread. Make sure that you have your favorite kind of thread on hand. For sewing the skirt together. If you have a color that will match your skirt this is ideal, otherwise you can use plain white thread.
Scissors. It’s always a good idea to have a pair of scissors around when you are sewing!
Tape Measure. You will need a measuring tape to be able to get the waist and hip measurements that this pattern is based on. Ideally, a sewing tape measure will work best because it is flexible and will get the most accurate measurements.
A Sewing Machine. Although you could sew this skirt by hand if you had to, it is going to turn out the best if you are able to use a sewing machine. This skirt only requires the basic straight stitch and a zig-zag stitch.
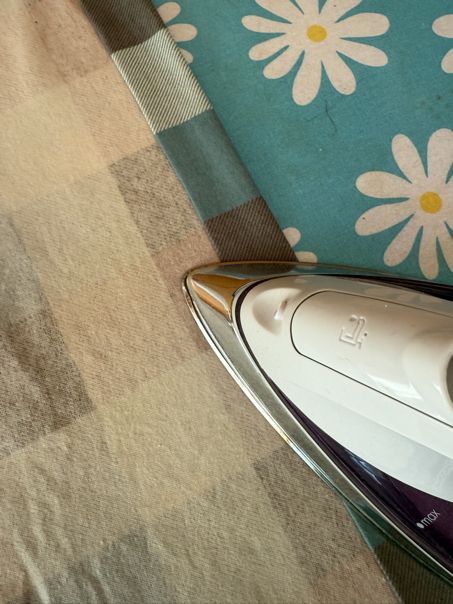
Iron. Using an iron to form the seams and hems will make your job much easier.
Sewing Needle. To finish out the skirt, you will want to have a needle on hand so that you can hand sew a small section.
Making a Gathered Skirt with an Elastic Waist
Step 1: Take Measurements
Using a measuring tape, you will want to take the measurements of the person you are making this skirt for. The two measurements you will need, are the waist measurement and hip measurement.
Waist Measurement
To take the waist measurement you will want to find the bottom of your rib cage and the top of your hips. Then measure midway between these two points for your waist measurement. Typically, this is going to be slightly above your belly button.
When making a skirt, you will want to measure your waist, at the point where you plan to wear your skirt.
Hip Measurement
When you take your hip measurements you will want to be sure that you are taking them at the widest location. This measurement will typically incorporate your butt and your hips so that there is plenty of room for the skirt to fit you nicely.
Length Measurement
The length measurement will take into account your desired length of the skirt. Keep in mind you will need to add some extra skirt length for your finished skirt to end up being this long. For now, this will serve as your guide, we will get into how to account for seams and hems later on.
Seam Allowance
Now that you have the measurements needed to make the skirt, there is one more important step you will need to take before you begin to cut out your fabric. That is to account for your seam allowances. In order to have enough fabric so that the skirt fits the person it is intended for you will need to add 1 inch for the seam allowances.
This might sound like a lot to some experienced sewers. If you prefer, feel free to back this amount down to ½ inch. I simply like to make sure I leave plenty of fabric for my seams, and I usually make my seams wide, especially when I am working with flannel.
Hem Allowance. For the bottom hem, I also prefer to add 1 inch of extra fabric to create a nice hem at the bottom of the skirt.
Waist Band Allowance. How much you need to add to allow for your waistband will depend on how wide your elastic is. You will want to add at least 2 ½ to 3 times the width of your elastic.
For example, my elastic is 1 inch wide, which means I will need 2 inches of fabric to cover both sides of the elastic, plus another ½ to 1 inch to make the seam.
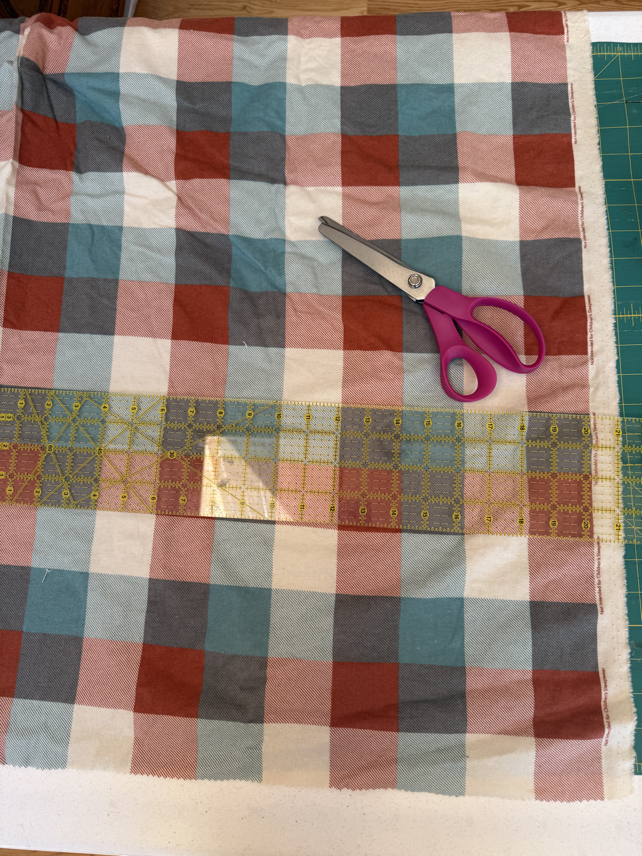
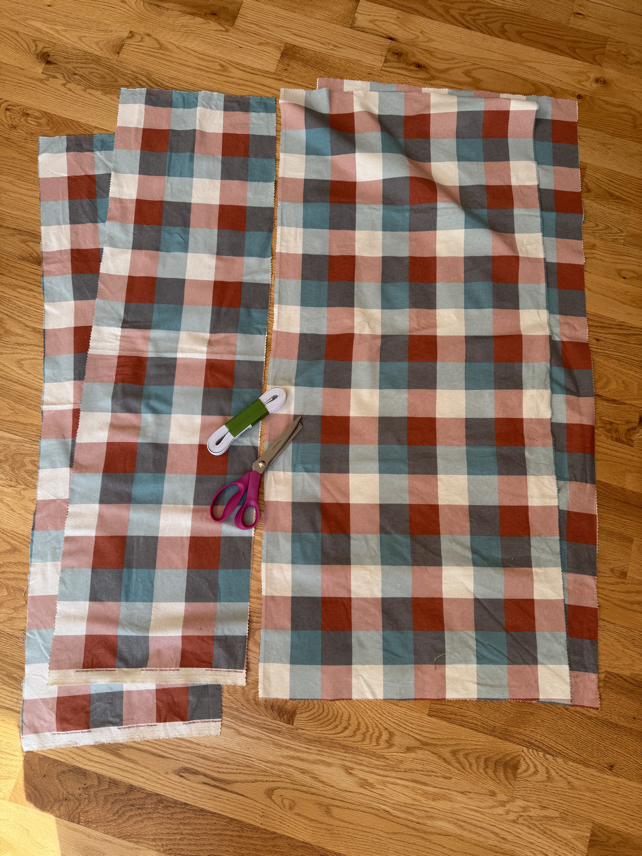
Step 2: Cutting Out The Fabric Pieces
The pieces of this skirt are cut out in two rectangles. The first is the waist piece, this one needs to be large enough to pull over your hips and butt. The second piece will be where most of your length and gathering is located.
Cutting the Top Tier
The top-tier piece will be cut into a rectangular shape. Cut the piece of fabric to your hip measurement + 1 inch for the seam allowance.
This top tier of your skirt should be as long as you wish, plus add on 2 ½ to 3 inches approximately for your elastic waistband at the top. Keep in mind, that the bottom seam of the top tier is where the bottom gathered layer will join your skirt. I like to make mine about 12 inches in length.
Cutting the Bottom Tier
The bottom tier is where most of your length and gathering will be located. This piece of fabric will also be cut into a rectangular shape. If you are like me, and enjoy a lot of gathering space, I cut my rectangles so that there are two pieces, each cut 44 inches wide. This means that there is a lot of fabric to gather up.
Then I like to cut my two rectangles so that they are approximately 15 inches long. These measurements include enough space to gather the material and sew the seam and bottom hem.
You will want to adjust the length and width so that it fits your specific body type, and also keep in mind that you will want extra fabric for the gathers.
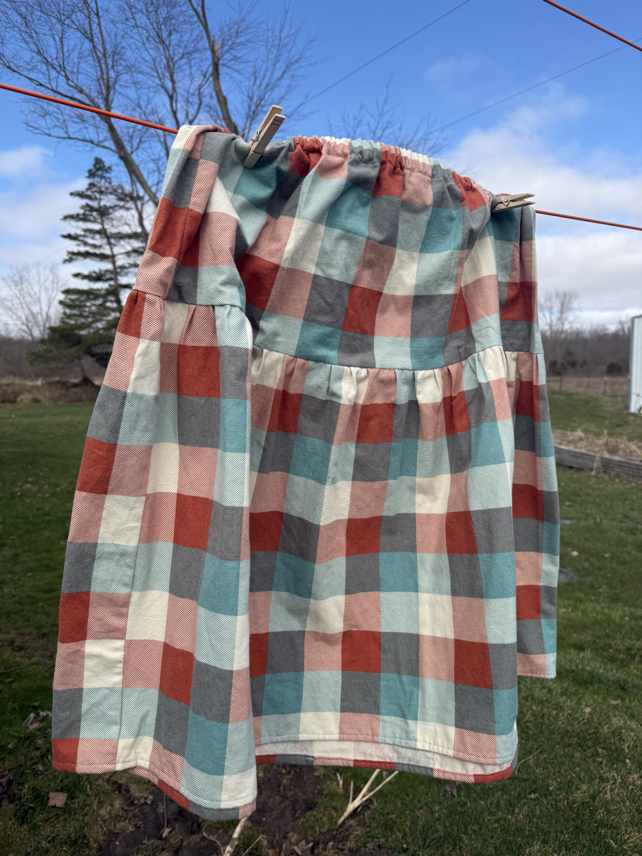
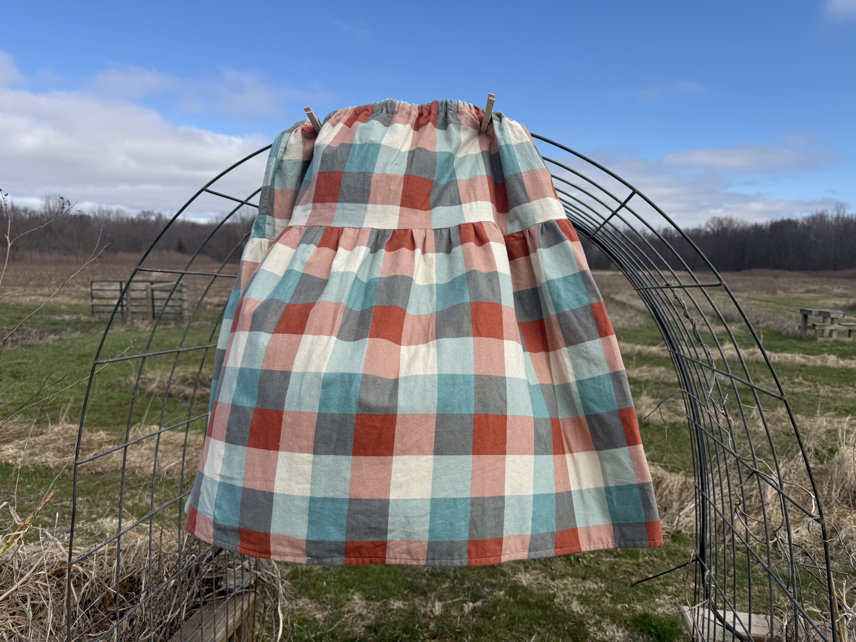
Note: for me, these measurements made a plaid flannel skirt that ended up being approximately 24 inches long. Make sure to adjust these measurements so that it fits your specific body size.
Pattern Pieces
Once you have your desired measurements, you can begin cutting out the three pattern pieces. Feel free to piece fabric in as needed, if you need more fabric to go around.
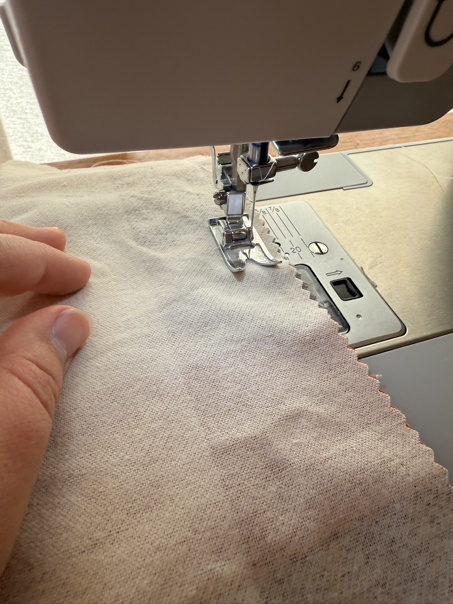
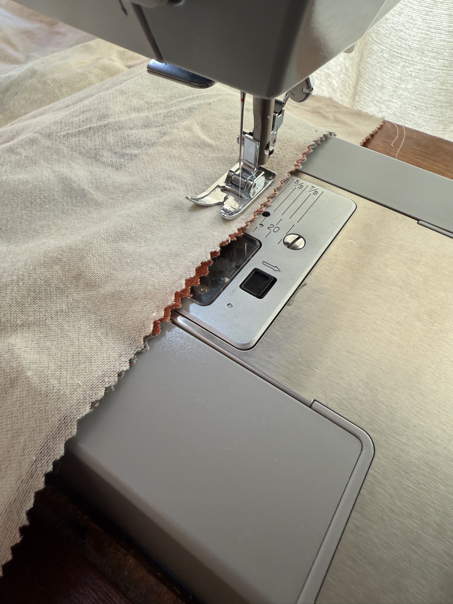
After you have your top-tier and bottom-tier rectangles cut out of your fabric, take your sewing machine and make a zig zag stitch around all of the edges. This will help to keep your fabric from fraying.
Step 3: Sewing the Tiers
Piece together any extra fabric needed to create enough width, or cut two pieces of the same size and sew them together. Make sure you are adding 1 inch for each seam needed.
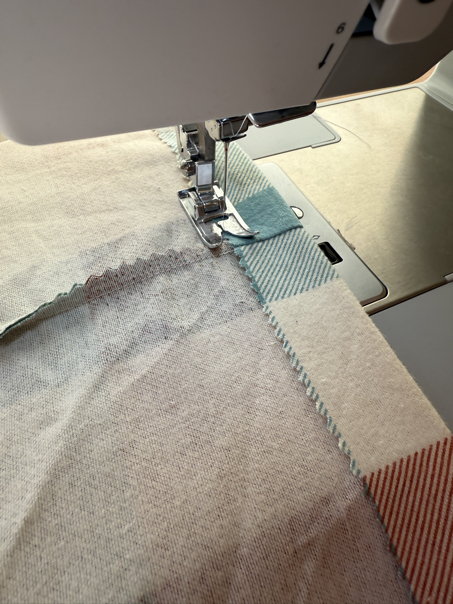
Sew your fabric rectangles together and form one large circle for both the top and bottom tiers of your skirt.
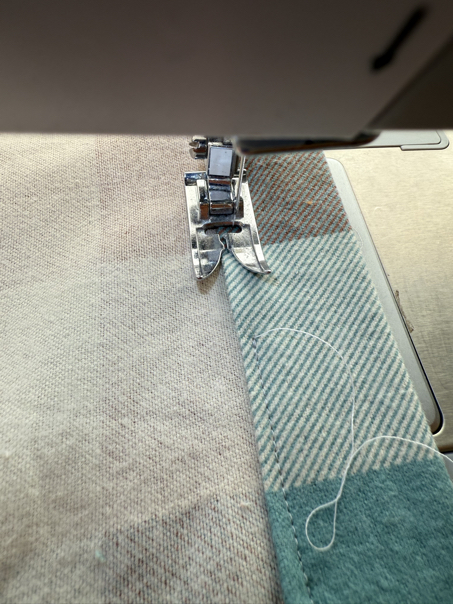
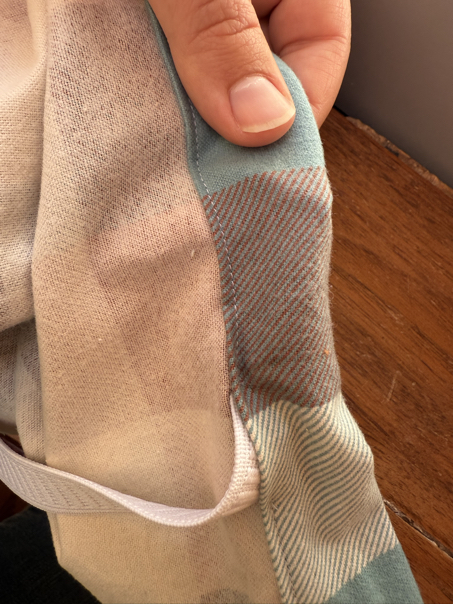
When both tiers individually are sewn together, by sewing the side seams, you can iron and sew the bottom hem. My preference is to fold it under twice so that there are no raw edges showing at the bottom of the skirt.
Then go ahead and sew the bottom hem of the skirt, as it will be much easier to do this now, before gathering it.
Step 4: Adding the Waist Band
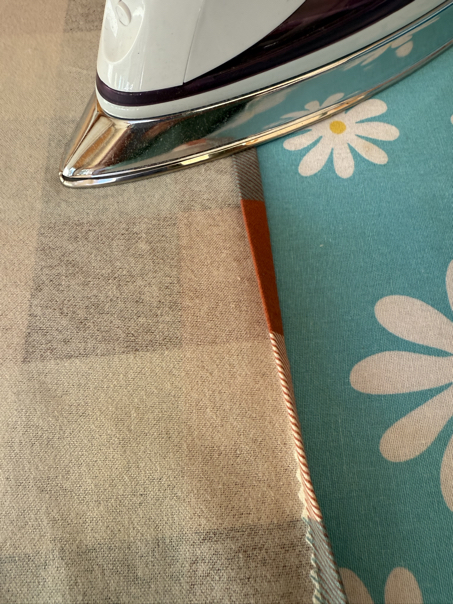
Next, you will want to determine the width of your waistband. At the waistline, fold the raw edges under to form a hemline, then fold the seam over once more to create a pocket for the elastic to go through later.
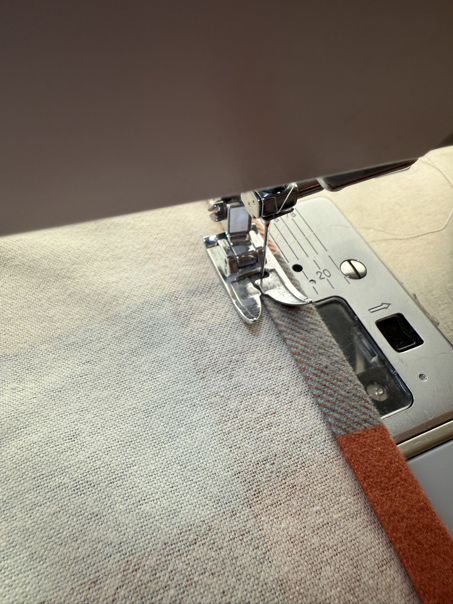
I think that the easiest way is to first iron the hemline under, then fold enough fabric over to create a wide waistband for the elastic to fit through. You will then want to fold the top tier inside out and sew a straight line along the top edge of the hemline you ironed first.
Tip: Leave a space in the waistband that is not sewn so that you can add the elastic.
At this point, you have created a pocket in the waistband for your elastic to fit through, and the bottom tier of the skirt has been hemmed. Now it’s time to finish assembling the skirt body.
Step 5: Assembling the Skirt Body
You now have a small rectangle with the waistband assembled, and a big rectangle with the bottom edge hemmed. You can now attach these two pieces to finish assembling the skirt.
To do this, take the waistband piece, so that the right sides face outwards, and the raw edge is at the top.
Then take the bottom tier, and turn it so that the wrong sides face outwards. Hold it so that the raw edges of that piece are also on the top.
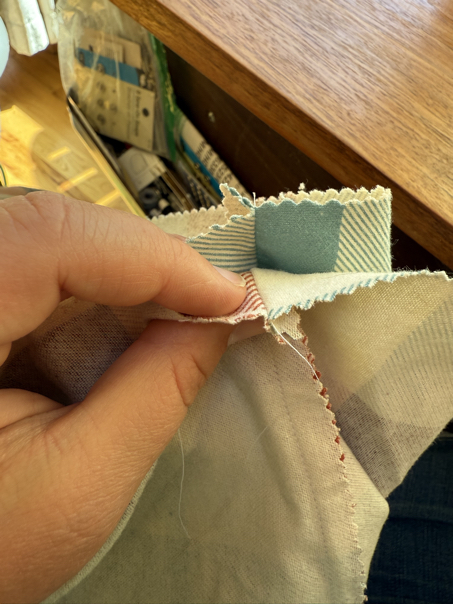
Next, insert the top tier into the bottom tier, so that the right sides of the material are facing each other.
You will notice that the top tier is much smaller around than the bottom tier. Now it’s time to gather it together.
Gathering the Bottom Tier
There are a few different methods you might like to use to gather the bottom part of this skirt. The first one is to use a special kind of food and stitch on your sewing machine. Another easy method is to sew some very wide loose stitches around the bottom tier of the skirt, then gather it as desired.
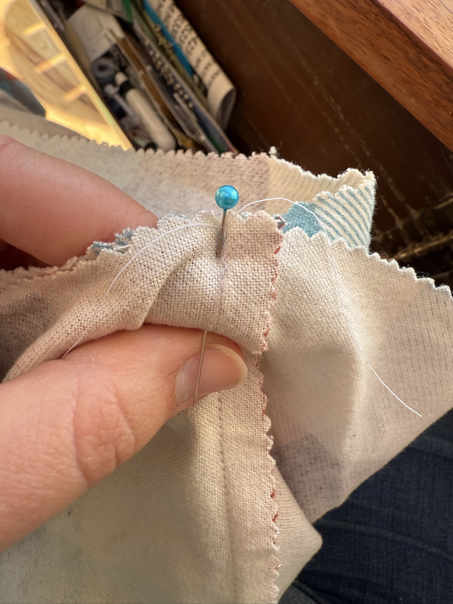
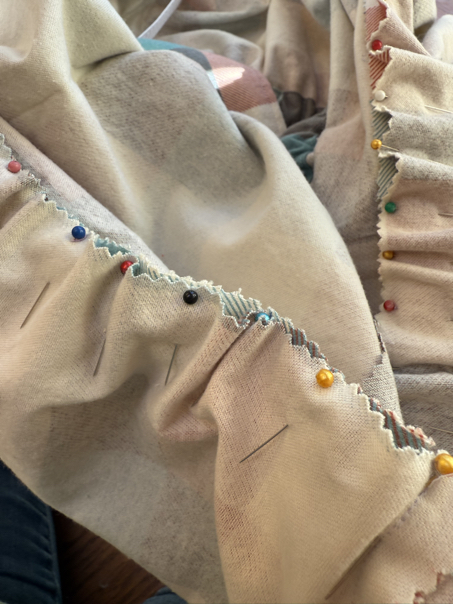
My favorite way to gather this skirt, which is less conventional is to use straight pins. To do this, you will divide both the bottom and top portions, as you are holding them right sides together, and pin them together with straight pins.
Then divide each section in half and pin it in place with your straight pins, until you have a pin approximately every 1-2 inches around the entire skirt.
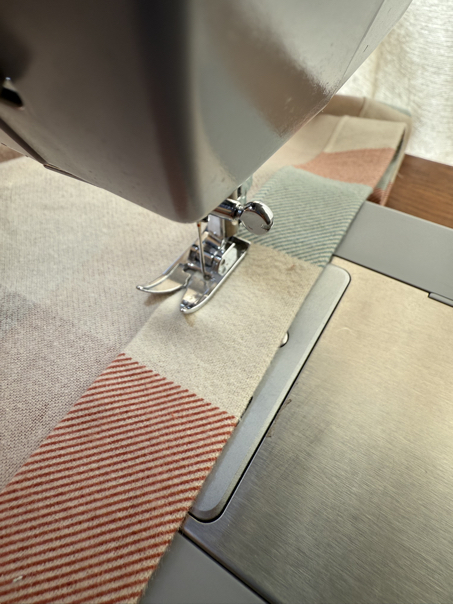
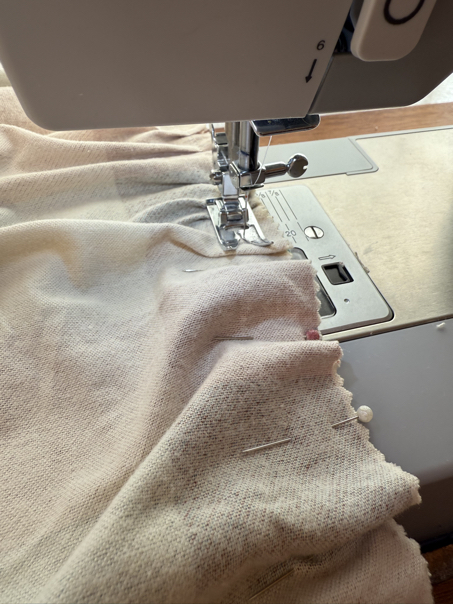
At this point, I begin to sew my seam, working very slowly and removing the pins as I go.
Step 6: Adding Elastic to the Waistband
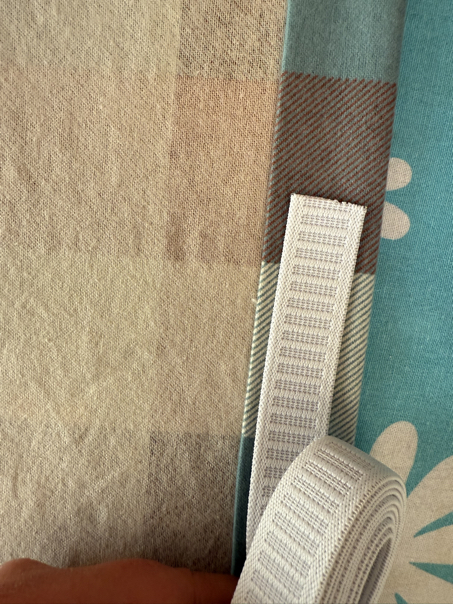
All that is left is to add your elastic to the skirt waistband. To do this, you will want to cut a piece of elastic that is smaller in size than your waist measurements.
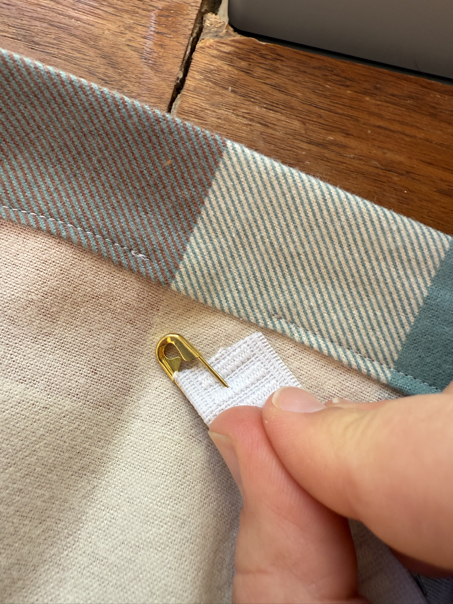
Then take a safety pin and attach it to one of the elastic ends. Push the safety-pinned end of the elastic through the entire waistband space until you get back to the opening.
Pull both of the elastic ends from the skirt waistband and sew them together so that they will hold.
Let them go back into the skirt waistband, and then hand stitch the opening to close the waistband and finish out the skirt.
Your skirt is now finished!
Gathered Skirt Sewing Tips
Ironing. When you are finished making the skirt, I would strongly recommend giving it a good iron, especially around the gathers, so that it has a nice, finished look and lays nicely in place.
Zigzag Stitch. Adding a zig-zag stitch around all of the raw edges before you begin assembling the skirt is always a wise idea, especially if you are working with flannel or cotton fabric. This will help prevent the fabric from fraying and ending up with a hold in your skirt later on.
How to make a Fuller Skirt. If you like an extra fluffy skirt, then you can always add extra fabric to the circumference of the lower tier. This will make more gathers, and ultimately a fuller skirt.
Sewing in Straight Lines. This is a very easy pattern that only requires you to sew a few straight lines. It is important to take your time and make those lines nice and neat.
Using Different Fabrics. You can use your desired type of fabric to make this skirt pattern. My preferred are flannel, cotton, or jersey knit fabrics, but feel free to use your favorite type of fabric.
Directional Print. A word of caution, if you are using fabric that has directional print, it may require that you use more of it so that you make sure it is all facing the right direction before you assemble the skirt!
Approximate Size Chart
This is an estimated size chart, to help you out. However, it is not required that you follow this, as your measurements might not fit in a specific category.
Size Waist Hip Length
XS 23 32 ½ 20
S 24 33 ½ 22
M 25 34 ½ 24
L 26 ½ 36 26
XL 28 38 27
2XL 30 40 28
3XL 32 42 29
Making a Gathered Skirt
Now that you know the basic steps for how to make a gathered skirt without a pattern, it’s time to get started on your own project! I hope that these step-by-step instructions have been helpful to you! Have a fun time sewing your own gathered waist skirt!
Be sure to follow us online on your favorite social media platform!
More Sewing Ideas:
PIN for Later!