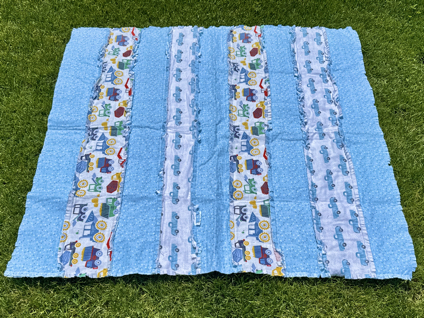
Easy Self Binding Baby Blanket
This easy self-binding baby blanket sewing pattern is the perfect sewing project for you to make any new baby. This is such a great way to make a baby blanket, because it is quick and easy, and you get to enjoy a very nice looking baby blanket when you are finished.

In this baby blanket tutorial, we will walk through the easy step by step instructions to make this self binding baby blanket. There’s nothing quite as sweet and thoughtful as handmade blankets for the new baby, and this easy self binding baby blanket allows you to make a nice baby blanket in a few simple steps.
Easy Baby Blanket with Self Binding
In this tutorial, you get to learn how to make a simple diy self-binding baby blanket. This is the type of baby blanket that has a nice boarder, or binding to it, without you having to work too hard to accomplish the lovely finished look.
For this self-binding blanket, you only need a couple pieces of fabric, then create a folded edge to create the binding look. Another great thing about this easy pattern is that you don’t need to make a lot of fancy stitches. All you need is the basic straight stitch, and possibly the zigzag stitch if desired in order to finish off your self binding baby blanket.
These self binding baby blankets are a great baby gift. After all, all babies need a nice blanket to enjoy. This is also the perfect gift because you don’t have to have a lot of sewing knowledge in order to make this thoughtful handmade gift. It is a quick project that you can easily make in a short amount of time, then give to the new mama for her baby to enjoy.
Let’s jump right into the sewing pattern, so that you can get started making your own self binding baby blankets!

Self Binding Baby Blanket Step by Step Tutorial:
Finished Blanket Size: 35″ X 35″
⅝ inch seam allowance recommended
Materials Needed:
For this sewing pattern, you are going to need two pieces of fabric, one for the front and the other for the back. The larger piece will be for the back and binding, the smaller for the front piece.
40 x 40” backing fabric
30 x 30” front fabric
Other Supplies:
A sewing machine
Lots of pins
A rotary cutter
A square ruler with 45 degree lines
A long ruler for cutting
A cutting mat
A needle and thread

How to Sew a Self Binding Baby Blanket
Step 1: Cut Your Fabric
Start by cutting out the pieces of fabric so that they are the correct size. Here are the dimensions of the fabric pieces you will need to cut out.
Fabric Pieces to Cut
- 40 x 40” back piece
- 30 x 30” front fabric


Step 2: Prepare your back/binding piece for sewing
When your fabric pieces are cut out, you will want to lay the back fabric piece on a flat surface. Make sure that it is nice and smooth, with the right side facing up.
Use your square with the 45 degree angle lines. Line up the edge of your back fabric with the angle line. Make sure that your square is 5 inches in, and then use your rotary cutter to cut a straight line across your corner. Repeat this step with each of the four corners.


Step 3: Pin and sew the corners
Now you can easily sew your mitered corners. To do this, fold just the corners of the fabric, so that the right sides are together across the straight edge you just cut. Then sew a straight line across the folded cut fabric. Do the same with the next side, and each of the corners.
Step 4: Continue pinning around the border
Next you can lay the backing flat, so that the fabric is right side up. To get rid of the raw edges, you will now want to take the front piece and pin it all the way around the edge to the back piece.
Step 5: Tuck and sew (the fun part!)
With the wrong side facing out, you can sew around the entire edge of the two pieces, leaving a four inch space without stitches, so that you can turn the blanket right side out.
When you are done sewing around the edge, turn the project right side out through the opening you left. Lay it out so that the front side is set in the center.
Hand sew the opening closed with your needle and thread.
Depending what type of fabric you are using, now is often a great time to iron the two sides in place so that you have a prominent fold line.


Step 6: Adding the Top Stitch
Now, when your front and back blanket pieces are lying where you want them to be, you can add the top stitch. To do this, you are going to place the fabric right sides out, under your sewing machine. Sew around the edge, at the edge of where the two pieces of fabric meet. This creates a definite binding to give your blanket a lovely finish.
Now your self binding baby blanket is completed and ready to enjoy or give away as a gift!
Tips and Tricks for Self Binding Baby Blanket
Best Fabrics to Use for Baby Blankets
There are many different types of cute baby fabrics to choose from, so what will work the best for this self binding baby blanket? Think along the lines of some nice cuddle fabric. Some good options for this include, flannel, fleece, or minky fabric. If you are looking for a nice, snuggly blanket, I would not recommend using cotton fabric for this type of blanket.
How to Measure Your Fabric
This blanket pattern is designed to have five inch borders, so that the finished size is approximately thirty five inches on each side. To measure your fabric for this project, you want the center fabric piece to be ten inches smaller than the backing fabric in every way. That way when the backing is folded in half, you have a nice, five inch border remaining.

FAQs
How Much Fabric is Needed for a Self Binding Baby Blanket?
The exact amount of fabric you need for the self binding baby blanket may vary depending on the width of your fabric bold. Keeping in mind that you will need a piece of fabric to measure 40 x 40” and 30 x 30”, you can usually purchase fabric for the backing that is 1 ¼ yards, and for the front, ⅞ yards.
What are some tips for washing and caring for a self-binding baby blanket?
With this type of baby blanket, it is usually the best idea to wash the baby blanket in cold water, on the most gentle cycle possible. Then hang it to dry.
Can I make this baby blanket in different sizes?
Yes, you can absolutely make this baby blanket in different sizes if desired. The finished size of this blanket typically turns out 35 x 35 inches. However, if you prefer a smaller size, or larger size you can use different sized fabric. Just remember that to make these square blankets, you will need square fabric. Then to get the 5 inch border, you will need the backing to be a total of 10 inches larger in every direction than the centerpiece.
Should I use adhesive spray?
When you are making a small baby blanket, you don’t have to use adhesive spray if you don’t want to. However, if you make a blanket that is larger than this baby size, you might want to consider using the adhesive spray so that the fabric is glued together and has a nicer finish.
Easy Self-Binding Baby Blanket
Making a self binding baby blanket is so much fun, even if it is your first time making one of these. You can make them using a variety of fabrics, including the super soft minky blankets. New babies and toddlers alike will enjoy using these cuddly baby blankets. Plus, you can make them in a short amount of time, and there is a low cost to making them, since you only need two smaller sized pieces of fabric.
Thank you so much for stopping in to check out my easy self binding baby blanket sewing pattern. I hope that you will give this free pattern a try, and I truly hope you enjoy making your very own blanket using this pattern.
Happy Sewing!
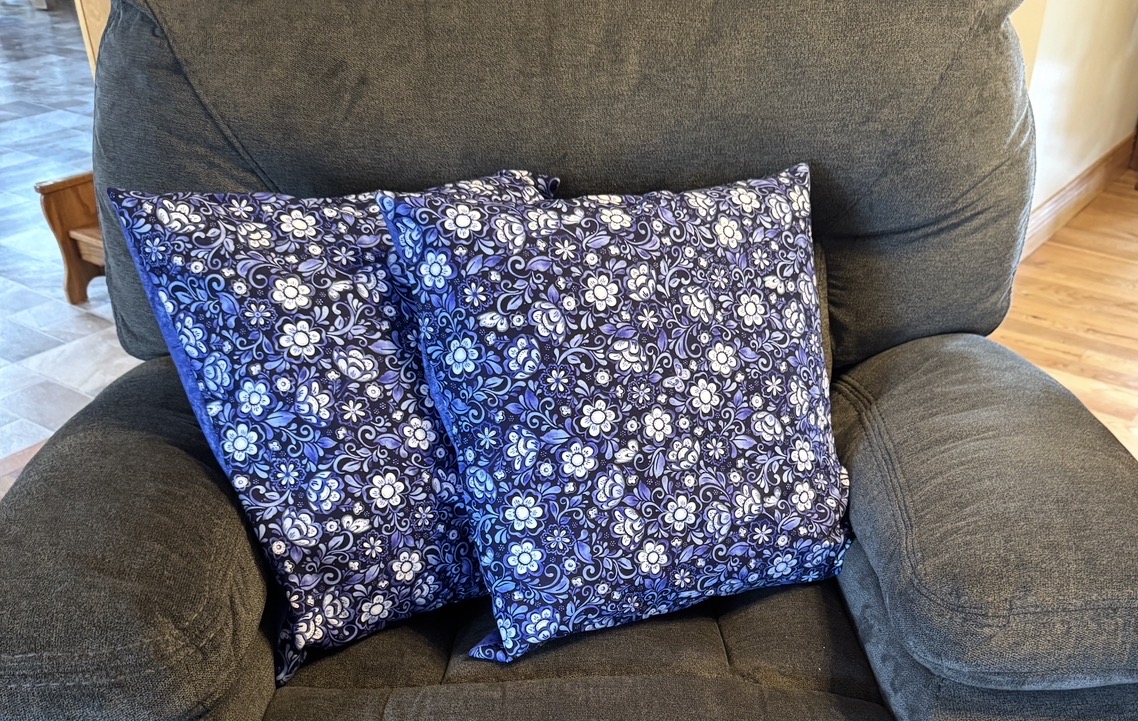
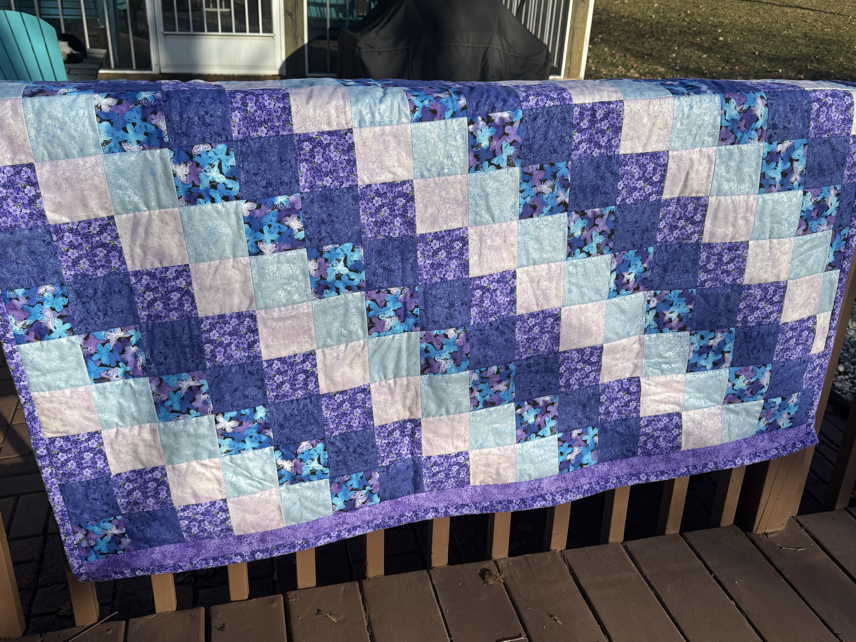
More Sewing Patterns You Will Love:
Find Us Online!
Be sure to follow us online on your favorite social media platform!

Easy Self Binding Baby Blanket
Materials
- 40 x 40” backing fabric
- 30 x 30” front fabric
- Other Supplies:
- A sewing machine
- Lots of pins
- A rotary cutter
- A square ruler with 45 degree lines
- A long ruler for cutting
- A cutting mat
- A needle and thread
Instructions
- Step 1: Cut Your Fabric
Start by cutting out the pieces of fabric so that they are the correct size. Here are the dimensions of the fabric pieces you will need to cut out.
Fabric Pieces to Cut
40 x 40” back piece
30 x 30” front fabric - Step 2: Prepare your back/binding piece for sewing
When your fabric pieces are cut out, you will want to lay the back fabric piece on a flat surface. Make sure that it is nice and smooth, with the right side facing up.
Use your square with the 45 degree angle lines. Line up the edge of your back fabric with the angle line. Make sure that your square is 5 inches in, and then use your rotary cutter to cut a straight line across your corner. Repeat this step with each of the four corners. - Step 3: Pin and sew the corners
Now you can easily sew your mitered corners. To do this, fold just the corners of the fabric, so that the right sides are together across the straight edge you just cut. Then sew a straight line across the folded cut fabric. Do the same with the next side, and each of the corners. - Step 4: Continue pinning around the border
Next you can lay the backing flat, so that the fabric is right side up. To get rid of the raw edges, you will now want to take the front piece and pin it all the way around the edge to the back piece. - Step 5: Tuck and sew (the fun part!)
With the wrong side facing out, you can sew around the entire edge of the two pieces, leaving a four inch space without stitches, so that you can turn the blanket right side out.
When you are done sewing around the edge, turn the project right side out through the opening you left. Lay it out so that the front side is set in the center.
Hand sew the opening closed with your needle and thread.
Depending what type of fabric you are using, now is often a great time to iron the two sides in place so that you have a prominent fold line. - Step 6: Adding the Top Stitch
Now, when your front and back blanket pieces are lying where you want them to be, you can add the top stitch. To do this, you are going to place the fabric right sides out, under your sewing machine. Sew around the edge, at the edge of where the two pieces of fabric meet. This creates a definite binding to give your blanket a lovely finish.
Now your self binding baby blanket is completed and ready to enjoy or give away as a gift!
PIN it for Later!

