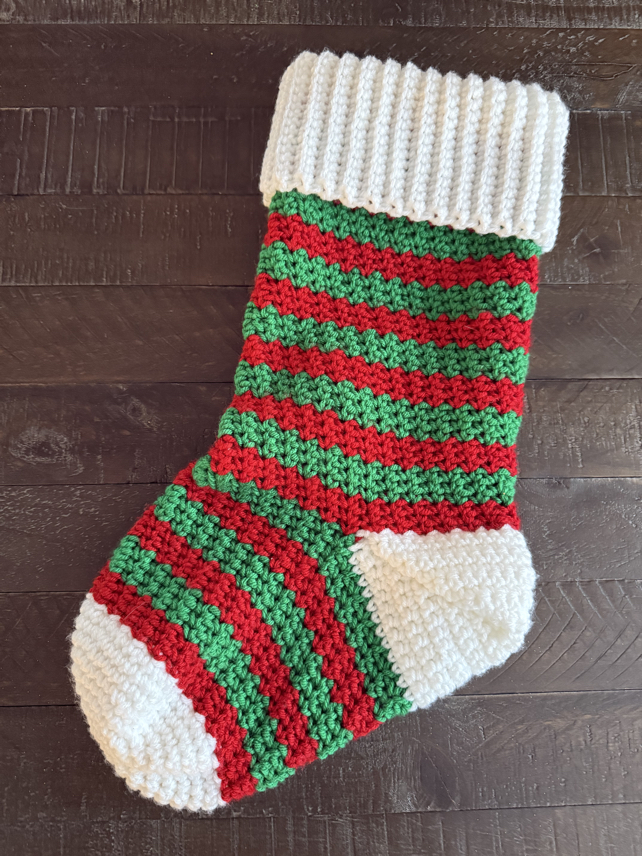
Crochet Stocking Pattern Free
I am so excited to share this free pattern with you to make your own vintage Christmas stocking! I am a lover of all things Christmas, and these Christmas stockings are no exception. This free crochet pattern uses a few basic stitches to make them, and they turn out looking super cute, if I do say so myself.

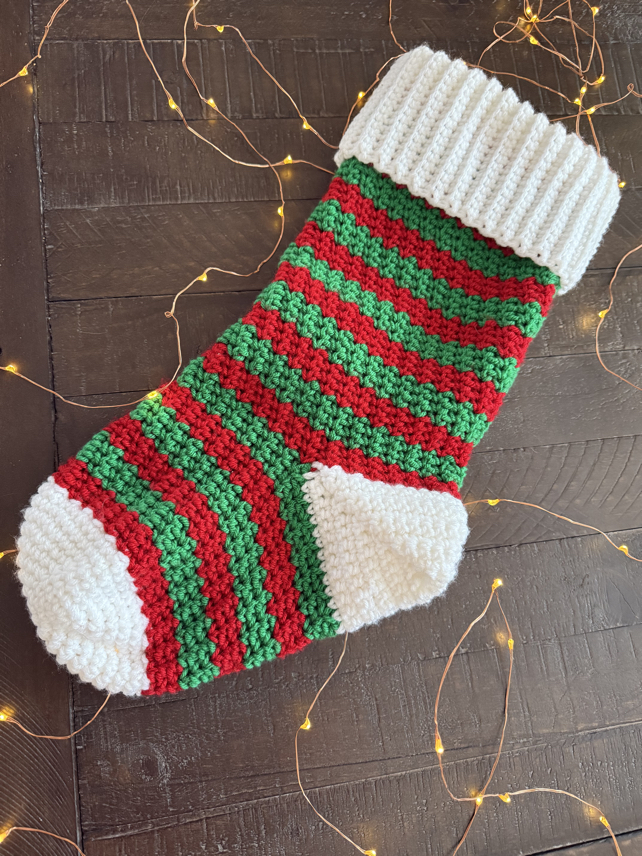
Easy Crochet Christmas Stocking Pattern
In this free crochet pattern, you can follow some basic step by step instructions to make fun crochet Christmas stockings. This pattern is a simple yet classic design to make crochet stockings that well be the perfect addition to your holiday season.
Join our Mailing List and Receive a…
Special stitches
There are only a couple of simple stitches you’ll need to know how to make in order to start the easy crochet stacking pattern. To make these Christmas stockings, the main stitches that you will need to know our basic crochet stitches such as the single crochet stitch, slip stitch as well as how to increase and decrease the stitches. These special stitches combined will turn into the perfect stocking, using our free crocheted Christmas stocking pattern.
Let’s jump right into the written pattern instructions to make these crochet Christmas stockings.
Free Crochet Christmas Stocking Pattern
Materials
Yarn. I used red, white, and green medium weight yarn from Hobby Lobby.
6.0 mm crochet hook size J hook. It’s really important for this stitch pattern to use a larger than normal crochet hook.
Other items:
A stitch marker
A yarn needle or tapestry needle
Scissors
skill level: intermediate
Please note that this pattern is written in US terms
Abbreviations
sl st – slip stitch
ch – chain
mc – magic circle
sc – single crochet stitch
inc – single crochet increase
sc dec – single crochet decrease

How to Crochet a Christmas Stocking
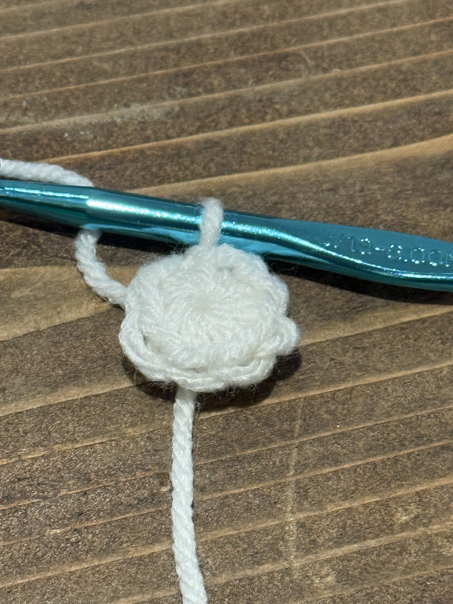
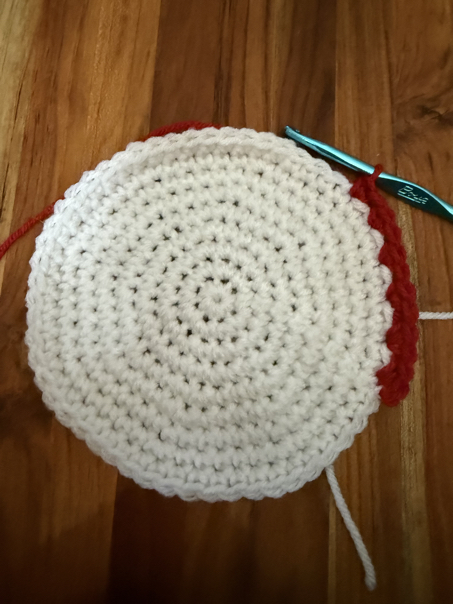
Starting at the Toe
R1. make a mr, in the mr make 8 sc sts. Join with a sl st. (8)
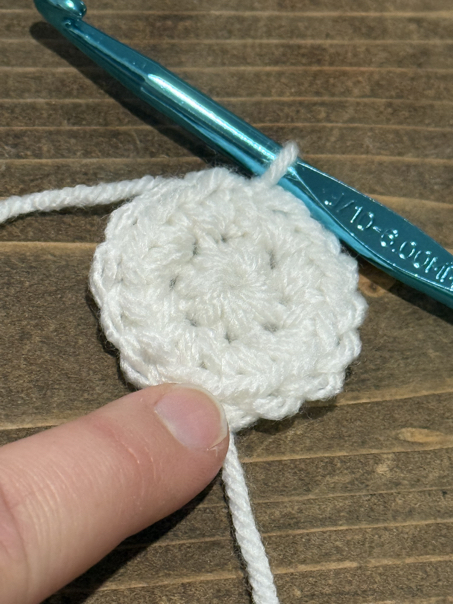
R2. ch 1, inc in each st around. Join with a sl st. (16)
R3. ch 1, (inc, sc) repeat around. Join with a sl st. (24)
R4. ch 1, (inc, 2 sc) repeat around. Join with a sl st. (32)
R5. ch 1, (inc, 3 sc) repeat around. Join with a sl st. (40)
R6. ch 1, (inc, 4 sc) repeat around. Join with a sl st. (48)
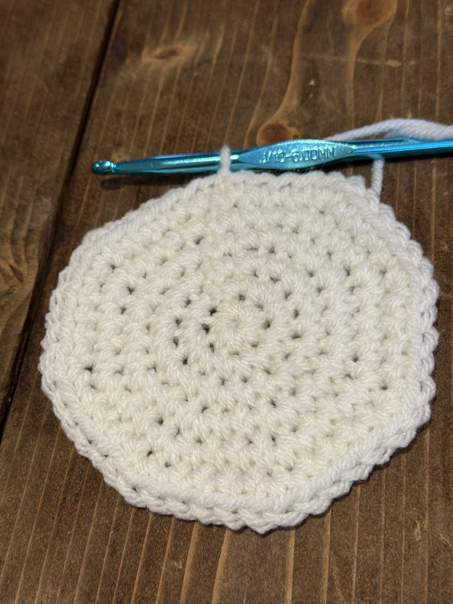
R7. ch 1, sc in each st around. Join with a sl st. (48)
R8. ch 1, (inc, 5 sc) repeat around. Join with a sl st. (56)
R9. ch 1, sc in each st around. Join with a sl st. (56)
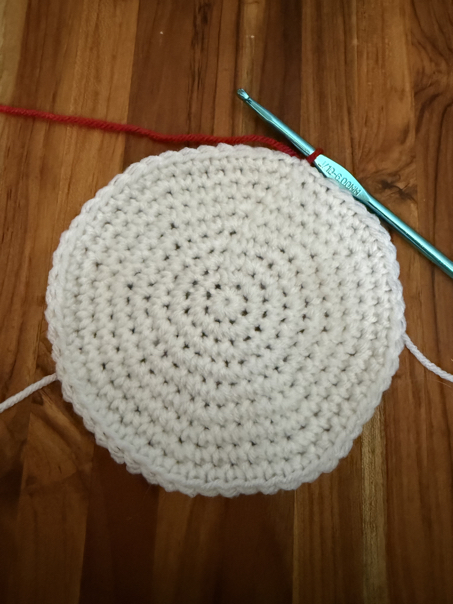
*change color to red
Making the Foot
R10. ch 1, in the first st, make 2 sc sts, *skip the next st, 2 sc sts in the next st.* Repeat around. Do not join, but work in continual rounds from this point on. If you want, you can use a stitch marker to keep track of where your round starts and ends. (56)
R11-28. skip the first sc st, *in the center front “v” of the next sc st, make 2 sc sts, skip the next sc st*. Repeat from * to * around. (56)
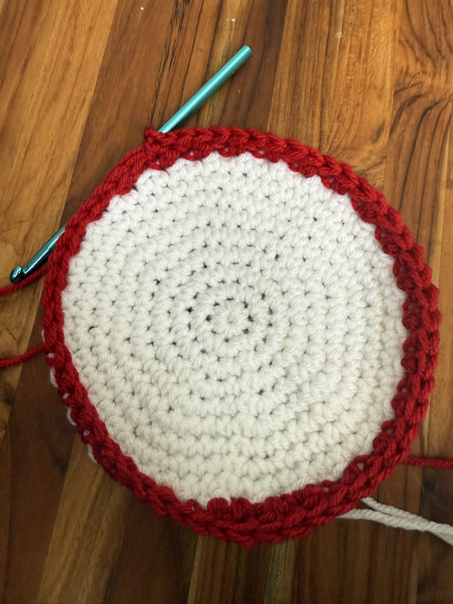
Repeat round 11, working 2 sc sts in the 2nd st, around and insterting your hook through the center of the previous sc st, where it forms a “v” in the front. Work in continuous rounds. I changed colors every 3 rounds, and just carried the opposite color up each round without cutting it off every time.

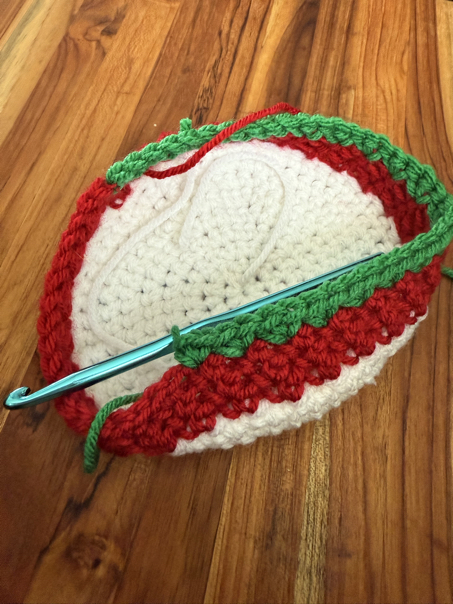
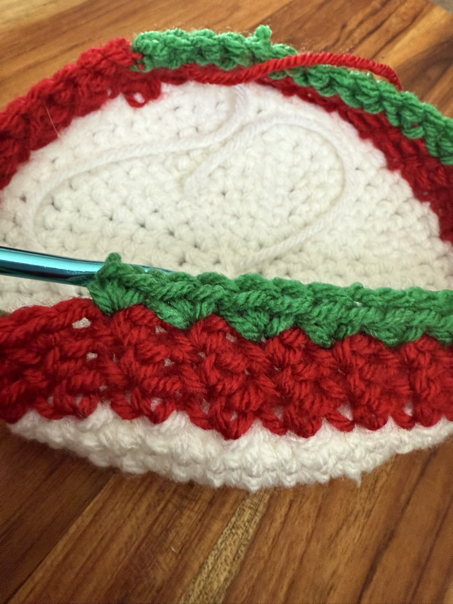
Repeat round 11, 18 times, then start to create the heel of the stocking.
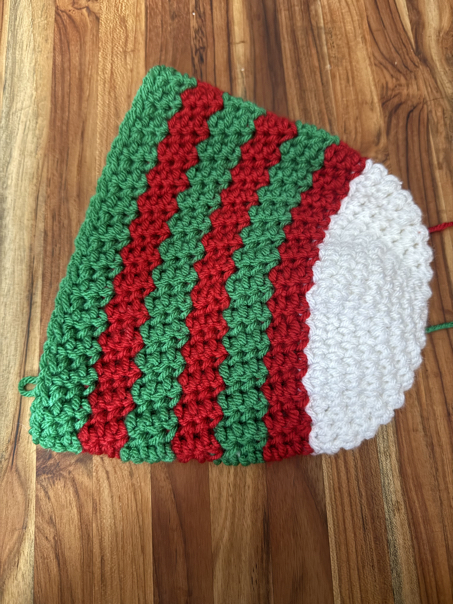
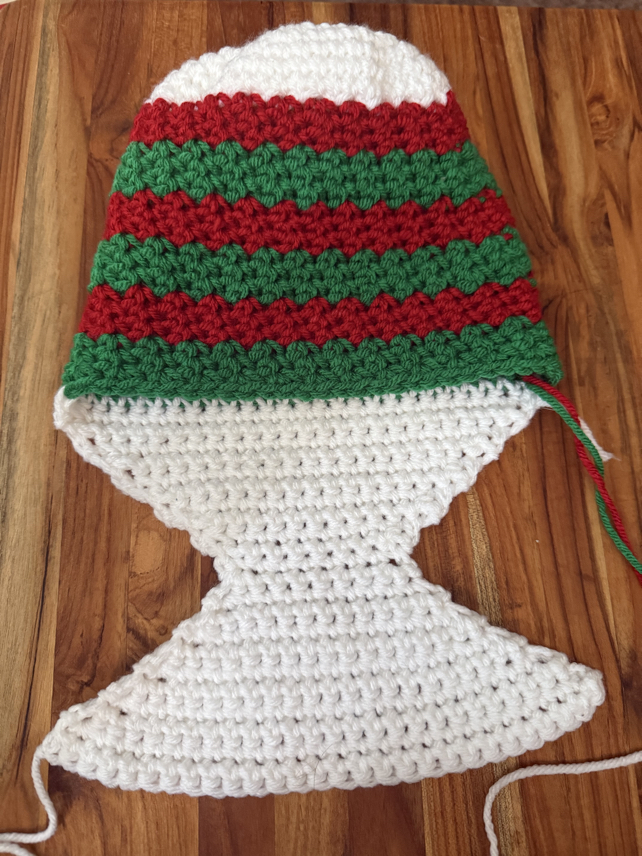
Forming the Heel
R29. join white yarn, ch 1, sc in the first st, and in the next 27 sts. Turn (28)
R30. ch 1, sc dec, sc in the next 24 sts, sc dec, turn. (26)
R31. ch 1, sc dec, sc in the next 22 sts, sc dec, turn. (24)
R32. ch 1, sc dec, sc in the next 20 sts, sc dec, turn. (22)
R33. ch 1, sc dec, sc in the next 18 sts, sc dec, turn. (20)
R34. ch 1, sc dec, sc in the next 16 sts, sc dec, turn. (18)
R35. ch 1, sc dec, sc in the next 14 sts, sc dec, turn. (16)
R36. ch 1, sc dec, sc in the next 12 sts, sc dec, turn. (14)
R37. ch 1, sc dec, sc in the next 10 sts, sc dec, turn. (12)
R38. ch 1, sc dec, sc in the next 8 sts, sc dec, turn. (10)
R39. ch 1, sc dec, sc in the next 6 sts, sc dec, turn. (8)
This is the smallest heel row, now we will start increasing the number of stitches.
R40. ch 1, sc in each st across, turn. (8)
R41. ch 1, inc, sc in the next 6 sts, inc, turn. (10)
R42. ch 1, inc, sc in the next 8 sts, inc, turn. (12)
R43. ch 1, inc, sc in the next 10 sts, inc, turn. (14)
R44. ch 1, inc, sc in the next 12 sts, inc, turn. (16)
R45. ch 1, inc, sc in the next 14 sts, inc, turn. (18)
R46. ch 1, inc, sc in the next 16 sts, inc, turn. (20)
R47. ch 1, inc, sc in the next 18 sts, inc, turn. (22)
R48. ch 1, inc, sc in the next 20 sts, inc, turn. (24)
R49. ch 1, inc, sc in the next 22 sts, inc, turn. (26)
R50. ch 1, inc, sc in the next 24 sts, inc, turn. (28)
At this point the heel is created, fold it in half, on itself. The side of the heel will be left open. We will come back and sew it closed at the end before finishing out the stocking.
*Join the red yarn

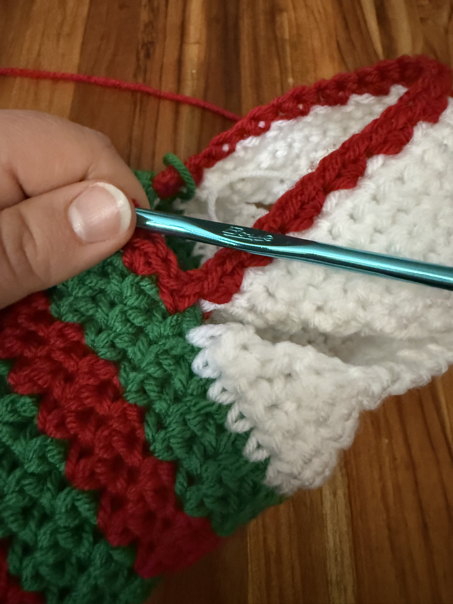
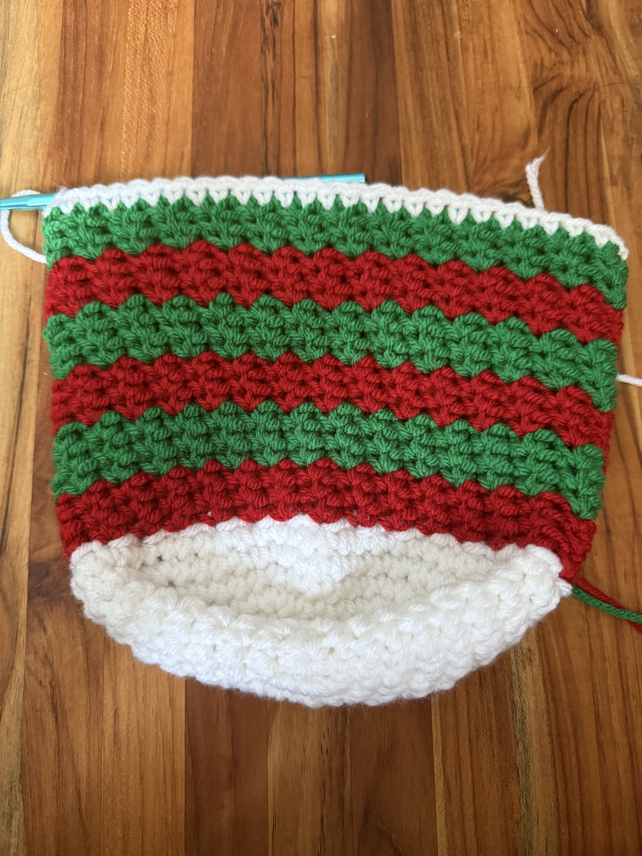
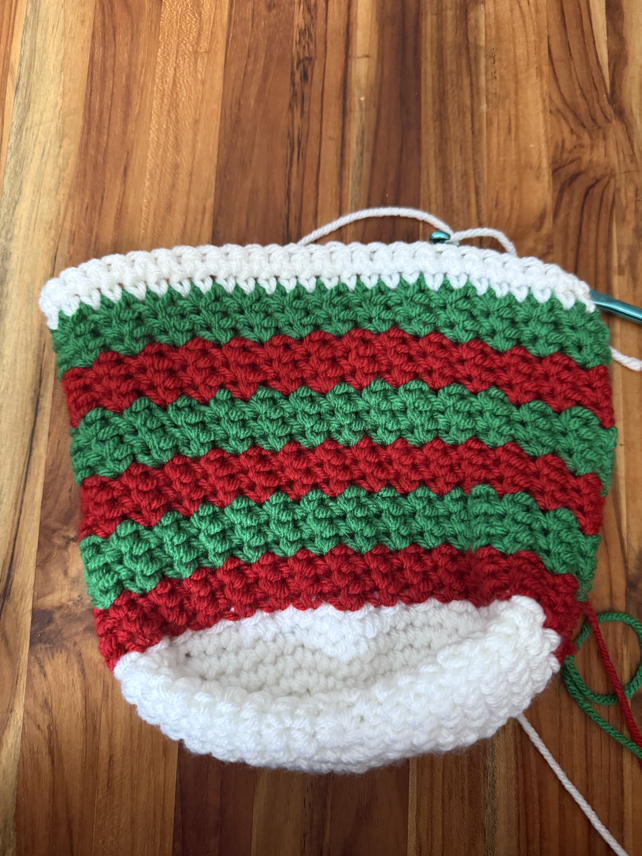
Continuing up the Ankle
R51. To clost the heel and start working up the ankle, use the red yarn and ch 1, in the same st make 2 sc sts, skip the next st, make 2 sc sts in the next st. Repeat until you get to the end of the white yarn, then skip over to the green, skip the first sc of the green yarn, and make 2 sc sts in the second st. Now you can continue working your stitch pattern in the green yarn like before. Skip the next sc st, and make 2 sc sts in the next st. Repeat around. Do not join. (56)
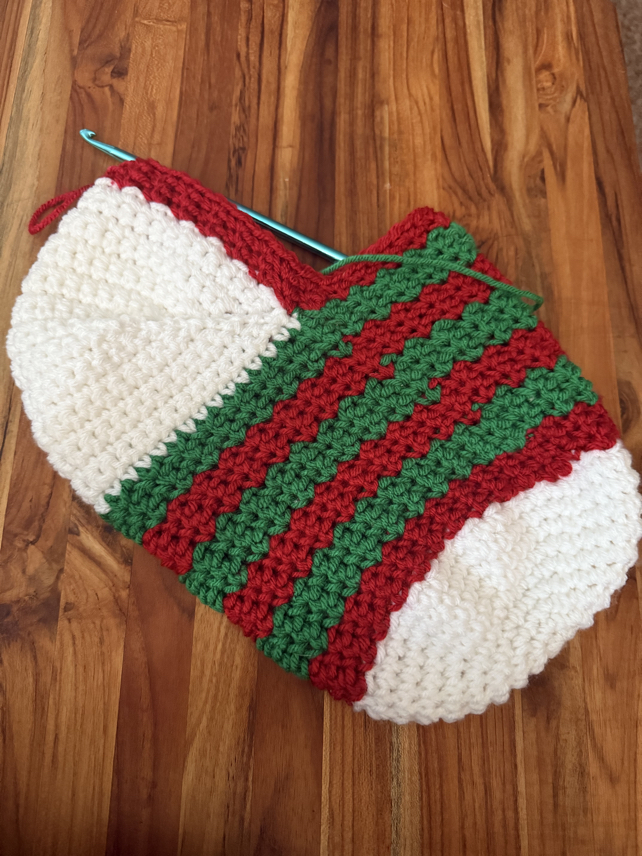
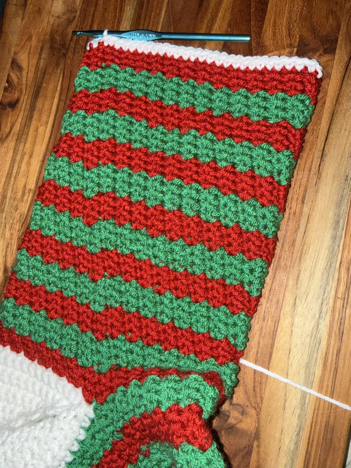
R52-89. Working in continuous rounds, *skip the first sc st, and make 2 sc sts in the next st.* Repeat from * to * around. (56)
You can make the stocking as tall as you want it to be, so feel free to add or subtract the number or rounds you make to determine how tall the stocking is.
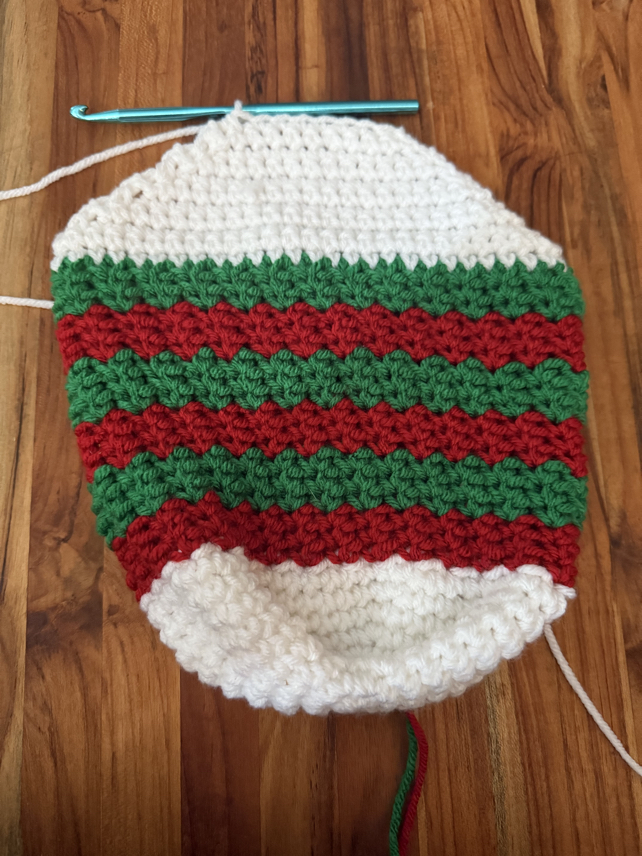
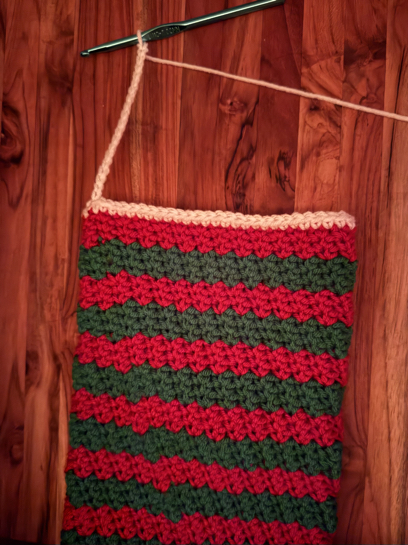
Making the Cuff
R90. To make the cuff, join the white yarn and finish off both the red and green yarn. With the white yarn, ch 1, and make a sc in each st around. Join with a sl st. (56)
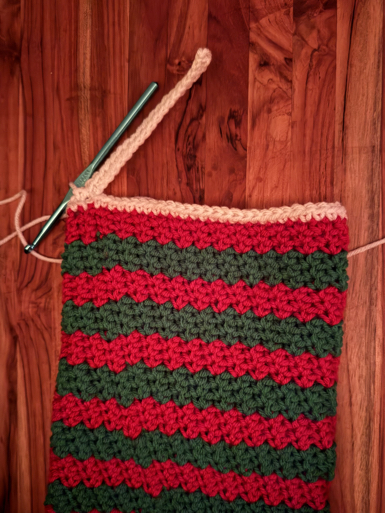
R91. ch 20 sts, in the 2nd ch from your hook make a sc, and sc in each ch space across until you reach the stocking, join with a sl st, and sl st in the next st up. Turn. (19)
R92. sc in each st across, ch 1, turn. (19)
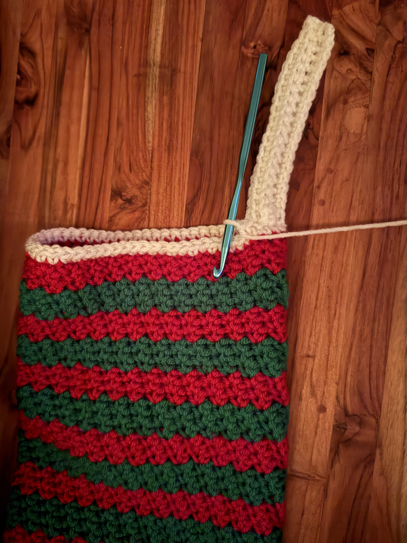
R93. sc in each st across until you reach the base of the stocking, join with a sl st, sl st in the next st up. Turn.
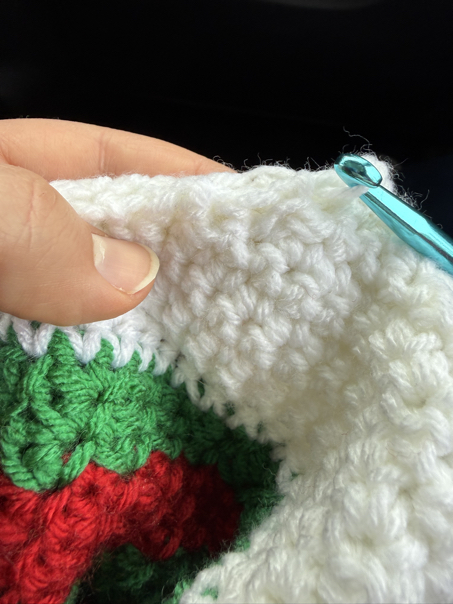
Repeat row 92 and 93 until you have made the cuff all the way round the top of the stocking. Finish off but leave a long tail for sewing. Take a yarn needle and sew the two sides of the cuff together, then weave in the ends of the white yarn.
To finish off, we need to go back and sew together the heel of the stocking. You can do this by threading a yarn needle with your white yarn, or by turning the stocking inside out and makeing slip stitches through the opening to pull both sides togehter. Do this to close both sides of the stocking’s heel. Then finish off and weave in the ends of the yarn tail.
You can also add a hanging loop to your stocking if desired. To do this, attach your yarn to the center back of the stocking at the top. Then create a chain approximately 15 ch stitches long.
To make it nice and strong, sl st in the 2nd ch st from your hook and in each one across until you get back to the base of the stocking. Ch 1, and turn.
Sl st in the back loops of each stitch back across the chain, then when you reach the end, slip stitch back to your stocking to form a loop and finish it out. Tie the hanging loop securely and weave in any yarn tails.
Now your crochet Christmas stocking is finished and ready to enjoy!
Christmas Stocking Pattern Copyright
Please note that this pattern is intended for personal use only, and is not for commercial distribution. By copyright, unless otherwise noted, you are not authorized to copy or claim my content as your own. You are, however, more than welcome to sell your finished products made with my patterns. I always appreciate it when you link to my patterns so that others can find them too!
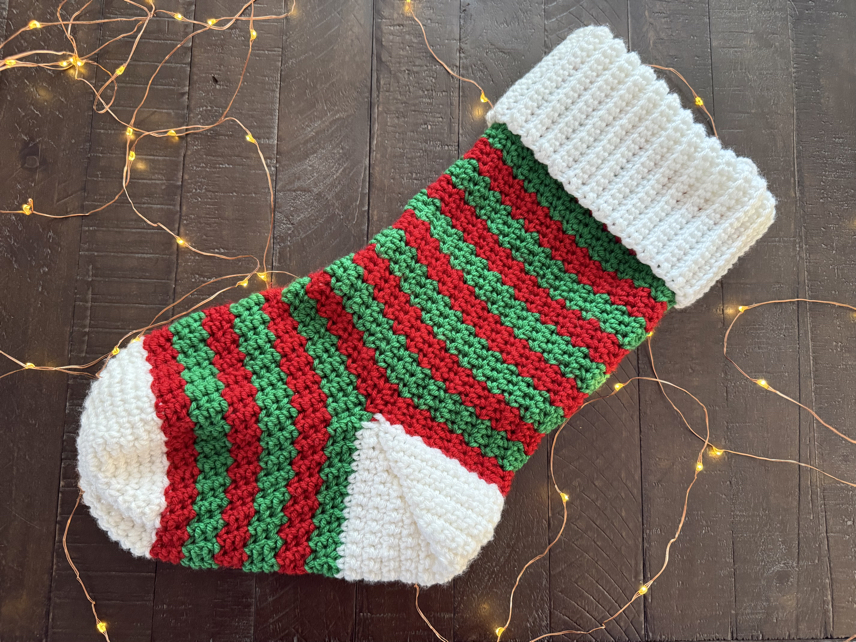
Crochet Christmas Stocking Tips and Tricks
Selecting the Colors
Remember you are making this project yourself. Feel free to make it in any color or color combination that you prefer. Just because it’s Christmas does not limit you to red and green. You can even choose one main color, make it with different rows of colors or all a solid color. You can use different colors than is traditional grammar or you can use a combination of white yarn, green yarn, and red yarn for traditional Christmas.
Selecting the Yarn
When you are picking the yarn out. The main thing to look for is a nice number 4, medium-weight yarn. I’d highly recommend looking for one that is easy to work with so that you can see your stitches easily.
Choosing the Hook Size
For this stitch pattern, I would strongly suggest that you use a larger hook size. Most medium weight yarn will suggest a size h or i, but you want to be able to work these stitches easily. If you are struggling then increase the hook size so that your stitches are looser.
Simple Crochet Stocking Pattern Free
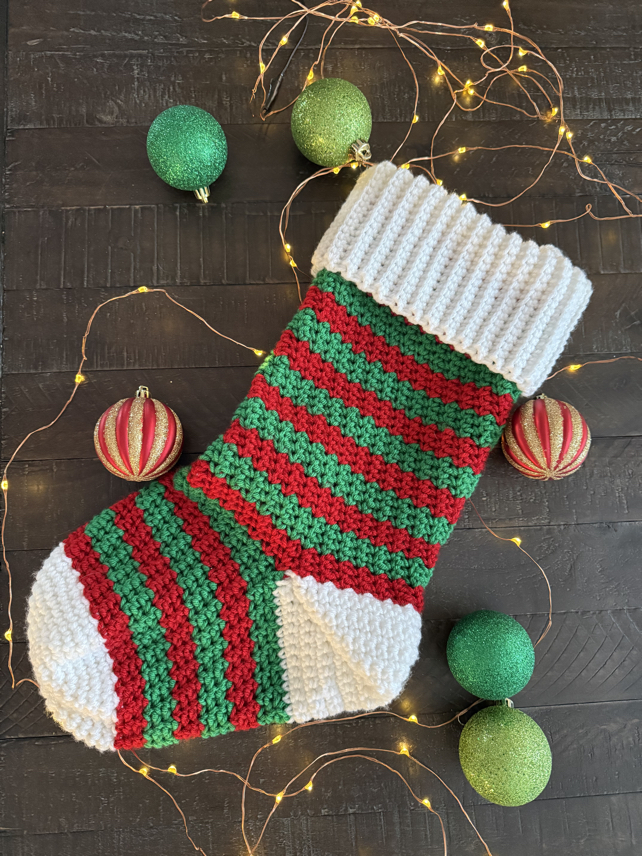
In this free crochet pattern, I’m so excited to get to show you how to make your own Christmas stockings for the whole family. This is a great project to make and give to everyone as a gift.
This is an easy pattern that you can make this Christmas season, and enjoy using for many years to come. Enjoy adding a bit of a handmade element to your Christmas decorations with these handmade stockings.
Thank you so much for stopping by to check out my free crochet Christmas stocking pattern. This is a fun crochet project that you can make for yourself or to give away as a gift this Christmas season. I hope you’ll give this pattern a try, and I hope you enjoy it!
Happy crocheting!
Be sure to follow us online on your favorite social media platform!
More Crochet Patterns:
PIN for Later!

