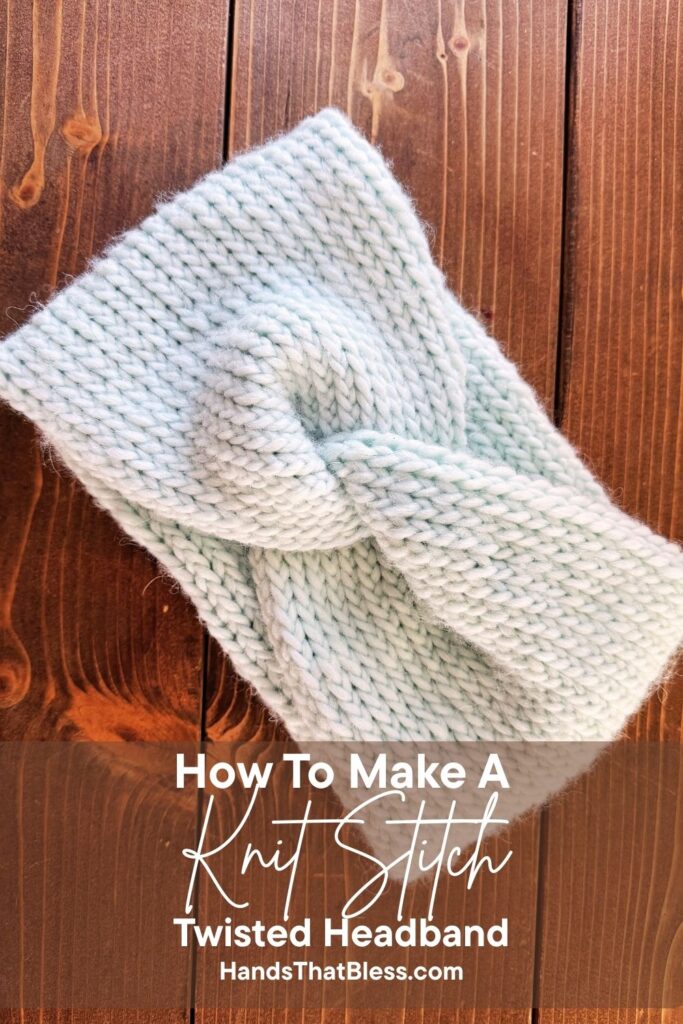
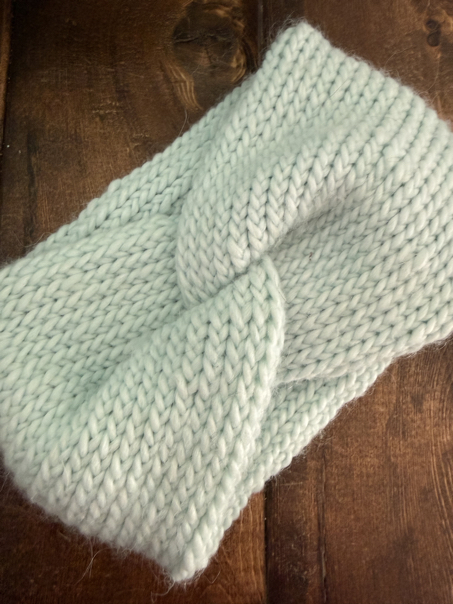
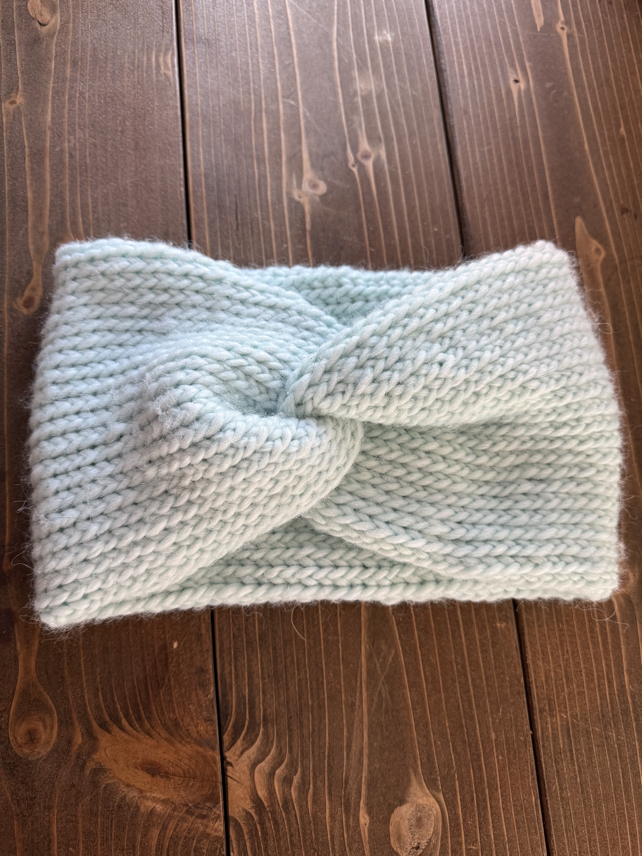
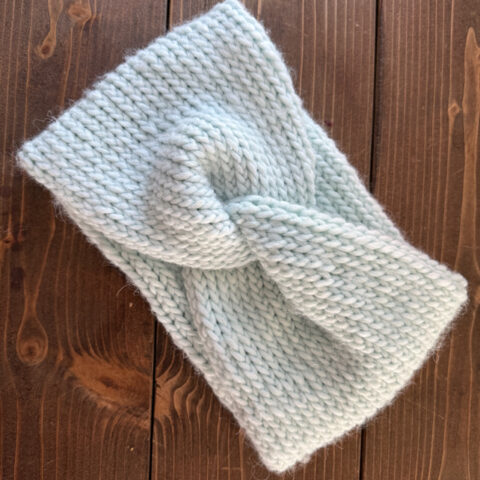
Knit Twisted Headband
Making this twisted headband, using our free knitting pattern is fun and easy. This twist headband is a fun pattern to make, and a great way to keep your ears warm during the cold weather. This knitted headband has made using your basic knit, stitch, and created in a circle, so that it has the appearance of a socket stitch.
I am so excited to share this free knitting pattern with you. It’s a fun project that you can knit in a short amount of time. Plus these knitted headbands make a great gift for anyone on your list.
Headband with a Twist Knitting Pattern
In this free pattern, you can learn how to make an easy twisted headband by knitting your project. A knit headband is a relatively short and easy project to make, not requiring a lot of time. Plus, you can make it as wide, or as then, as you prefer.
I am going to walk you through the step-by-step process of how to make this knitted twist headband. Then, you can feel free to adapt the pattern to make your head exactly as you wish. Let’s begin by looking at some of the basic stitches used in this knitting pattern, which you should know in order to make this twisted headband.
Stitches You Should Know
Long Tail Cast On. There are a couple different types of cast on methods that you can use. I prefer the long tail cast on, which is what I used in this knitting pattern. To learn how to long tail cast on, please check out my learning how to knit tutorial.
Knit Stitch. The knit stitch is a basic knitting stitch made by inserting your knitting under the leg of your stitch, wrapping the yarn round in what is called a yarn over, and pulling the old loop over. For a full tutorial on how to make this stitch be sure to check out.
Cast Off. Casting off is how you finish out a knitted project. This is what removes the stitches from your knitting needles, without them unraveling.
How to Knit a Twisted Headband
Materials
Yarn
For this knit headband, I used a size number five, bulky weight yarn. This allows you to make fewer stitches, but still have a nice knitted twist headband.
Knitting Needles
The size is knitting needles that you choose to use will depend on what size yarn. In this case, I used 8 mm needles. I highly recommend using circular needles if it all possible.
Yarn Needle or Tapestry Needle
Skill level: beginner
Finished measurements:
Abbreviations
co – cast on
k – knit
co – cast off
st/sts – stitch/stitches
Headband Knitting Pattern
R1: co 44 sts. I used the long tail cast on method
R2: bring your knitting needles together so that the circular needles meet. K1 st in each st. Continue knitting in a round.

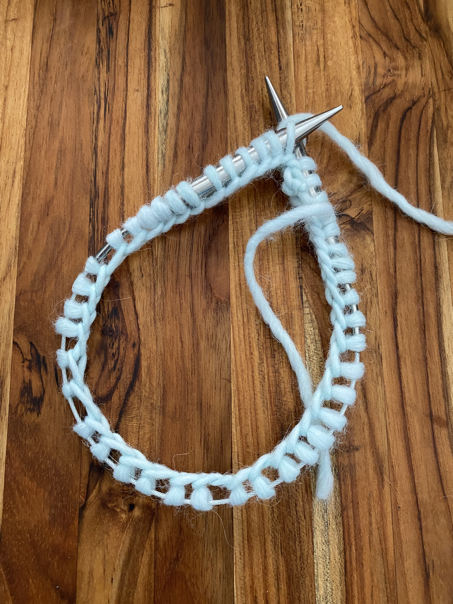
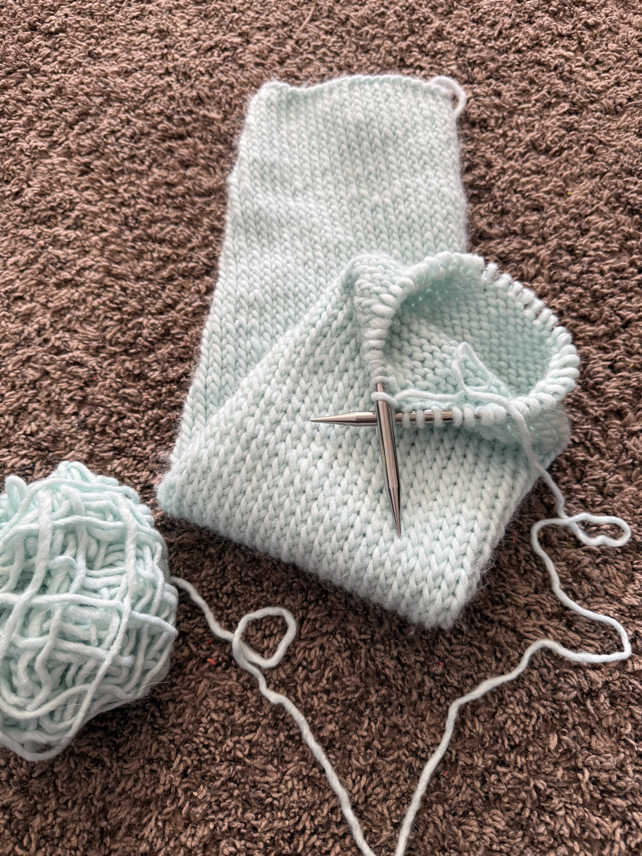
R3: repeat row 2, making 1k st in each st around. This will form a tube shape with your knitted project. The right side, facing out will show your knit stitches, and the wrong side facing in the appearance of pearl stitches. Continue working until your headband is your desired length or long enough to reach all the way around your head.
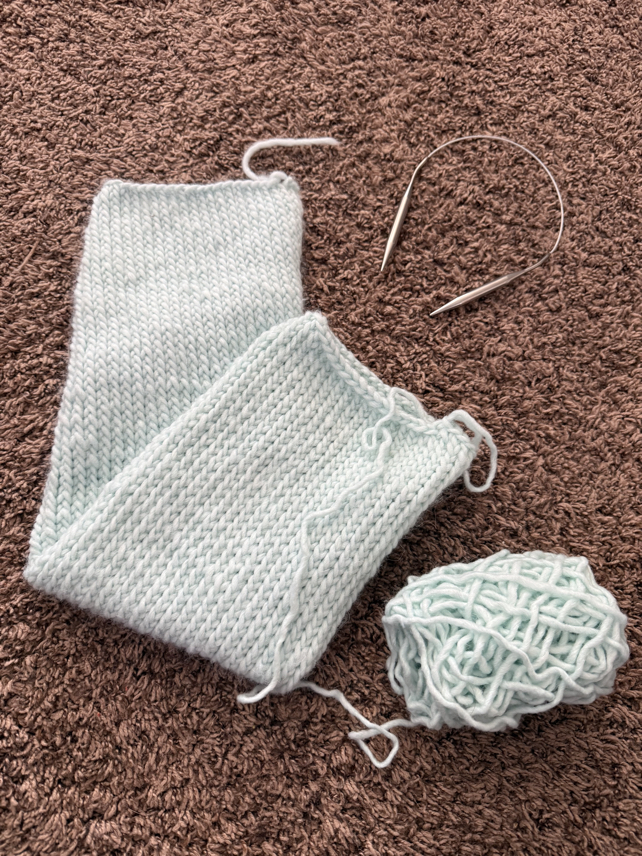
Cast off the stitches, and leave a long yarn tail for sewing that headband together. Fold the tube of your knitted headband in half so that it lays flat.
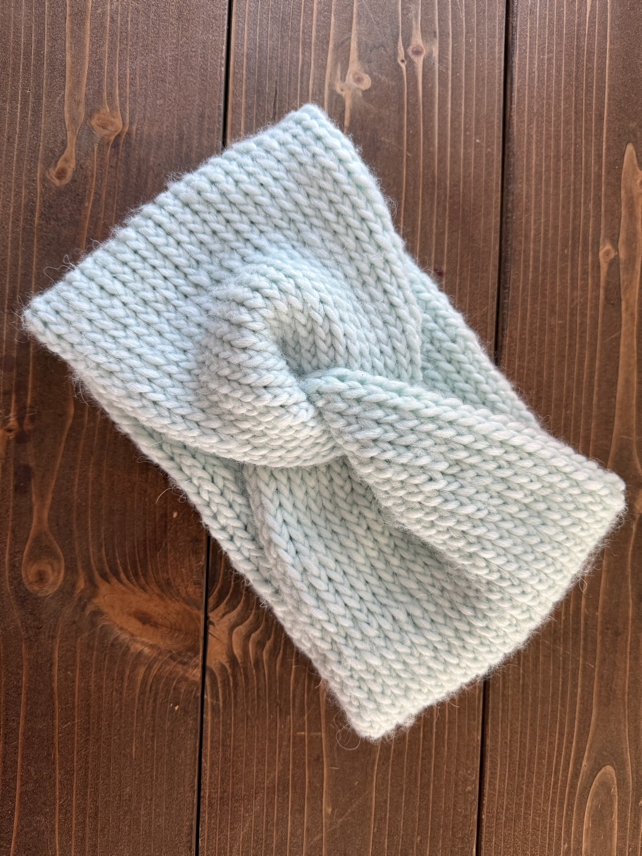
Seaming the Twist
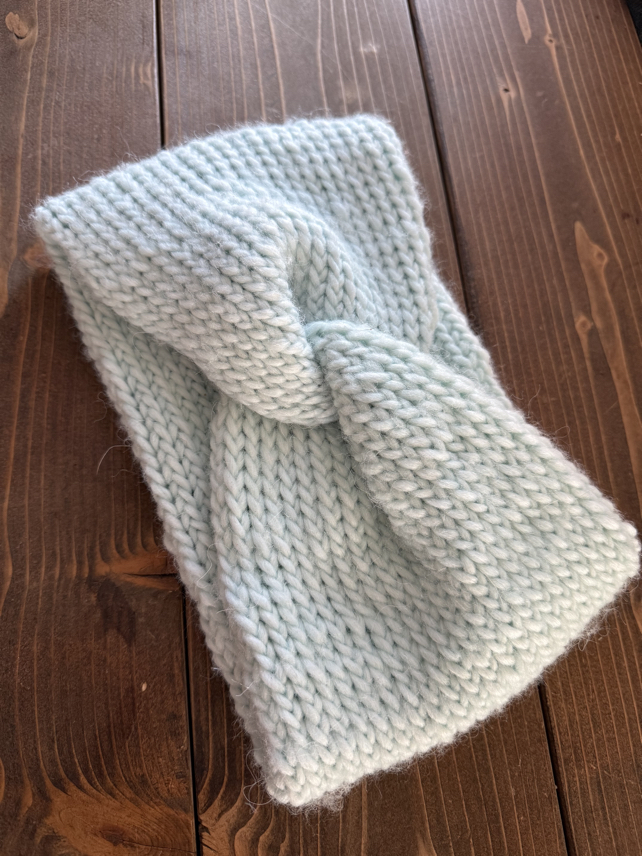
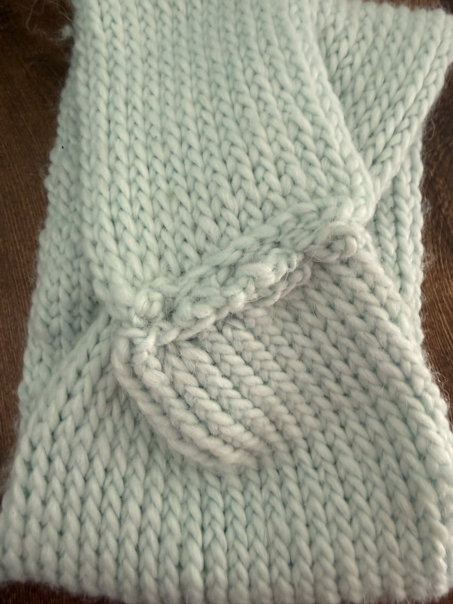
When you have completed knitting the headband, it’s time to add the twist. To do this you are going to take the two ends and fold your headband in half so that it lays flat and the two ends meet.
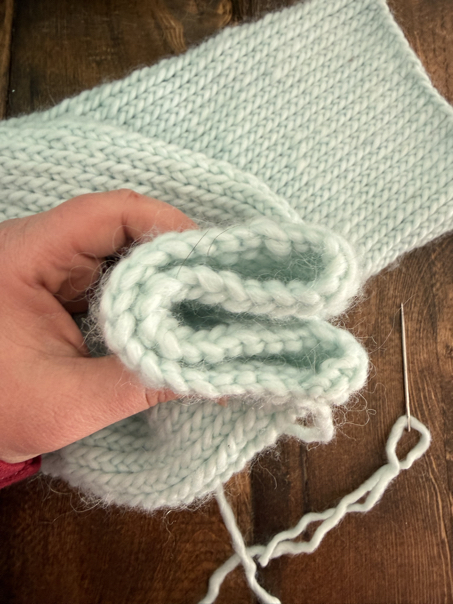
Now pick up the two ends inform each one into a U shape.
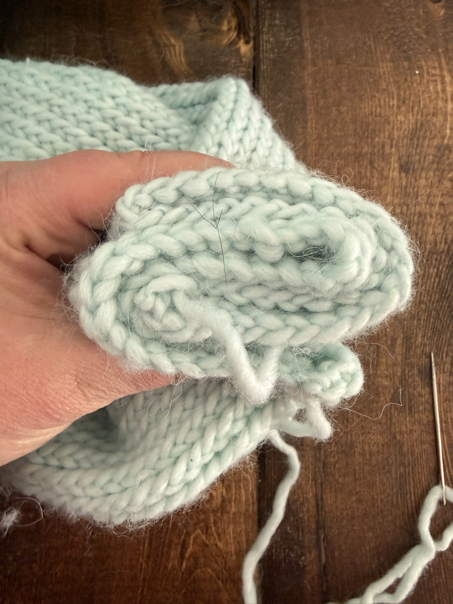
Interlock the two U shapes together.
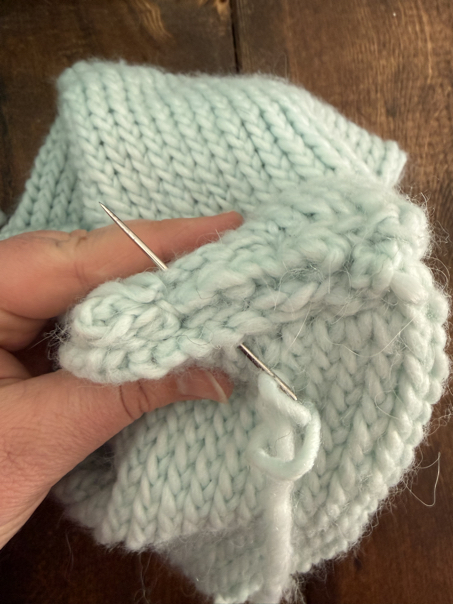
Use your yard needle and extra yarn to stitch the interlocking U shapes together.
Finish off when the last stitch is completed and weave in any yarn tales.
Standard Head Sizing Chart Head
The best way to make sure that your twisted headband fits perfectly from this knitting pattern is to measure the head circumference of the person‘s head you are making this headband for. However, if you are unable to do that, here is a chart with average circumference head sizes Based on the average head in each category.

Simple Twist Knitted Headband Copyright
Please note that this pattern is intended for personal use only, and is not for commercial distribution. By copyright, unless otherwise noted, you are not authorized to copy or claim my content as your own. You are, however, more than welcome to sell your finished products made with my patterns. I always appreciate it when you link to my patterns so that others can find them too!
Tips and Tricks for this easy knitted socket stitch twist headband
Circular Knitting Needle
When making this knitted headband, I highly recommend that you use circular knitting needles. Using circular needles rather than straight needles makes the process so much easier and faster because the headband is created in a round tube shape so that it is double warm.
Selecting Your Yarn
When it comes to choosing the yarn, you want to use for your twisted headband, the yarn weight will play a factor in what size the headband ends up being. You can use Bersted weight yarn. If you want, just keep in mind it will require you to add additional stitches, if you want it to be wide enough to cover your ears. I used a number five bulky weight yarn when creating this pattern.
How wide to make the Headband
How wide to make the headband is a matter of personal preference. You can add as many stitches to make it as wide as you want. A white headband is nice because then you are sure it will cover your ears and keep them warm, however, some people prefer more of a narrow headband. So feel free to add or subtract stitches as you prefer to make this twisted headband you were desired width.
Headband Knitting Pattern
Making this knitted headband pattern with a stylish twist is such a fun project to do, and only requires you to know a few basic knitting stitches. This is a great project if you are looking for something easy, and relatively quick to make.
Thank you so much for stopping by to check out my how to knit a twisted headband tutorial. I hope that you will give it a try, and I hope that you will enjoy making this project.
More Free Knitting Patterns

Be sure to follow us online on your favorite social media platform!
how to knit a twisted headband
Materials
- #4 medium weight yarn - 1 skein
- 8 mm circular knitting needles
- A yarn needle
- Scissors
Instructions
- R1: co 44 sts. I used the long tail cast on method
- R2: bring your knitting needles together so that the circular needles meet. K1 st in each st. Continue knitting in a round.
- R3: repeat row 2, making 1k st in each st around. This will form a tube shape with your knitted project. The right side, facing out will show your knit stitches, and the wrong side facing in the appearance of pearl stitches. Continue working until your headband is your desired length or long enough to reach all the way around your head.
- Cast off the stitches, and leave a long yarn tail for sewing that headband together. Fold the tube of your knitted headband in half so that it lays flat.
Seaming the Twist
When you have completed knitting the headband, it’s time to add the twist. To do this you are going to take the two ends and fold your headband in half so that it lays flat and the two ends meet.
Now pick up the two ends inform each one into a U shape.
Interlock the two U shapes together.
Use your yard needle and extra yarn to stitch the interlocking U shapes together.
Finish off when the last stitch is completed and weave in any yarn tales.
Pin for Later!